Here's a new index page for pysanky, just to collect the various instructions together, and also move it upward on the textile page.[1]
Most of these instructions are on prior pages, more or less, cuz I keep forgetting to go through them before making eggs. By egg 4 or 5, the old memories have floated up/I've rediscovered best practices.
Materials:
- dye
- vinegar
- hardboiled eggs
- stylus
- candle/wax
- jars for dye
- lifters for dye
- styrofoam pad with pins for drying eggs
- paper towels/tissues for wiping eggs
- newspaper or similar to protect work surface from dye, wax, etc
Method.
Begin by letting eggs come to room temperature for several hours (overnight). Place eggs in enough cold water to cover by at least 1" in large(st) pot, bring to a boil (perhaps somewhat slowly to help prevent cracks...?) Boil 1 minute, let sit in pot for 25 12 minutes. Remove. Allow eggs to cool eggs with cold water. N.b., cracks will close back up again as they do. Soak eggs in vinegar and rub off resulting slime. This etches the shell so the dye sticks better.
Spread cover on table. Make up dye according to instructions. USA easter egg kit tablets usually require 1/2 C of warm water, 3T vinegar (except pink) and 1 tablet per color. I use bonne chance jam jars. White is very harsh, so I usually put on a base color. Dye is usually good for 6–12 eggs/several hours; then it becomes exhausted and muddy. N.b., cold eggs sweat, and making ‘dots’ in the color—quite an interesting effect, if desired.
After egg has achieved the desired depth of color, remove from dye, and place on pins on foam (3 pins/egg) to dry.
Light candle.[2] Heat stylus tip till melted wax enters it. N.b., it is the heat that runs out, not the wax—keep the tip good and hot! This helps to prevent carbon in wax, too.
Draw design onto egg. When satisfied, dip egg into a different dye than base (usually a darker one, i.e. blue over green or yellow; orange or red over yellow; purple over blue or pink, etc.) After desired depth of color (several mins to hours) remove egg, allow to dry thoroughly
Hold egg just to side of flame. Wax must be hot enough to sheet. Wipe immediately. Continue heating and wiping until unwanted wax is removed. Nota bene![3] On the instructables page (or mebbe an IG account, artist coated entire egg with wax as last step, then heated sections of egg just as I do to remove wax. Should try this! Also, this Instructables page looks pretty good, and there's a link in the comments to get better quality kryska (wax applicators) than I have –they're only about $6 ea.
Enjoy:) If you would like pictures of these steps, this old page has ’em.

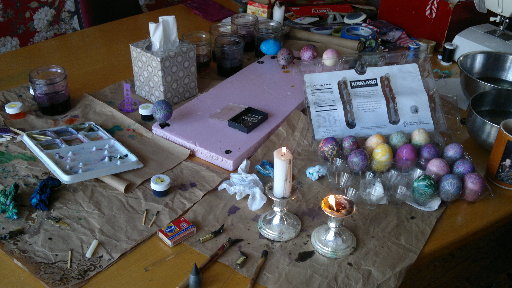
In 2004 my technique for edible pysanky hit its apogee. I've been trying to get up to that level ever since. This is...not bad. 08apr2012

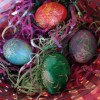
2009 Pysanky. Looks an awful lot like the 2006 pysanky. Oh, well. Originally posted 13apr09. 14apr2009

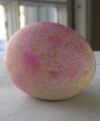
One of the styli needed minor repairs. I tested it , plus a wax removal method, on this organic brown egg. This is the cheat-sheet summary of tutorial info scattered in the rest of the posts. 16apr2009

My old pysanky index page was created in 2006, with a bit of background of how I began making edible easter eggs. 01may2012

This sub-index page uses the & (2006&pysanky) but otherwise is obsolete, since index-tagging has put all psyanky, 2006 or not, on the main page. 18apr2006
This link used to be deeply buried, which is why there's no pix. My defense for making pysanky even if you have no religious investment in Easter. 22may2004

Basic (text-only) instruction for making a pysanky stylus. Picture of the finished product only, sorry. 22may2004

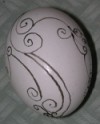
2001 wasn't a very successful year for pysanky. Here're 3 views of the best one. (Max image size: 500pixels wide.) 22may2004
Unless otherwise noted, text, image and objects depicted therein copyright 1996--present sylvus tarn.
Sylvus Tarn