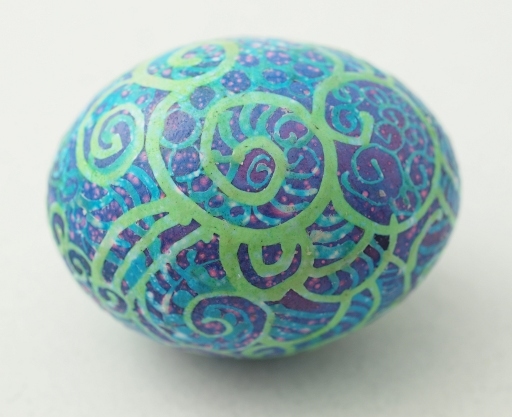
This year is, perhaps the closest I've gotten yet. One thing that helped was that I actually went back and read the old pysanky posts before starting; another was implementing some new variations, to wit:
- working with eggs at room temperature
- thoroughly soaking (submerging) eggs in vinegar for several minutes
- using a new kind of wax (liquid only, no soot)
- using a combination of boiling and scraping to remove
- intensifying the dyes with bottled food coloring (much easier than dealing with kits)
- sprinkling with salt (this didn't work...)
I told myself last time, I would buy good quality locally raised white eggs for this project, as grocery store eggs tend to have very thin shells, and the local co-op does carry white eggs around easter. However, the wizard and f2tE have been doing the bulk of the grocery shopping lately, and they got some standard eggs for us to dye. At 88c the dozen, I was hardly going to complain, but it did mean we needed to be careful about letting them come to room temperature before hard-cooking them, or removing the wax. One cracked while being boiled, which is not too bad.
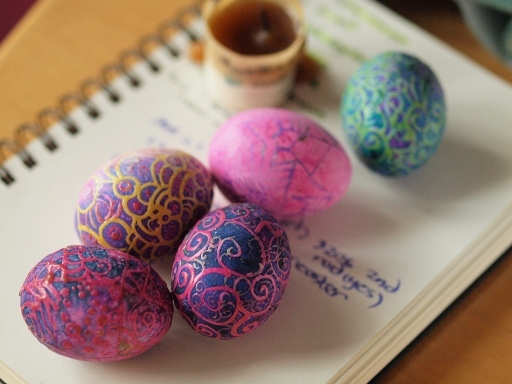
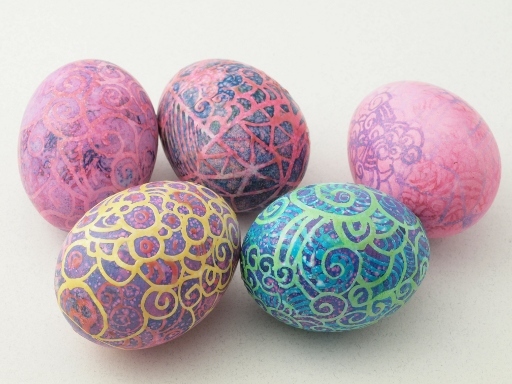
The two eggs in front (center and right) are the ones in which I attempted squirting pure liquid dye (green) The bright pink egg towards the back has been de-waxed with boiling water; the other 4 are ready to go.
While I was making up the dye—which was a concentrated liquid in these extremely messy plastic packets—I submerged the eggs in 5% white vinegar. By the time I done messing with the dye, the eggs were outgassing up a storm—bubbles 3mm or so were pouring off the shells—and they'd become very slimy. In fact, one egg I'd already dyed, and which I'd submerged in the vinegar, just immediately lost all its dye when I rubbed that stuff off. A wipe off with vinegar doesn't help. When they say to acid etch your eggs, this is what they mean—get rid of the slime. (Eggshells are porous, or the chicks inside would suffocate.)
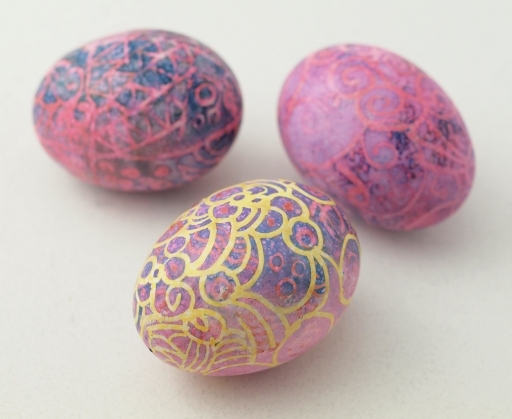
The two eggs with pure dye squirted on them, now de-waxed, serve as a backdrop for perhaps the most successful design.
One of the reasons I've been playing with dying with dark colors first is that you can get dark lines on a pale egg, as with this case. This is not really something I can take a lot of credit for, I copied the idea from the f2 generation (I was going to make a pre-easter pysanky post, but we didn't make any eggs in 2011 since our kitchen was just getting torn out at that point, and the 2010 selection was pretty sad; but I did think that one technique might be fun to try here;)
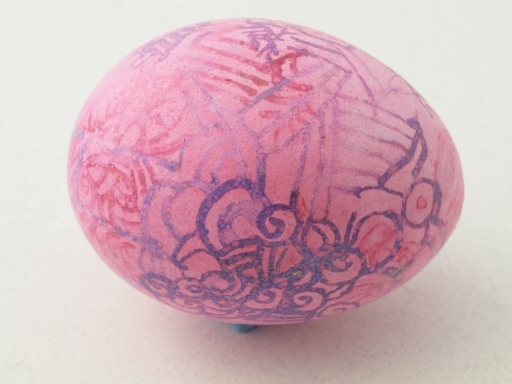
This is the egg in which I removed some of the wax using boiling water (the pink half) and some by heating it in a candle flame (the purple parts). The secret to getting good results with a candle (as opposed to black smears, which I hate) is a) get clean wax in the first place [1] and b) heat the egg till the wax just sheets—not till the wax starts smoking! Then quickly wipe.
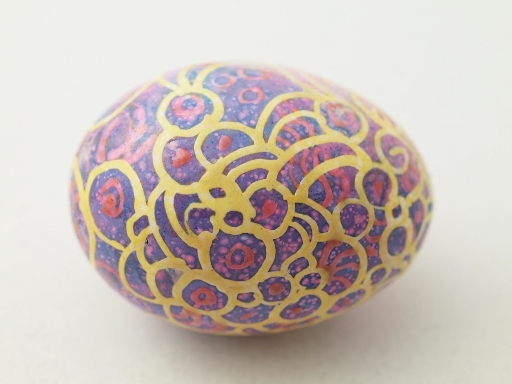
The ‘red’ used had an extra squirt of a sort of special deep ‘fall’ limited edition garnet we got one year. It looked brownish when wet, but dried to a dark reddish pink.
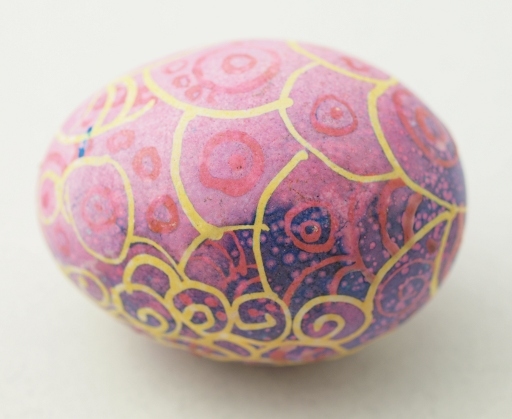
I actually designed this egg with the idea that I was going to use boiling water to take down the darker colors, so the yellow wouldn't be so contrasty. But I decided I liked the effect. Note that the wax is still showing on much of this part of the egg, making the red look darker.
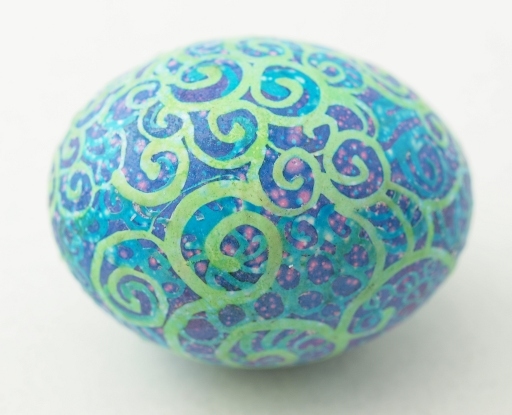
My beloved purple, teal and yellow-green combo: med golden green to intense aqua (greenish blue) to blue-based violet. Note how green became somewhat yellow in the finished egg.
Because the wax was so transparent, I knew I would really like this egg, so I scraped the wax off with an old dental tool made specifically for scooping and burnishing wax. Since the wax had a slightly yellow cast, I left some of it on the egg, to give the turquoise more of kelly green appearance, or render the green more of a sour (brownish-yellow) hue.
The weird shape of the egg is partially from shooting it so close: I wanted the egg to fill the frame, so the large version of the image would be good texture/pattern source, but you do get these weird distortions. Shooting it from further away and then cropping (or backing the camera up and zooming in if you have a telephoto) would avoid this.
[1]The candle I used—which you can see in the first picture—was something I grabbed because it was lying around, and my laziness happened to be serendipitous because it is ‘a apple jack & peel’ candle: it formed so much melted wax the wick was in danger of drowning. But this meant, very little soot. This candle is made by chambers comforts in berkley, MI. A tea light, being a similar idea, might also work.
Unless otherwise noted, text, image and objects depicted therein copyright 1996--present sylvus tarn.
Sylvus Tarn