This year we had two dozen eggs; I let them sit out all night, and used my biggest pot to boil them, which resulted in fewer cracks. We made up for it, though, dropping the eggs into the dye, the cartons, etc.
My lampworking students, the wizard and JDftY were the other folks coloring eggs. The students took theirs home, and I'm feeling kinda lazy (or rationalizing the fact that I'm actually getting this page up by Easter means I can slough off on the thoroughness) so I'm only showing a couple of pix, of my own. —I colored 8 eggs, 7 of which I waxed.[1]
Continuing to play with the lensbaby. Well, it handily hides all the cracks from dropped eggs, not to mention the ones I broke by driving my thumb through the shell.
Some things I learned:
- tie hair back when working with live flames [2]
- Use fresh dyes: they do become exhausted, particularly by day two eggs were muddy, dull and unsaturated
- Tip of tool needs to be screaming hot to avoid soot—it's the heat, not the wax, that “runs out”
- 3–4 metal-headed pins stuck into styrene are great for drying eggs
And most of all:
- Hold egg to the side of flame when doing wax removal.
This is because the yellow flame is basically glowing soot (carbon) particles, so holding egg above the flame collects the soot–resulting in unsightly black stains. So long as the egg is held beside the flame, there is plenty of time to let the wax “sheet” so it can be removed.
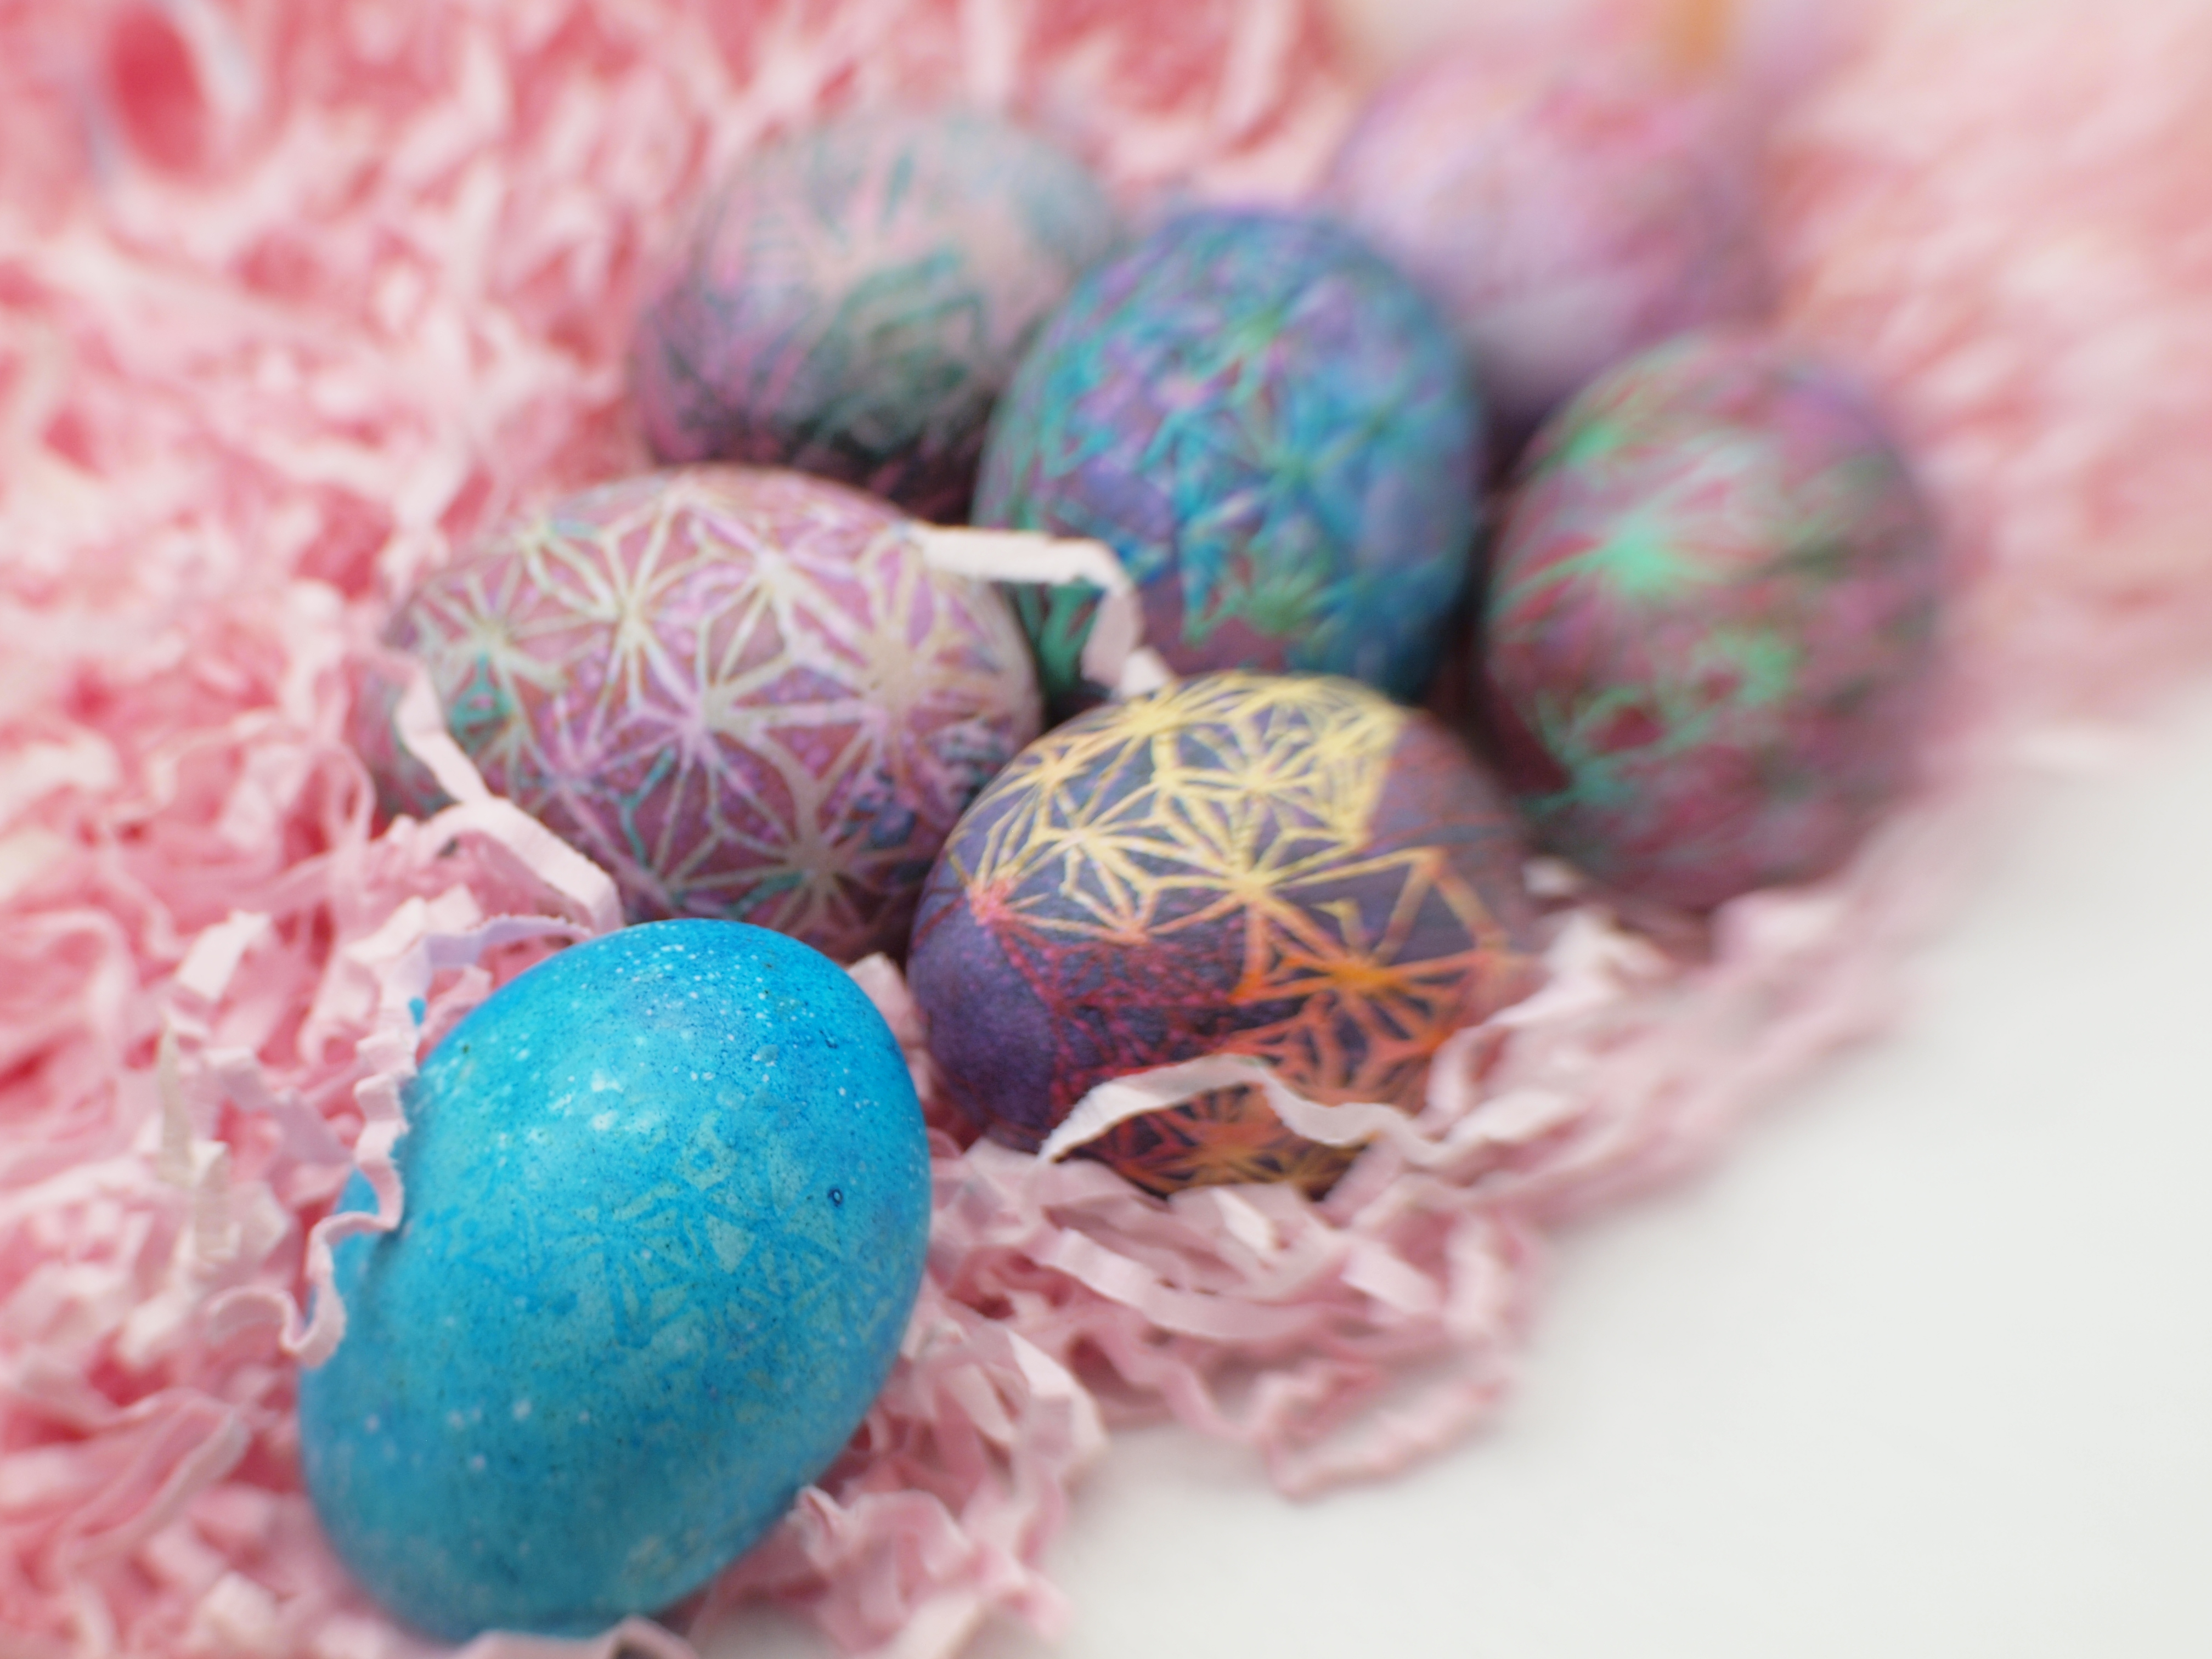
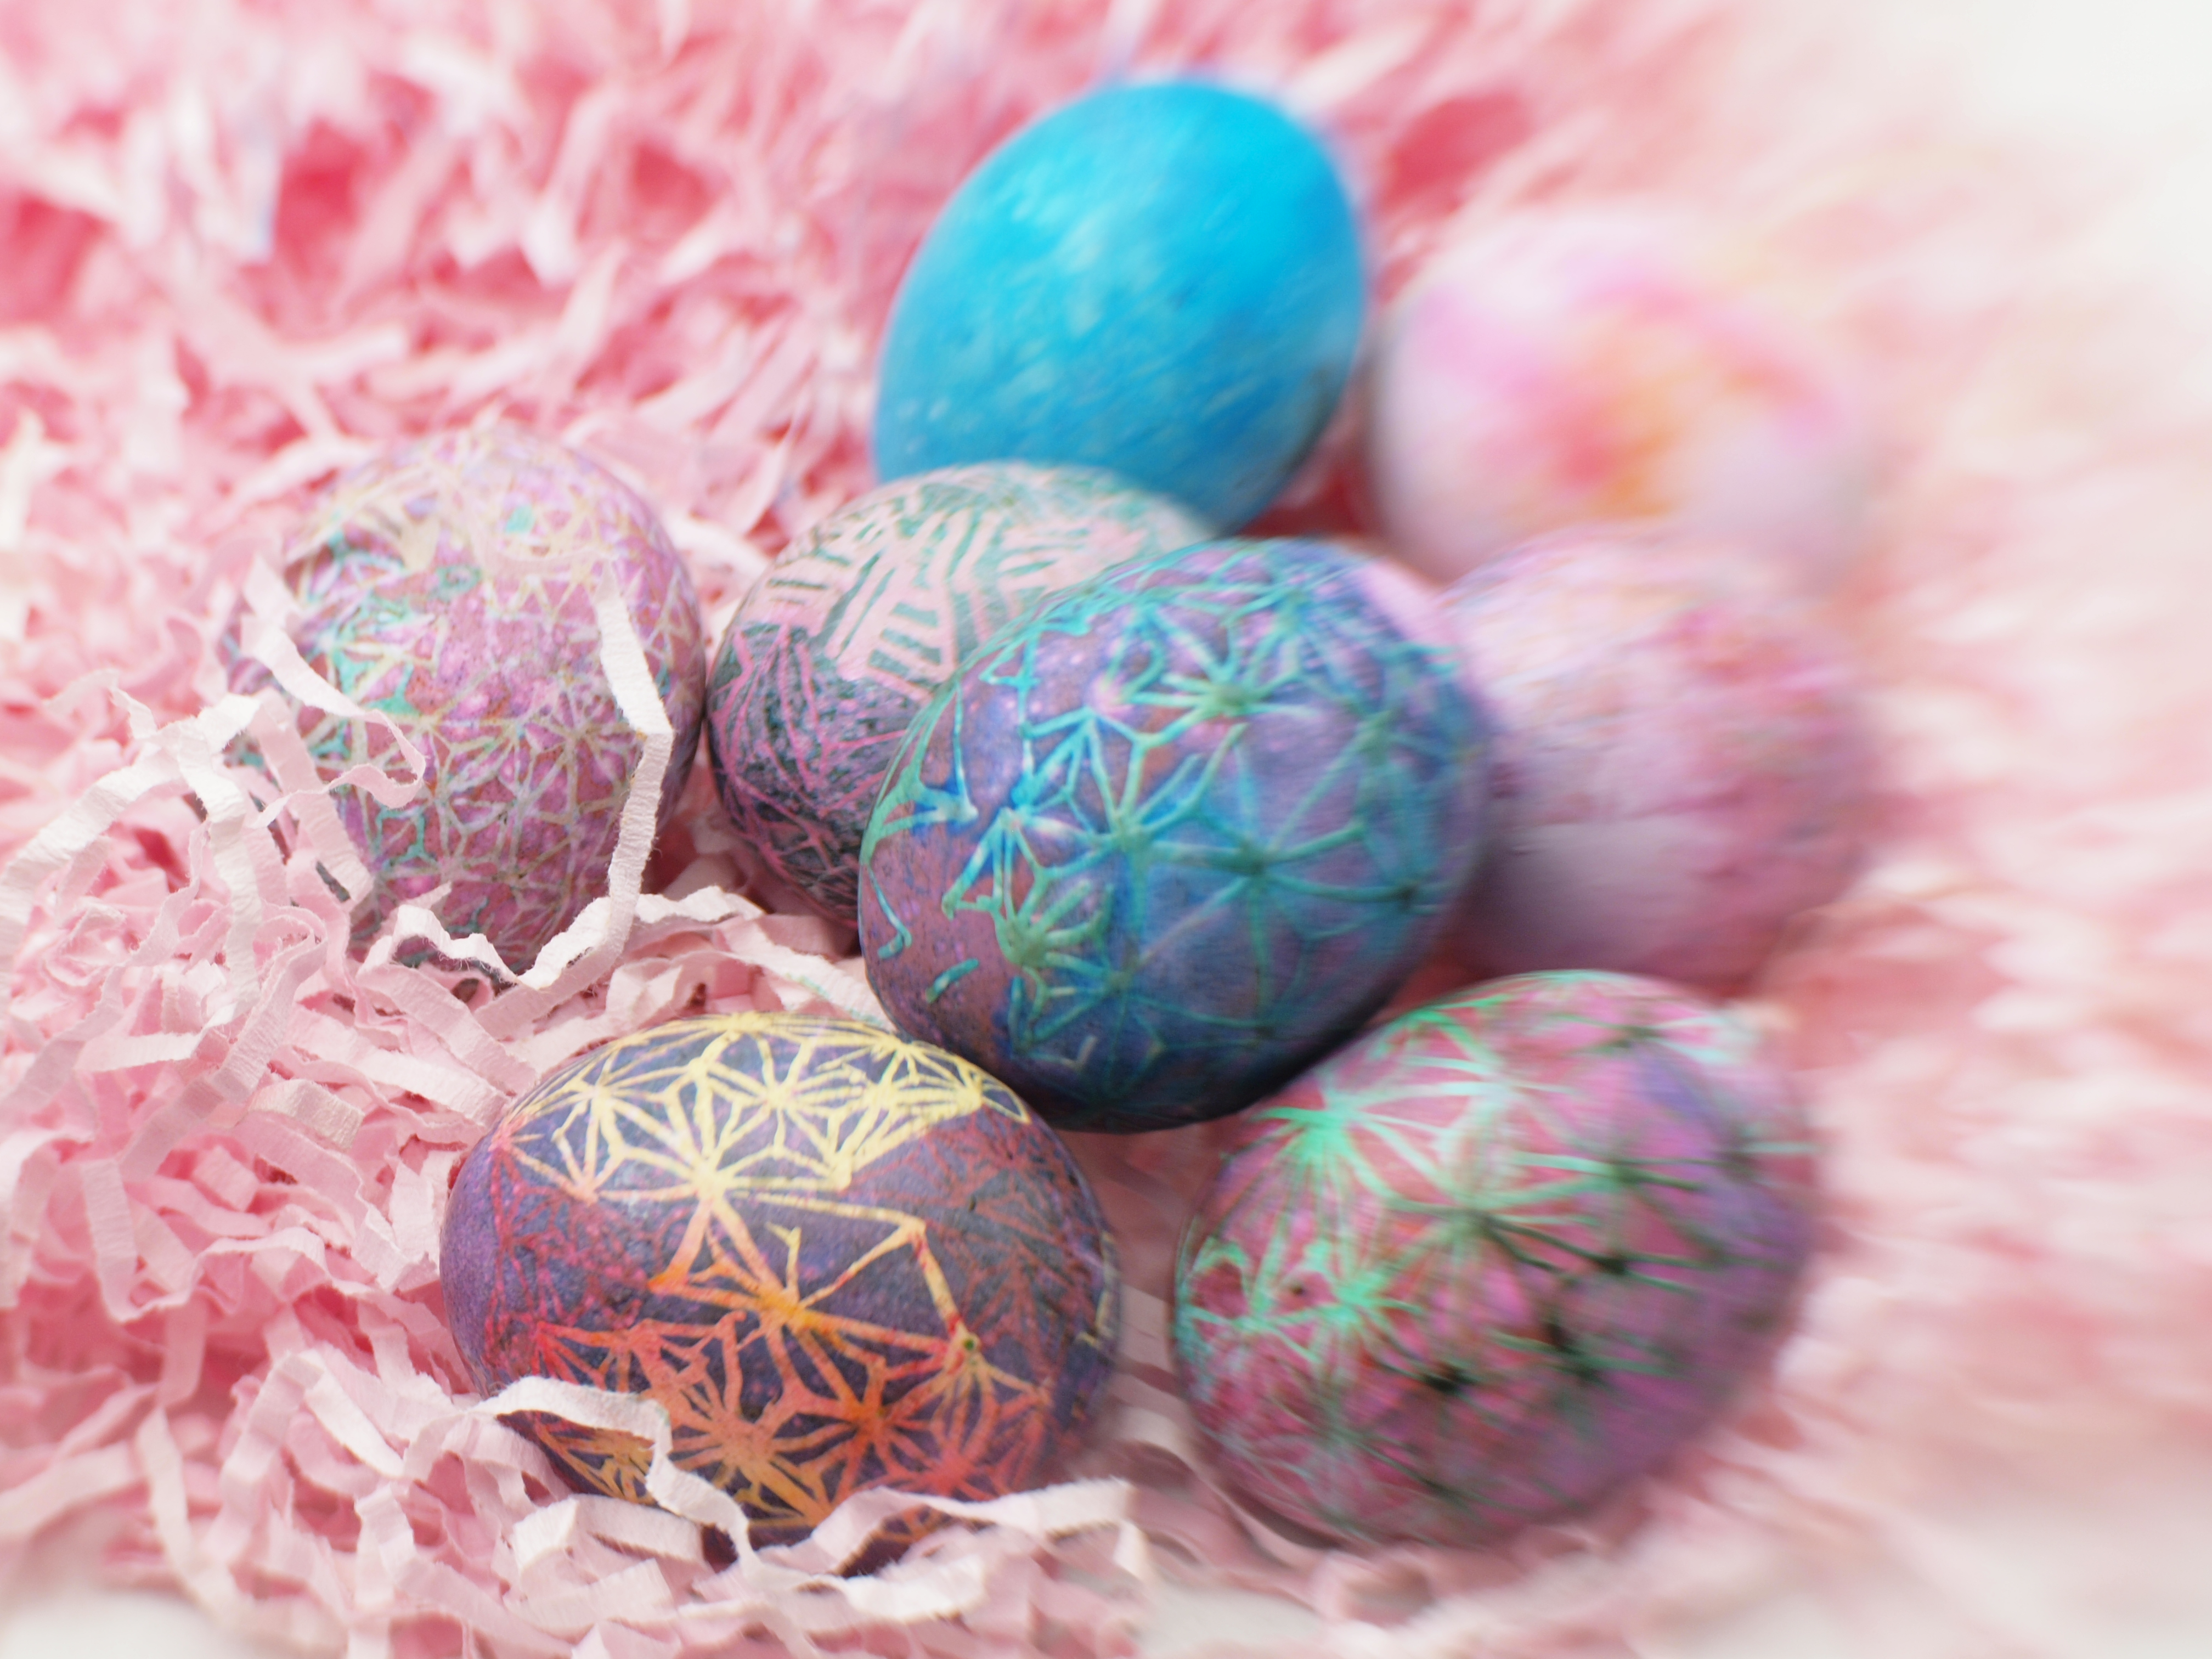
This time the focus is actually on the blue egg, instead of the crinkly pink easter grass[3] just to the left. Go, me.
The blue egg just above was a very vivid turquoise because I dropped the entire contents of some wilson cake dye out of its little container, so I coated the egg a rich capri blue. Its pores were arranged in an attractive band; and I thought I would preserve the really dark color with wax, then discharge.
Oh, well.
On the other hand, I did manage to get a reasonable sense for generating the triangle-based ‘hemp-leaf’ pattern.
So, next year:
- have eggs at room temp for several hours
- big pot and plenty of (cold) water to boil
- soak for several minutes in vinegar
- rinse off slime
- NEW: multicolor initial layer
- put candle close
- It's the heat that usually runs out, not wax
- Hot tool will help to prevent carbon in wax
- use fresh dye after 6–12 eggs
- let egg dry thoroughly before removing wax
- hold egg very close—but to side of flame
[1]One was pretty I left it alone. Alas, by the time it dried, it was kinda boring—I should've put patterns on it too, because the so fun ones I made by rubbing ink on with my fingers and whatnot dried to blandness. C'est la vie—liven and learn.
[2]JDftY caught her hair on fire! Fortunately, she wasn't hurt, but seeing her face framed in flames was unsettling, to say the very least.
[3]Which in addition to being a nice prop, kept any stray dye off my background paper, and helped to hold the eggs in position into the bargain.
Unless otherwise noted, text, image and objects depicted therein copyright 1996--present sylvus tarn.