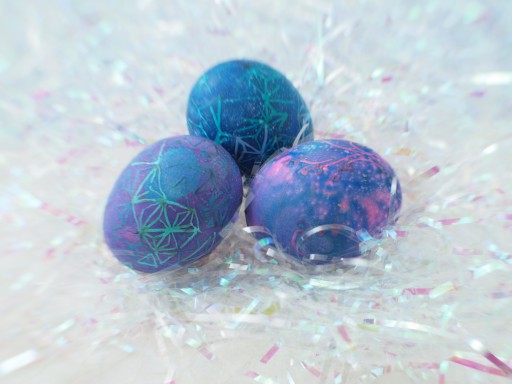
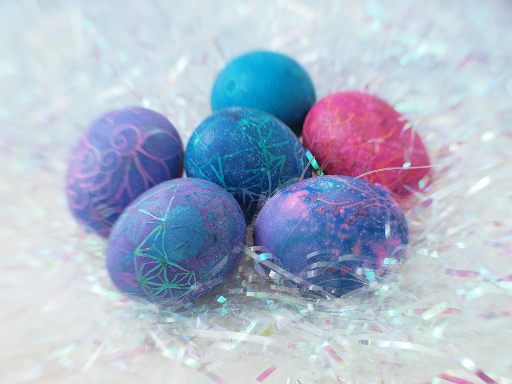
We didn't do easter eggs last year, being in (or possibly preparing to be in) Japan at the time; this year, hectored mildly queried by a relative as to my easter dinner contributions, I volunteered eggs. Since I had an installation on Friday, and spent most of Saturday zoning out from the resultant exhaustion, I didn't actually get to working on the eggs till Sunday, which is why this post is late. I wanted to make eggs not only for family members (8 people) but also neighbors and such, so I boiled 16 eggs I'd let sit out overnight. 3 cracked.

First lot. I liked the black lines on the one, and so left the carbon saturated wax in place. I liked the lensbaby effects from 2013, so I used it again this time.
Though I briefly researched easter egg decoration online, I found my own notes from 2 years ago most helpful.

faves. Note the spots on the lower right: the dye (more or less) stays permanently water soluable, and the egg ‘exhaled’ between the time I finished dying it and the time I removed decided not to remove the wax.
I finally figured out what I did to get my 2004 effect, which you can see duplicated in the dark turquoise egg: I let the egg get good an saturated with a base color, put just a few designs on it, then let it good and saturated a second time. Voila!
The only additional comments I'd make for this year is that, yes,
- etching the eggs in vinegar for several minutes helps
- leaving them in dye for long periods—8–12 hours in the case of one of f2tY's—can result in really lovely, dark tones
- as the eggs cool, the ‘cracks’ close back up.
- the wax has to not just melt, but sheet, before wiping off.
Unless otherwise noted, text, image and objects depicted therein copyright 1996--present sylvus tarn.
Sylvus Tarn
