Actually, this page shows neither the hood (which hasn't even been photographed, though it did finally get built a year later) nor the airshaft (hence the title, even though I chose ‘shaft’ as the name for the file and pix:) but the installation of the exhaust fan and first fresh air intake.
Because I wanted to dispense with the respirator the wizard selected a fairly large fan—it has two settings, for 980 and 1120 cfm respectively, which means it exchange the air in the studio completely about once a minute—hence my comments last time about heating, since that means, in the winter that 980 cfm of cold air is coming in through the garage door via the fresh air intake.
This fan is supposed to be quiet. Well, it is, for its size and power. It's not for the any-noise-is-bad-noise crowd, though (to which I wish to belong.) However the real sticking point for this project is that the roof is flat, and the wizard was very dubious about cutting a hole in it. Leaks, he said. But because I wanted to a) look out at the back yard, and not a wall, and b) be able to place a person across the table from me so we could torch and share the hood together, this meant a ceiling, rather than wall mounted exhaust, was a shorter run and easier to engineer and calculate.
However, it was now autumn and my lame effort at ventilation—opening the studio door (and the front door of the house for fresh air) and mounting two large box fans at the opposite window would no longer suffice. He grit his teeth and got to work. Once he started, though, the project seemed to go fairly well, and was completed in a weekend (as opposed to the floor and paint job, which extended over two months or so.)
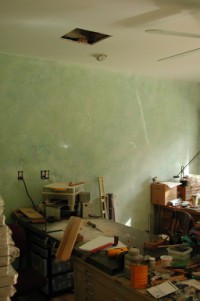
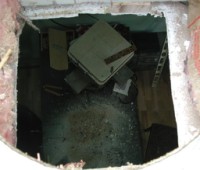
After I determined where I wanted the hood placed, my obliging spouse cut a rectangular hole in the ceiling, removing drywall and insulation and some 2x4s.
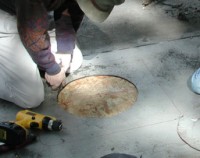
After marking on the roof where the unit would go (rectagular tracing) he removed a circle of the membranous roofing to match the fan's intake, which was round and started cutting the chipboard.
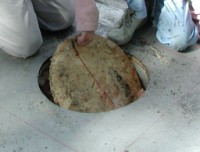
Removing the chipboard.
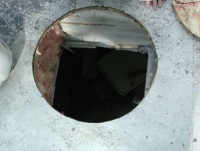
Now we have a hole.
And just look at that mess on the table!
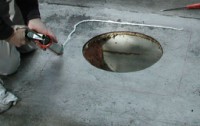
Running a bead of caulk around the perimeter. He used lots!
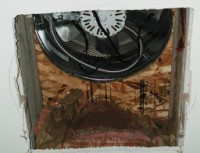
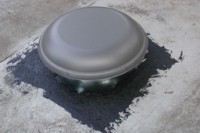
The unit in place, as seen from the inside
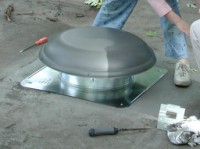
and out. I'm not certain how he got those holes to match up so nicely, but I seem recall a lot of careful measuring, inside and out.
Black tarry goop to seal out the weather.
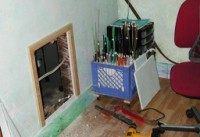
The first of two cold air intakes. One proved not to be enough, so he cut a second hole in the wall (inadvertantly slicing the previously installed wiring—that caused some bad words, but he junctioned the cut wires in a proper box, so they're fine) for fresh air. The holes are 16x20 so they a) fit between joists and b)take off-the-shelf furnace filters. During the winter, when it's cold, I insert pink polystryrene insulation behind the access doors.
Not shown is the installation of the shaft, but it was pretty straightforward: the wizard nailed 4 supports, one at each corner of the ceiling hole, then attached the sides of the airshaft to the supports. He ran the wiring for the switches down the side of the shaft, and mounted the switches a fair distance up the shaft, on north-facing side—not only is it hidden from sight, but being on my left, accommodates me nicely. Then I painted it and some salvaged corner molding to reduce its utilitarian qualities. There's no particular reason one couldn't have a cylindrical shaft, but we went with rectangular.
Unless otherwise noted, text, image and objects depicted therein copyright 1996--present sylvus tarn.