The process here is very similar to making a solid heart, with two changes—one, using a hollow bead as your base, and two, making the bead ‘side-drill’ rather than ‘top drill’. Since this tut is for intermediate beadmakers, we've switched to a 1/16" mandrel & a striking transparent red glass.
Start by making a mandrel wound hollow bead. Ideally, it should be symmetrical, but as you can see here, it's not essential, as long as you
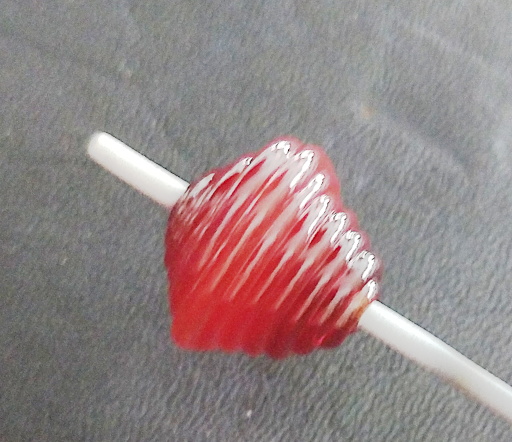
Even it out once it's fully heated and smooth. (The ridges are cool looking, but a source of cold seals, so I melt them smooth. Not all people do, but that's outside the scope of this tut.) Gently mash your bead into a flattened disk at least 3x the thickness of your mandrel—you absolutely don't want the glass to touch it!
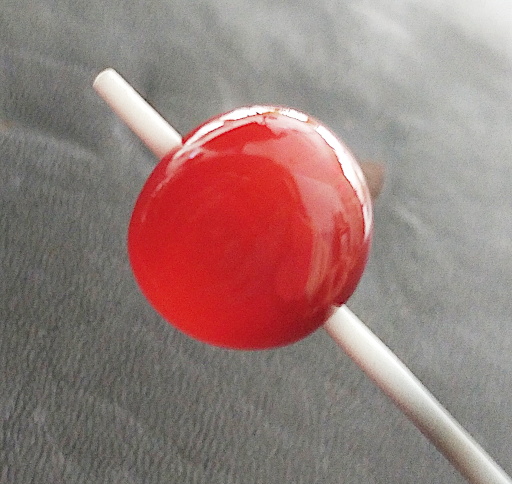
Using a knife or similar, on one edge of your disk, mark the center. Check. If it's not right, melt the bead (somewhat) smooth & try again. Note: in this view the bead disk is tilted so you're looking down on the top of the “heart”.
Once you know your mark is centered, heat and crease. You can do this iteratively, and that's often easier than trying to complete the shaping all in one go. When you're happy with the top shaping, heat the opposite side of your disk and use your glass rod to pull a point. Depending on how much of this side of the bead you heat, and how much you pull, you can make an elongated smooth point, or more of a dainty one with a curve, as I've done here. That's a matter of personal preference—experiment to see what you like. Break off the rod (it should be a teeny tiny cold seal).
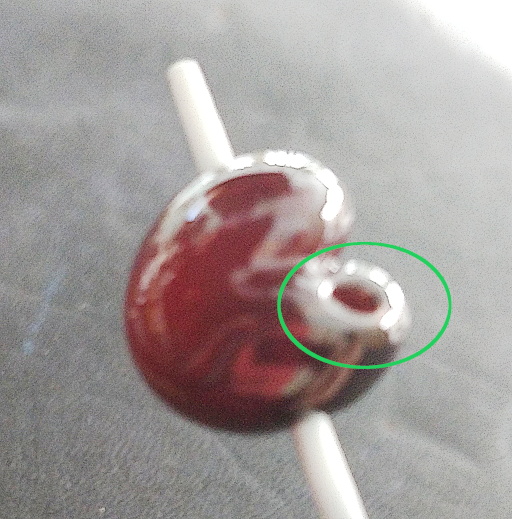
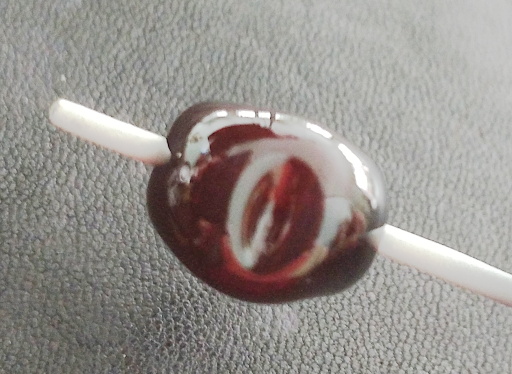
Heat the bead to smooth tip and smooth & grow the humps, holding it upside down for help from gravity. If you get a hole-pop...don't panic. Often that side (hump) will have blown up bigger anyway, so gently heat the bead to get the hole's edge to thicken, and the humps back to the same size.
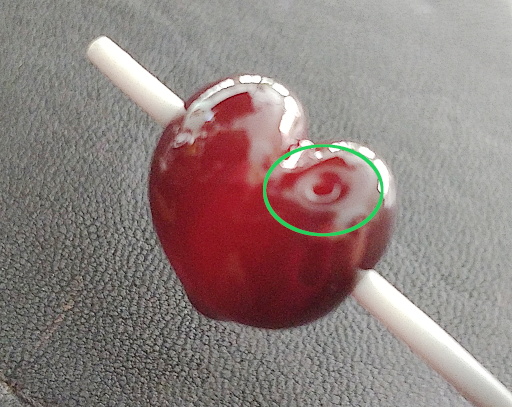
In fact, quite often the holepop will go away on its own, as it did here:) If not, patch & keep going. Or rake the hole into a mini-heart shape if you like.
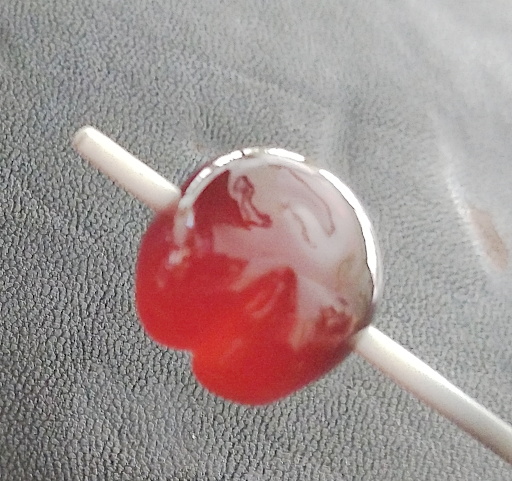
As you can see, I also had no trouble getting the 076 transparent red to strike, but the secret is to let it cool nearly to the strain point (820 deg F) and then warm it back up to a dull red. Making a bunch of these little hearts is a great way to familiarize yourself with transparent red's striking characteristics, & because you have to work sculptural glass relatively cold, it's usually easy to develop good colour.
Have fun:)
Unless otherwise noted, text, image and objects depicted therein copyright 1996--present sylvus tarn.