Yesterday I mostly discussed how I did a studio photograph of this french beaded flower, but how it's constructed is probably of greater interest. The flower consists of three techniques:
- spoked frame (to make the bell)
- basic frame (to make the centers of the petals)
- with woven loopbacks (to make the edges of the petals)
flower...click on the image to get a sharper, larger version. Note gold-plated seed beads were used near the spokes for a bit of visual punch; however, this again necessitated working off the spool, as I could not pre-string the beads. This sort of messing about is a lot more practical with the advent of consumer sized & priced bead spinners.
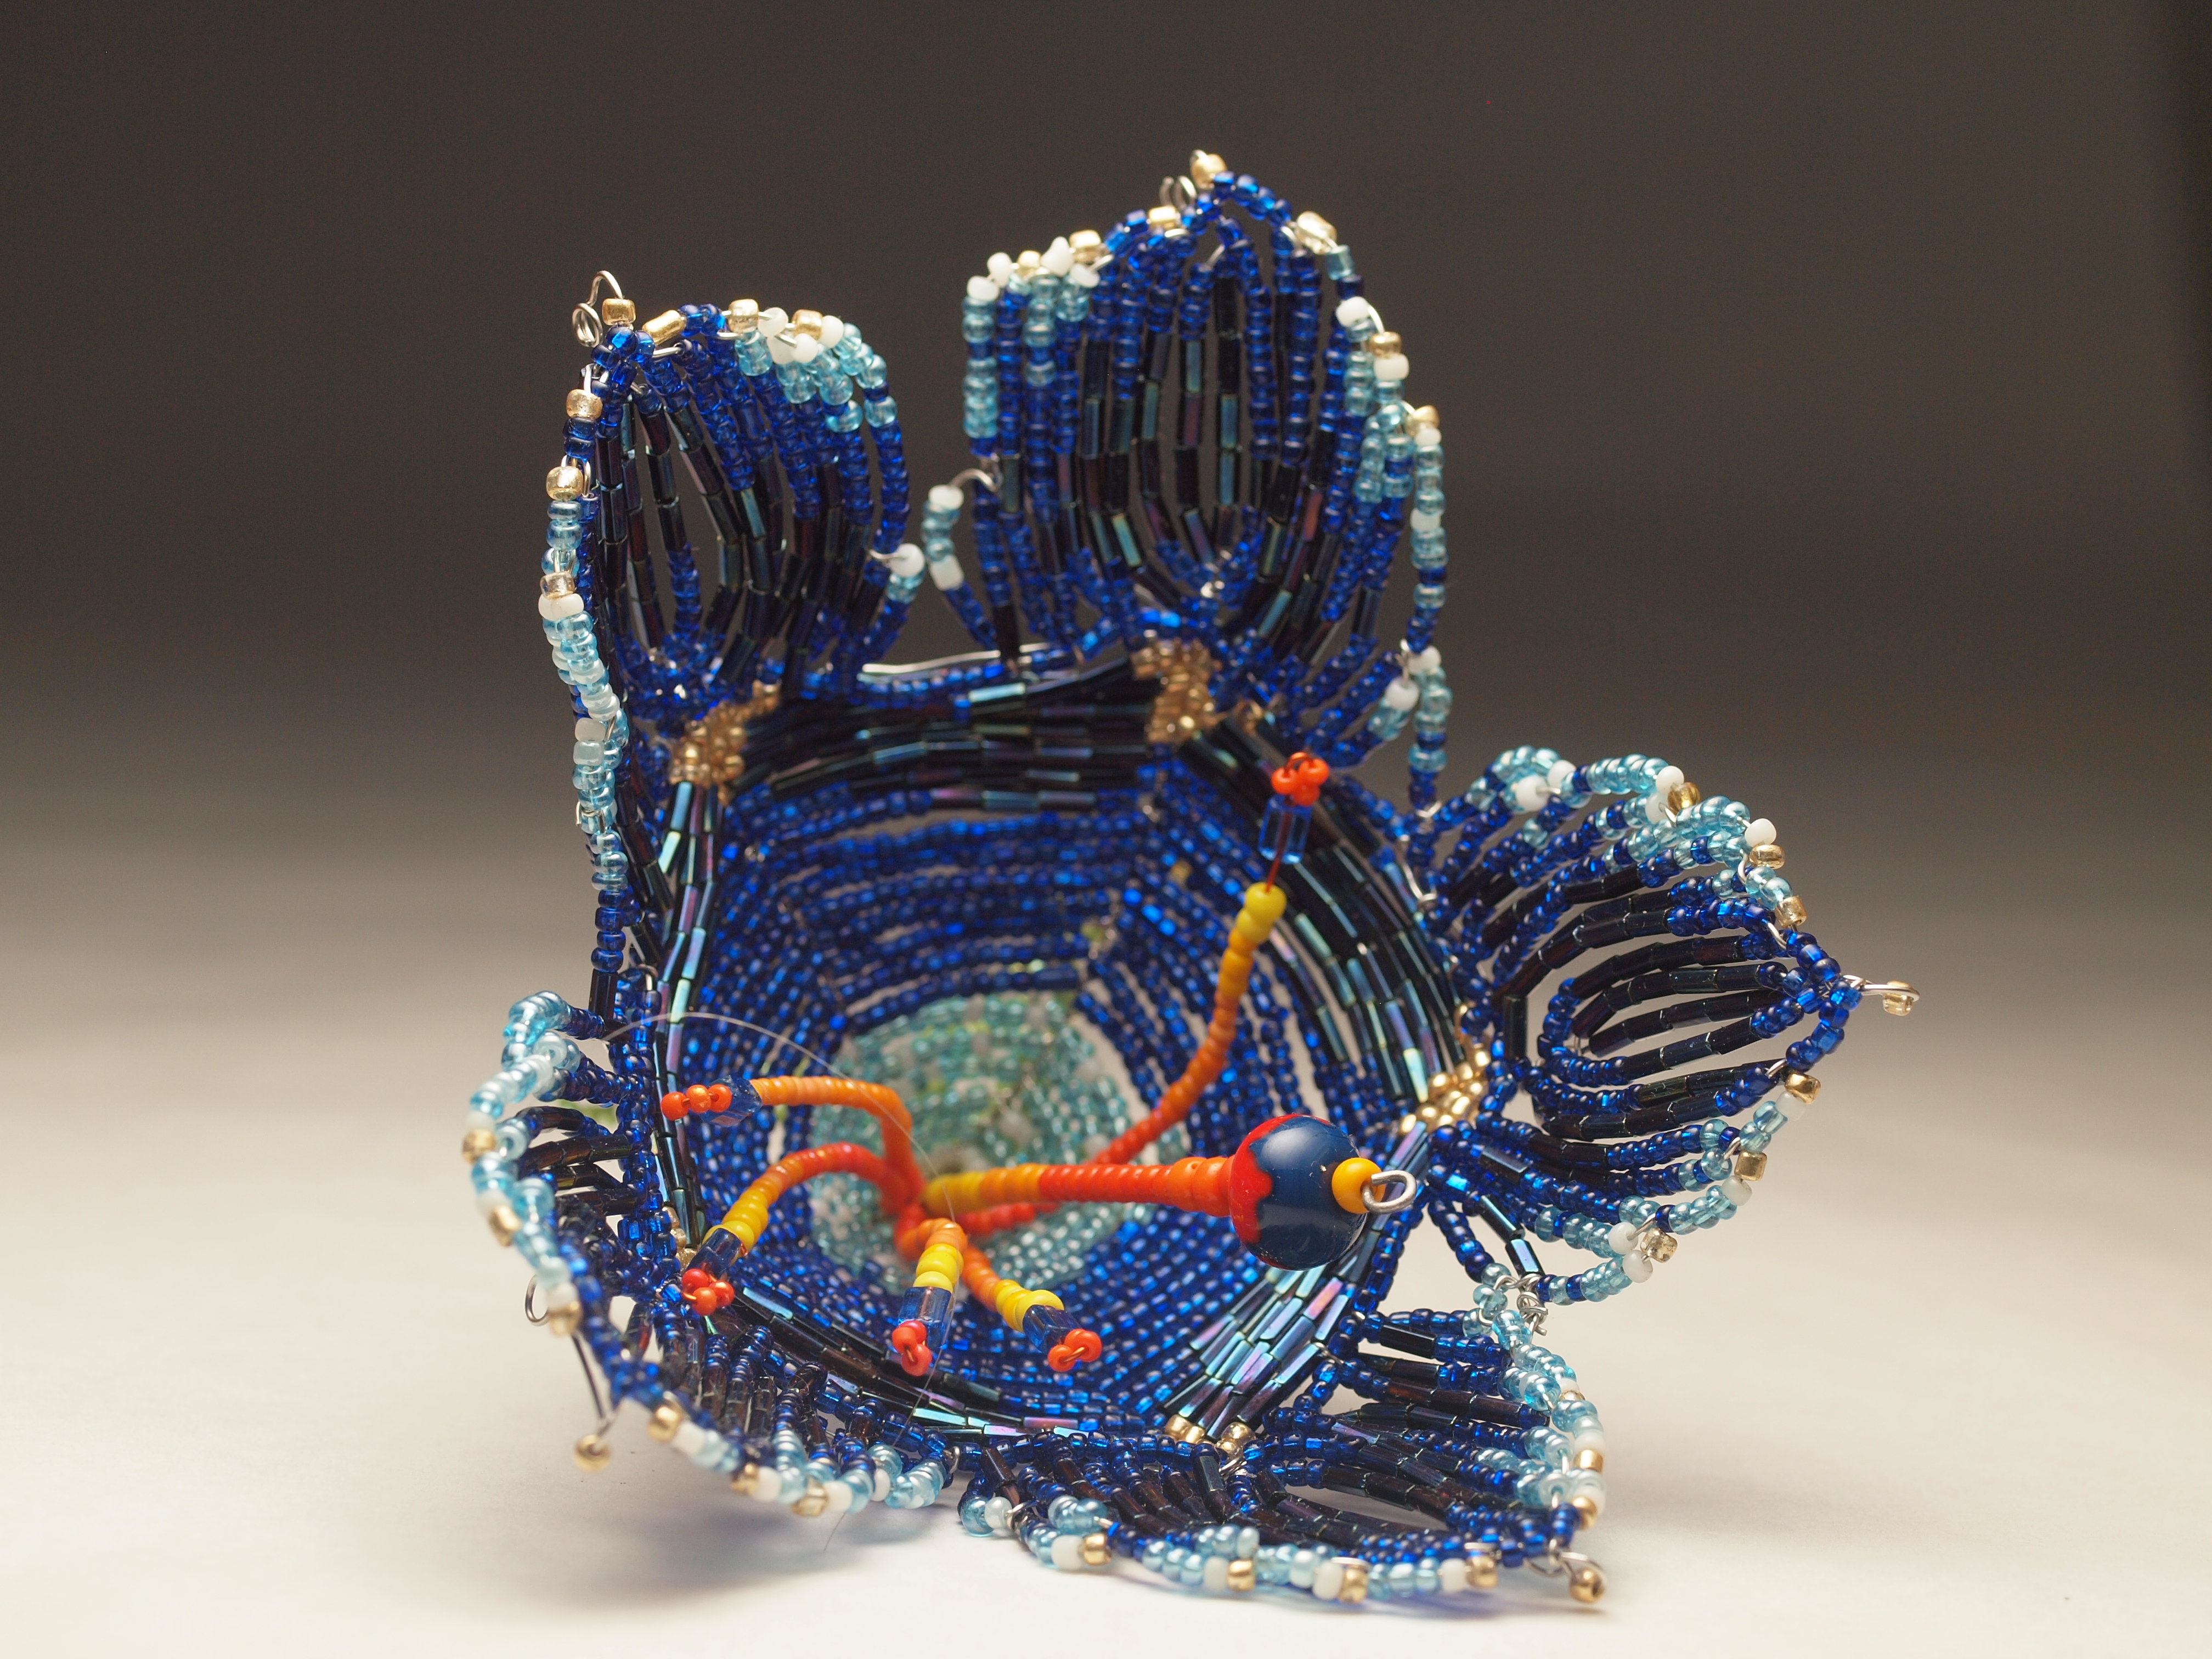
Spoked frames, typically made with three wires folded over to make 6 spokes, are the typical method for flowers such as morning glories. Because this flower is fairly large, I used 22 gauge (approximately) 308 stainless steel wire for the spokes, reserving half of one wire for the stem. Thus, the piece has five spokes. Because the wire is stiff, it makes a reasonable support.
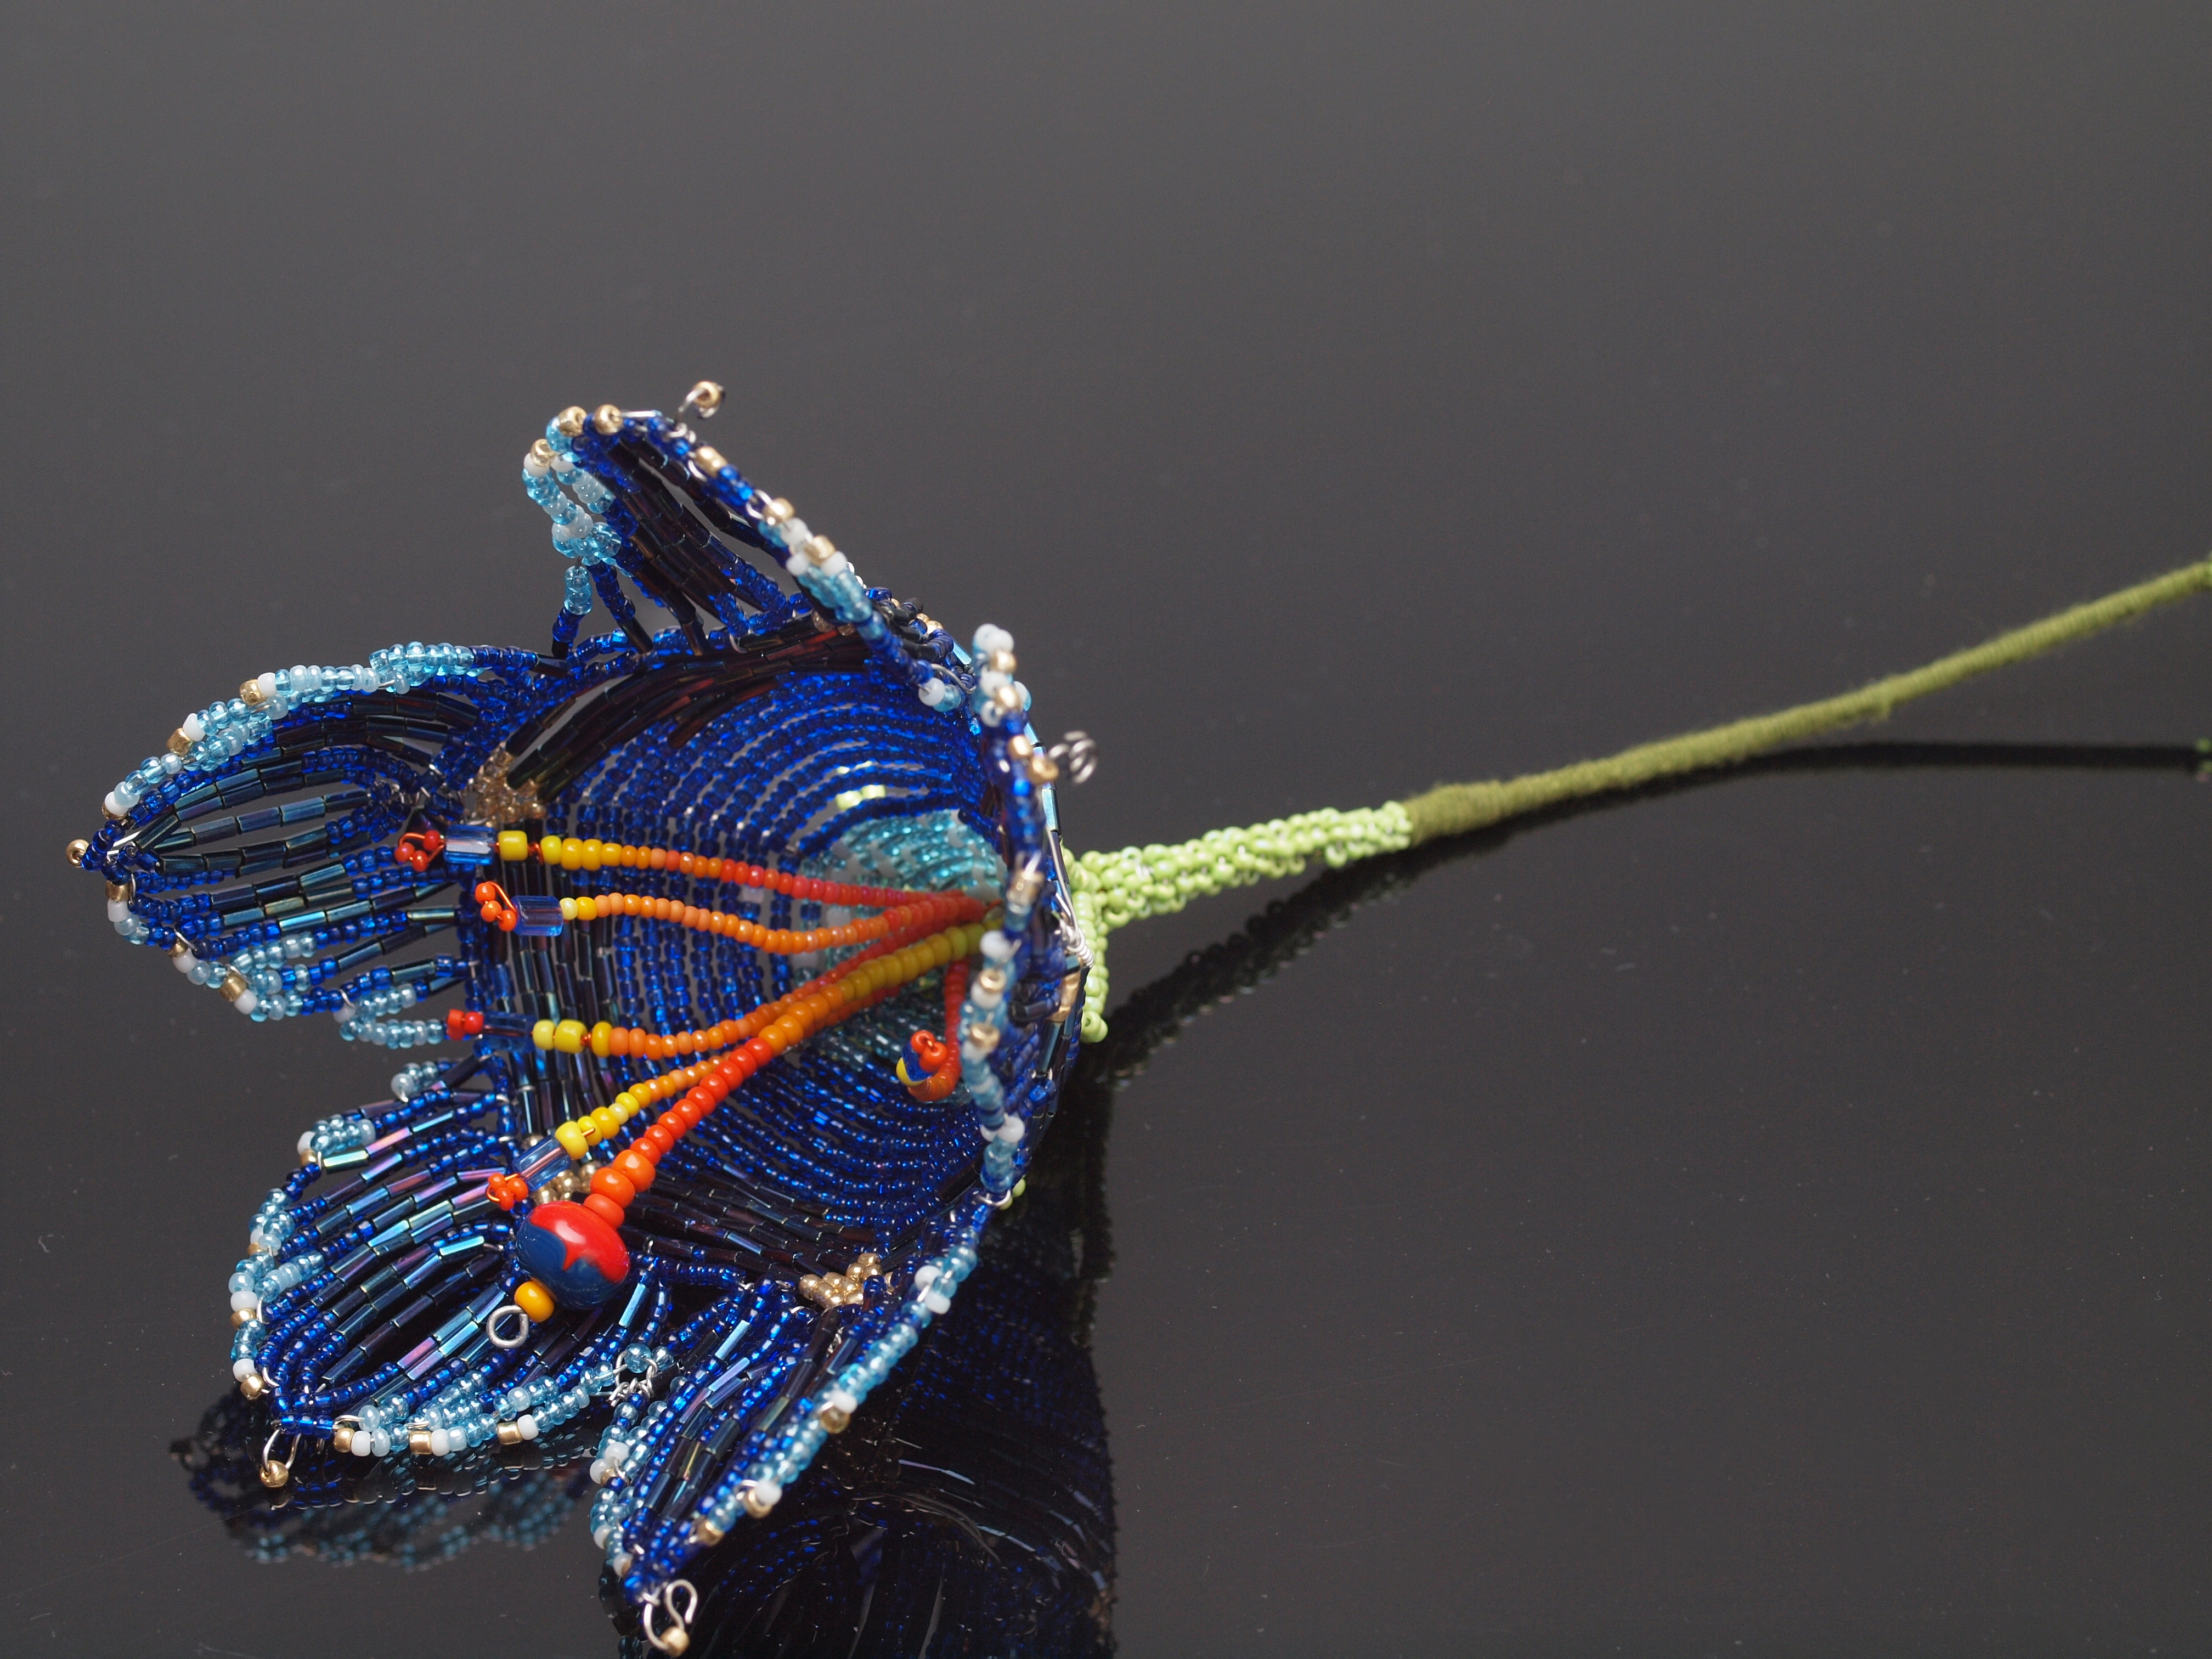
So the initial bell is made in the usual way, starting with transparent aqua (sprinkled with translucent white), then to cobalt rocailles, and finally iris bugles. Note, however, that the final row reverts back to the cobalt rocaille seed beads, essential from a construction point of view. However, the spines extended several inches past the bell.
This is actually more of a photography experiment: I was attempting to get that dark to light shading. But you can also see how the petals attach to the bell reasonably well. (Click for a larger, and sharper version.)
To construct the petals, I started with a 7 row basic frame, with 5 bugle beads on the initial row; to save myself grief with the rows being a good length, I switched to cobalt rocailles at the top (tip of petal) each row. After completing the 7 row basic, then came the woven loopbacks. Unlike traditional loopbacks, at this point the wire had to be cut from the spool. However, to get the spacing with bugles and seedbeads on the basic frame correct, I'd already abandoned the spool, so...
Traditional loopbacks are simply wound around the basic, just like regular rows, except for going ‘round and round’ (i.e. around the tip of the center-rib wire) they loop up and back down on one side of the petal, go around the base of the center-rib, then loop to the other side. In woven loopbacks—which seem to be especially popular in eastern Europe—instead of the loop winding round the base of the center-rib, it dives in and out of an outer row—both at the base and the top of the loop. This is a much more time-consuming approach, but it's more secure and a very pretty effect.
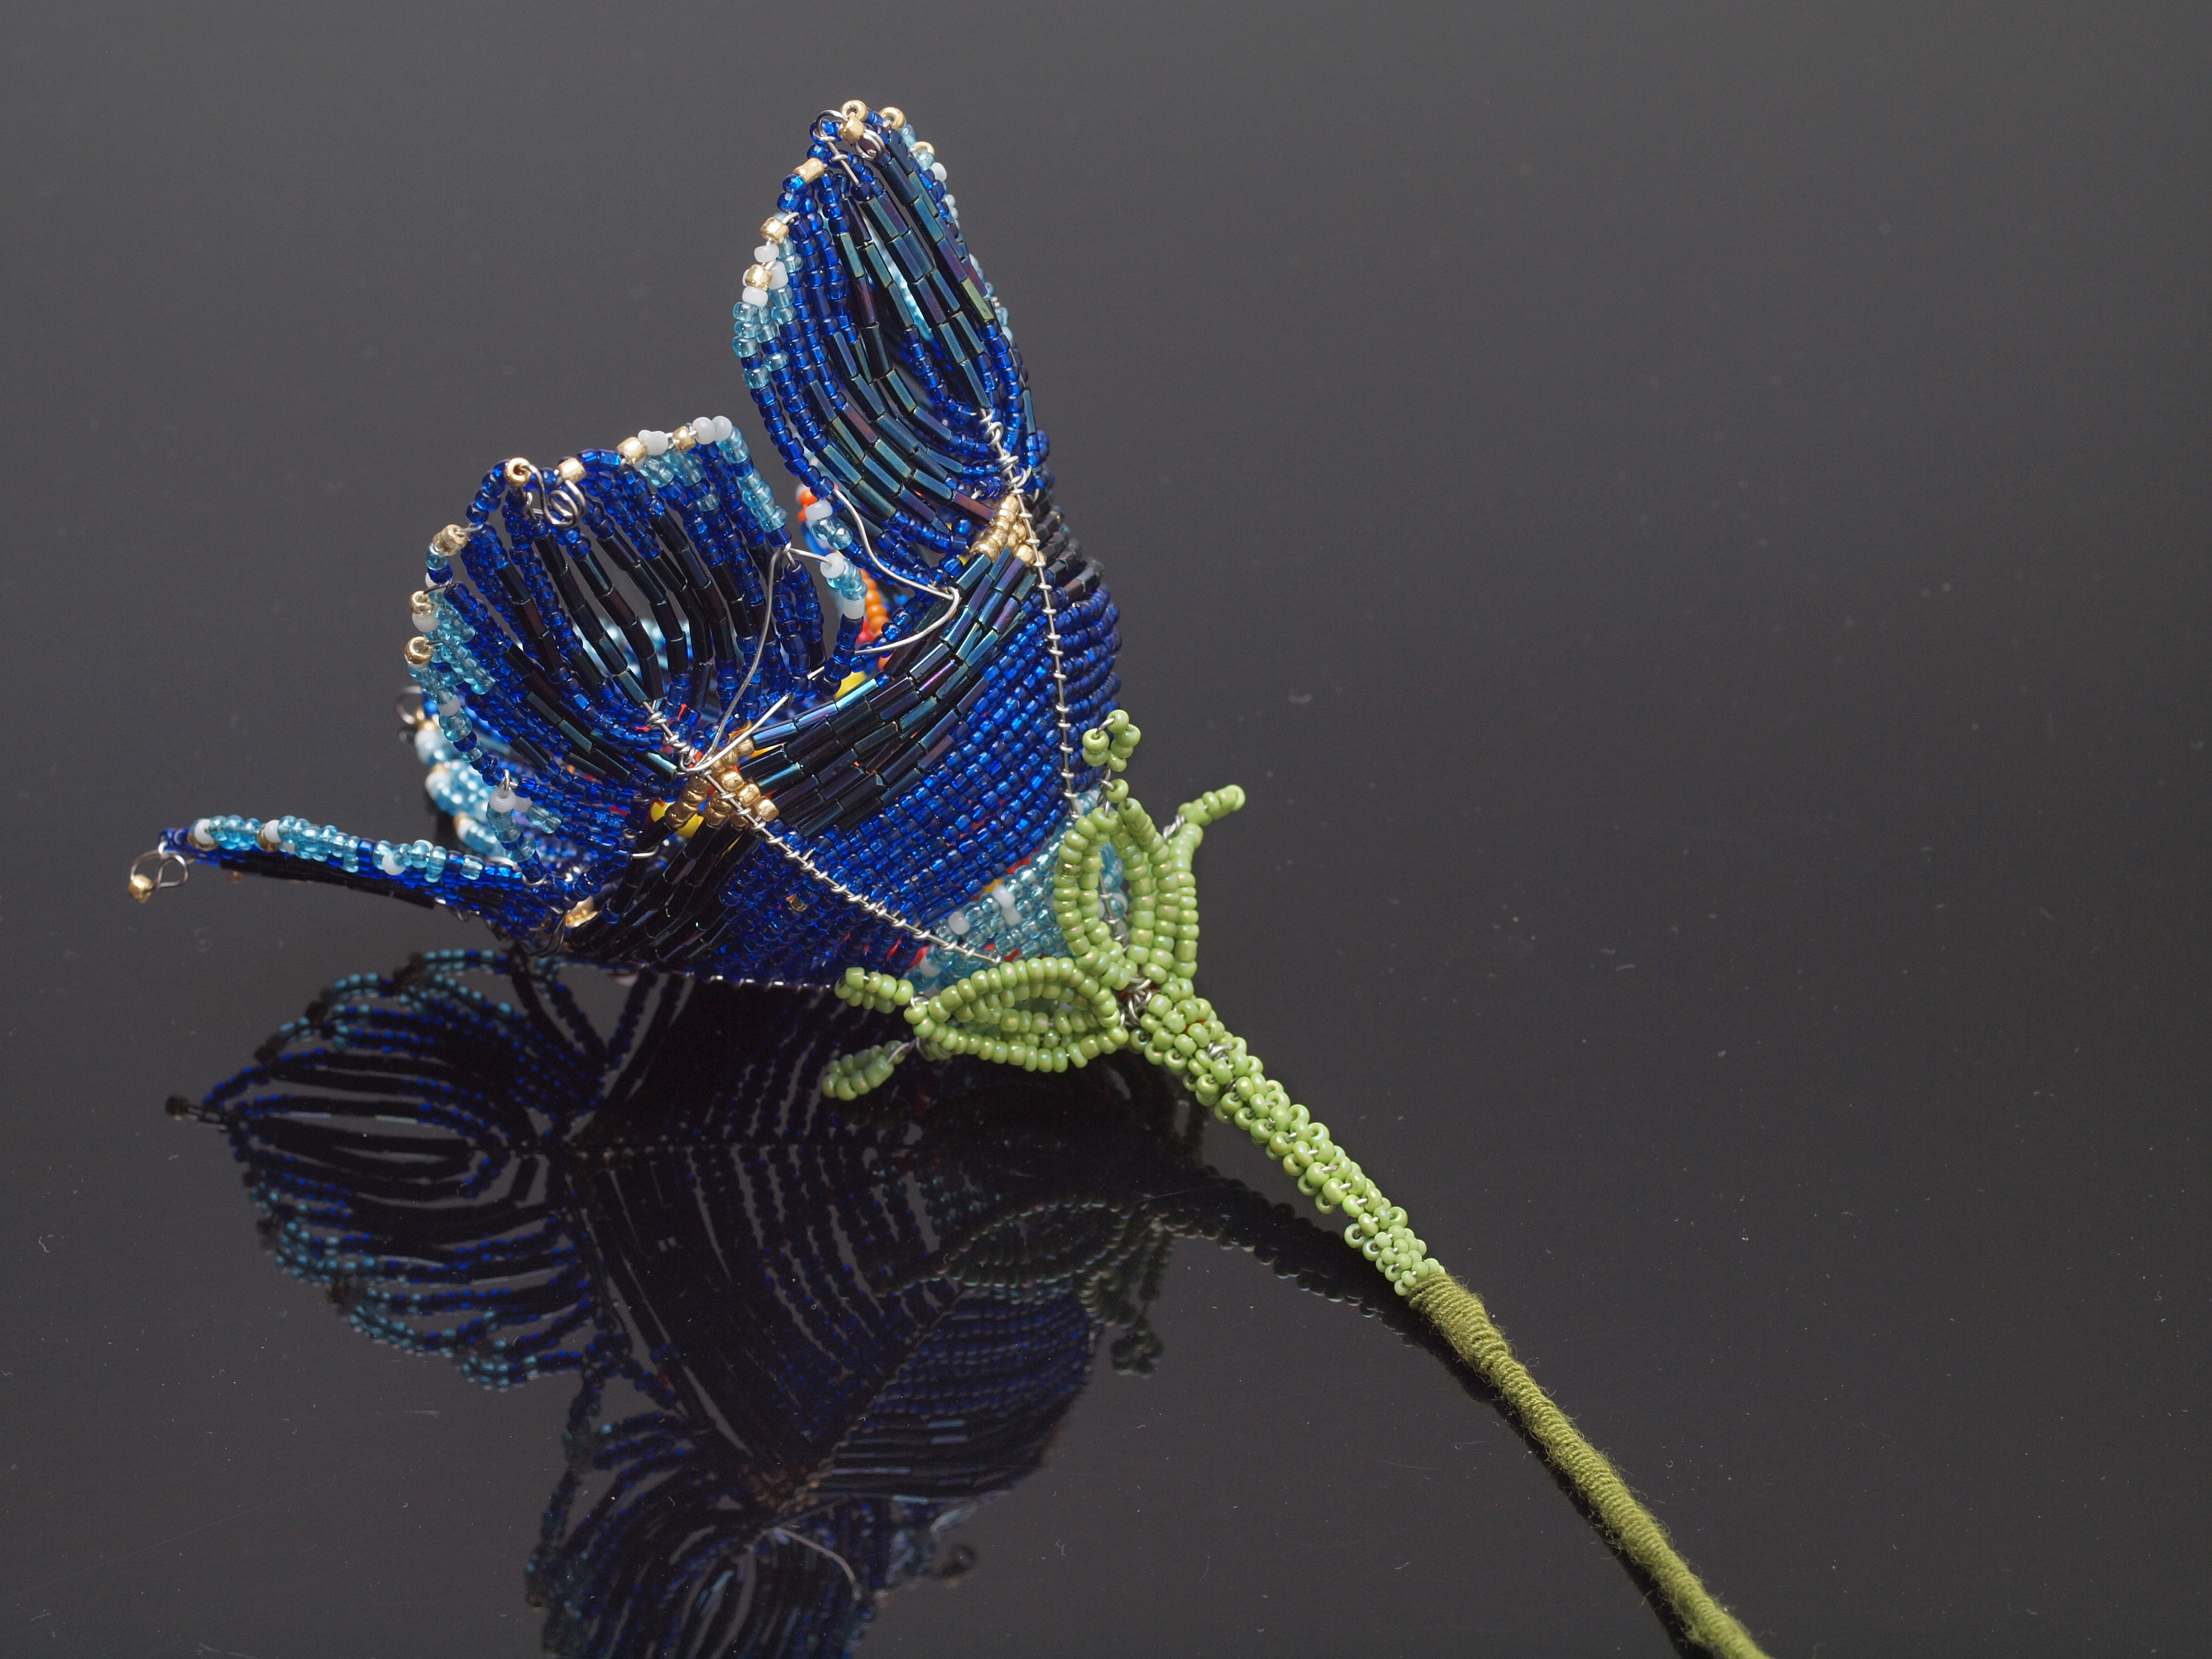
side view: note the many, kludged support wires. Also, you can see where the loopbacked portions of the petals start, because they have the aqua and white beads at their tips.
And for this variation, the woven loopbacks weave around that final row of cobalt rocaille seed beads that make up the bell. It's much easier to see in the picture! Of course, looping all those loops through those seed beads meant having to break a few so the wires would have adequate ease.
I'm actually fairly happy with the way this thing came out, but it bears a fair amount of kludging, as you can see from side view, which shows all those wires being used to help support the petals. Problem is, by the time I've got all those bugs worked out, I'm bored, and long gone to the next thing...
Unless otherwise noted, text, image and objects depicted therein copyright 1996--present sylvus tarn.