Ok, that last item is still only a dream: I want to use an old pair of machine made socks as liners to throw up this pretty lace pattern for handwarmers I found on knitty, using that last ball of jacquard moss. Cuz, as it turns out 2 balls of yarn, even the coarser 167yd/50gm cheap stuff from Michaels, is enough to fit my size 8-1/2 (39–40) feet. Goodie.
But edging back from fantasy to reality, I realized, as I made these socks, that they matched perfectly my rather less than stellar first dyed pants, with which I've posed them. It's not so much that I dyed the pants to match the yarn, (since I did it before I knew how to knit), but that the colors that attracted me to the yarn were also ones I that attempted to put together on the pants. Neither project is without its flaws, but they both achieved their objectives: wearable winter clothing, suitable for studio use (e.g. not particularly flammable—I really have no desire for molten plastic to stick to my skin).
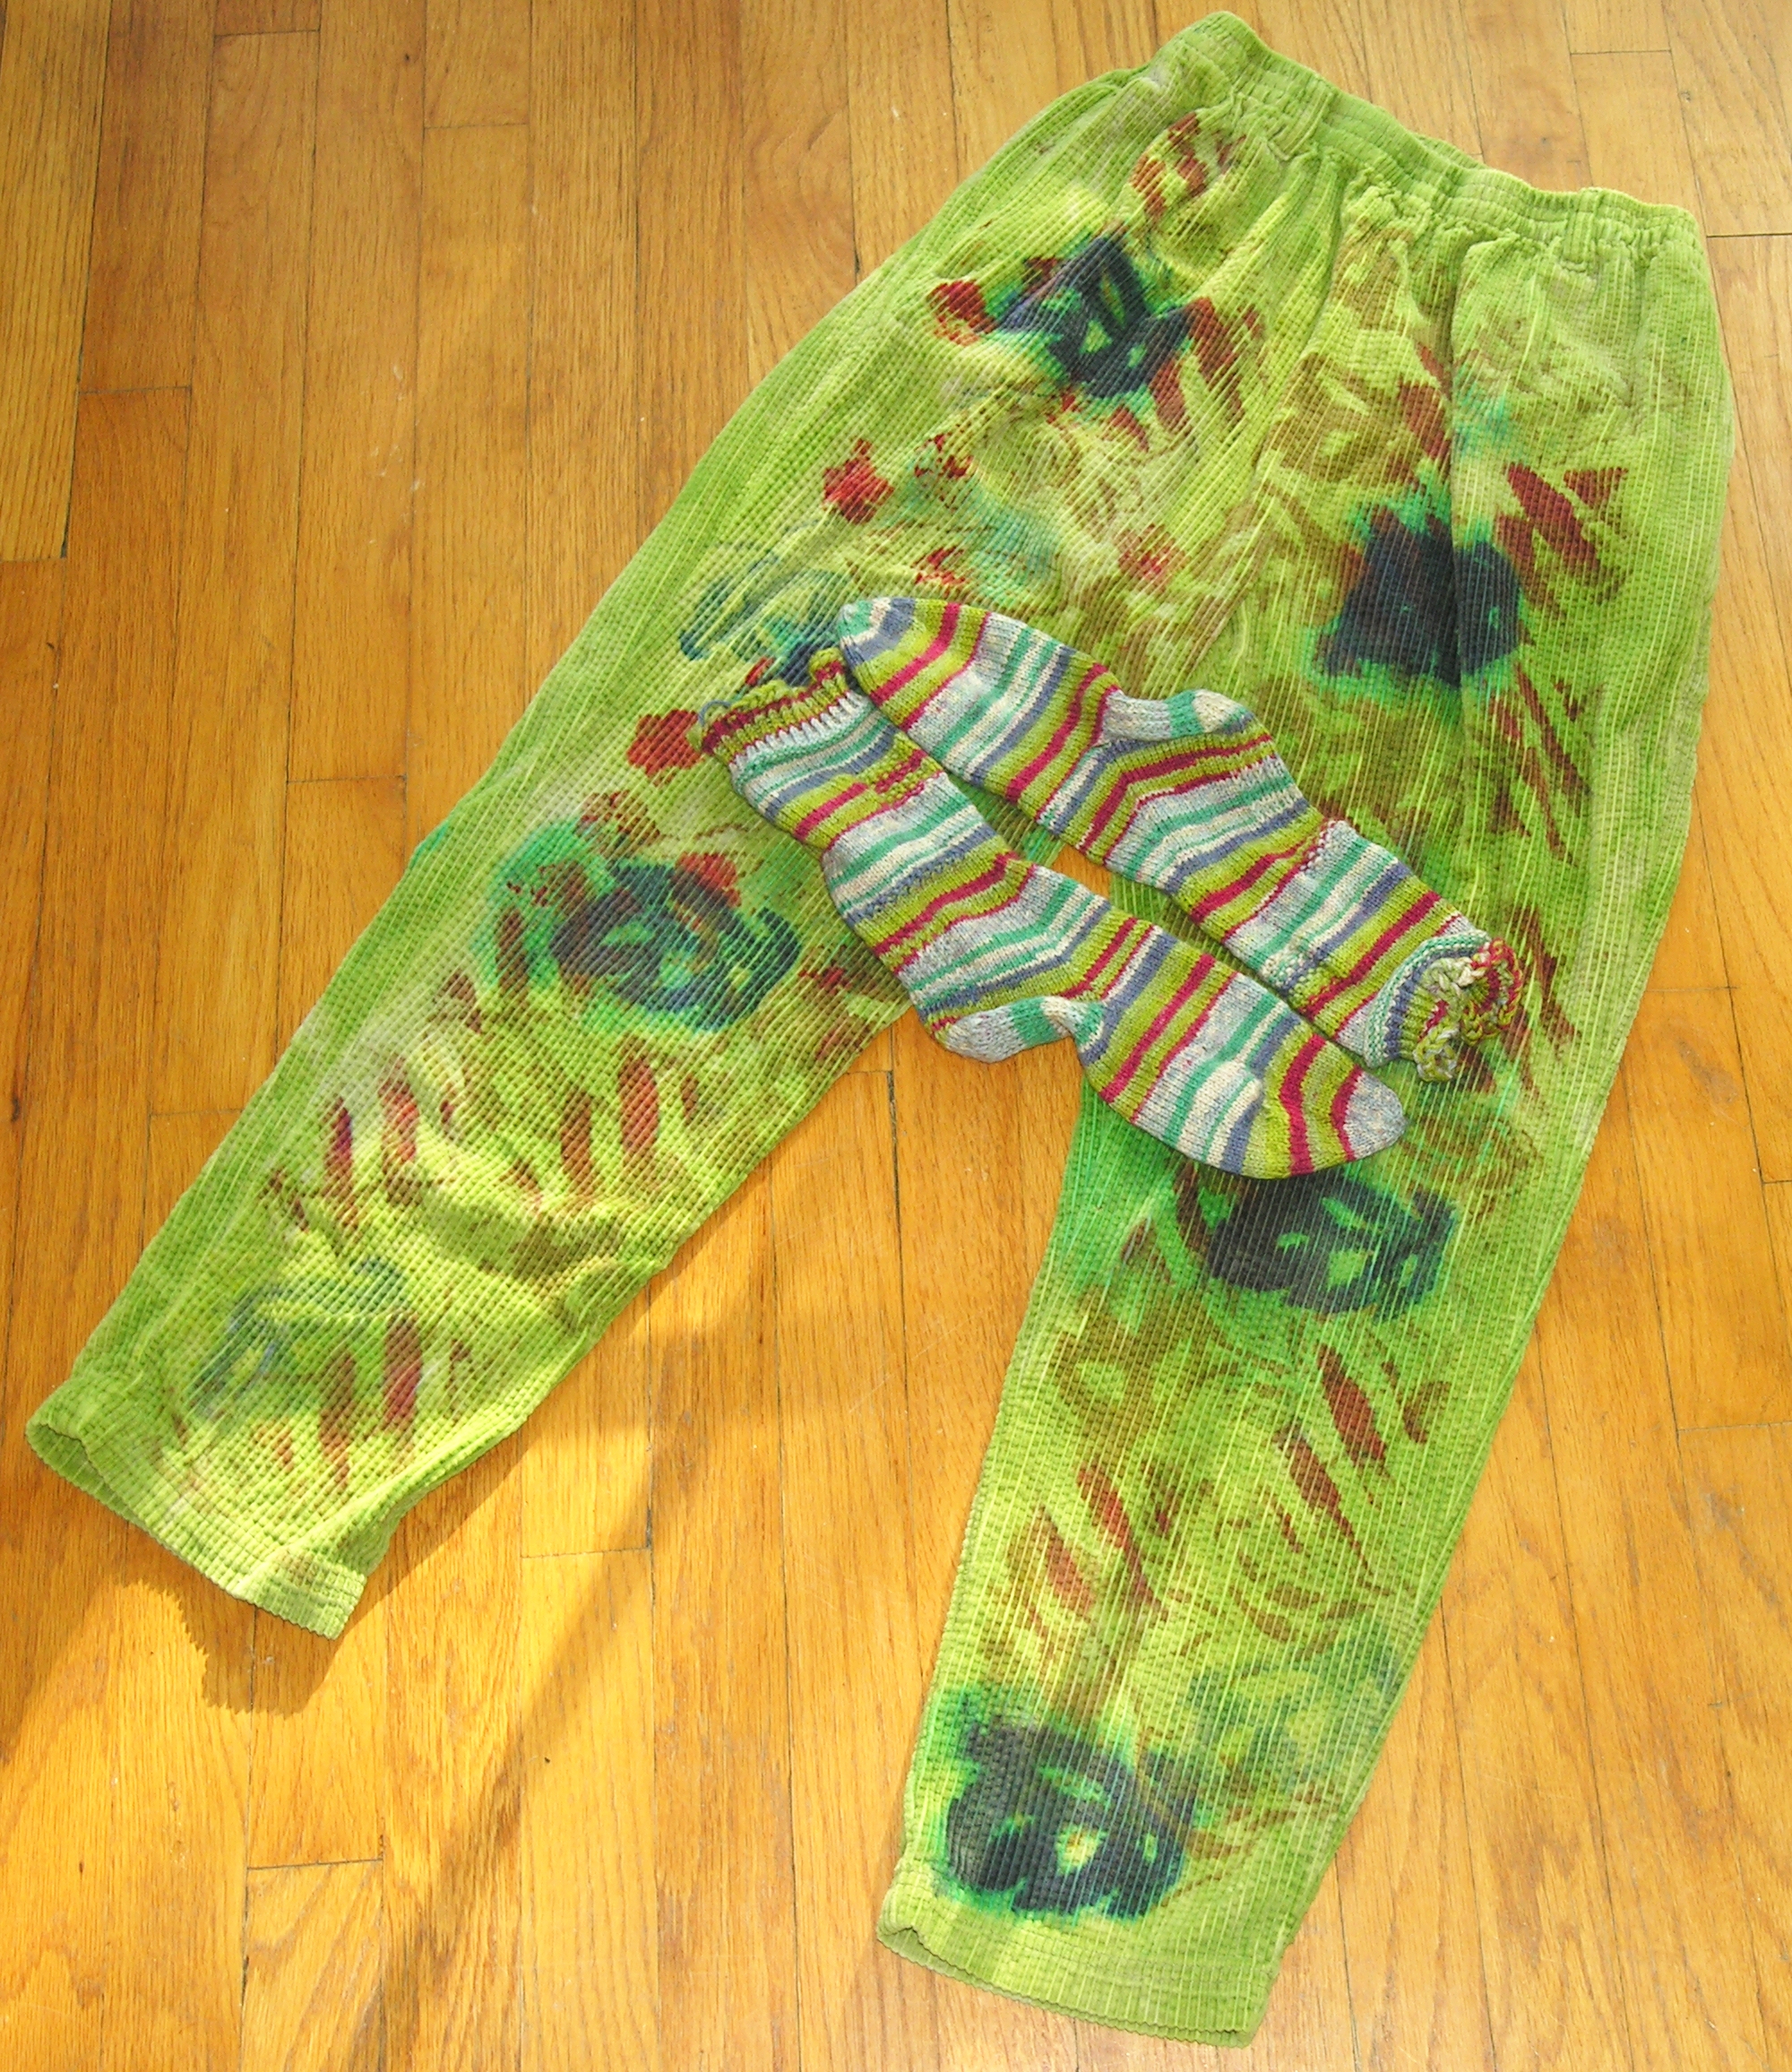
pants and socks: two projects begun in 2008.
The pants are a pair of cotton fawn colored cordoroys I bought for about $1.50 at the local resale shop. I bunched ’em up and pot-dyed ’em green, deliberately trying to get some variation in the color, but not too much; then, overdyed, using coarse computer-foam stamps I'd made—the diagonal stripes is one of the earliest. The vague reddish blobs scattered about were made with my fave floral stamp, which is a relict of Michaels (or Jo-Annes), and which illustrates why stamps 1/8 wales must be bold.
The green was too green, and I didn't really feel the other colors—prussian blue, dog-poop brown, or burgundy—really gelled with each other. —I was initially more impressed with the blue pants I featured earlier, but then realized these socks would match, and all the sudden my love for these pants shot up. Plus, they fit better. Not well, but better (none of my winter pants fit well, since they must accommodate a couple of sets of long underwear underneath.)
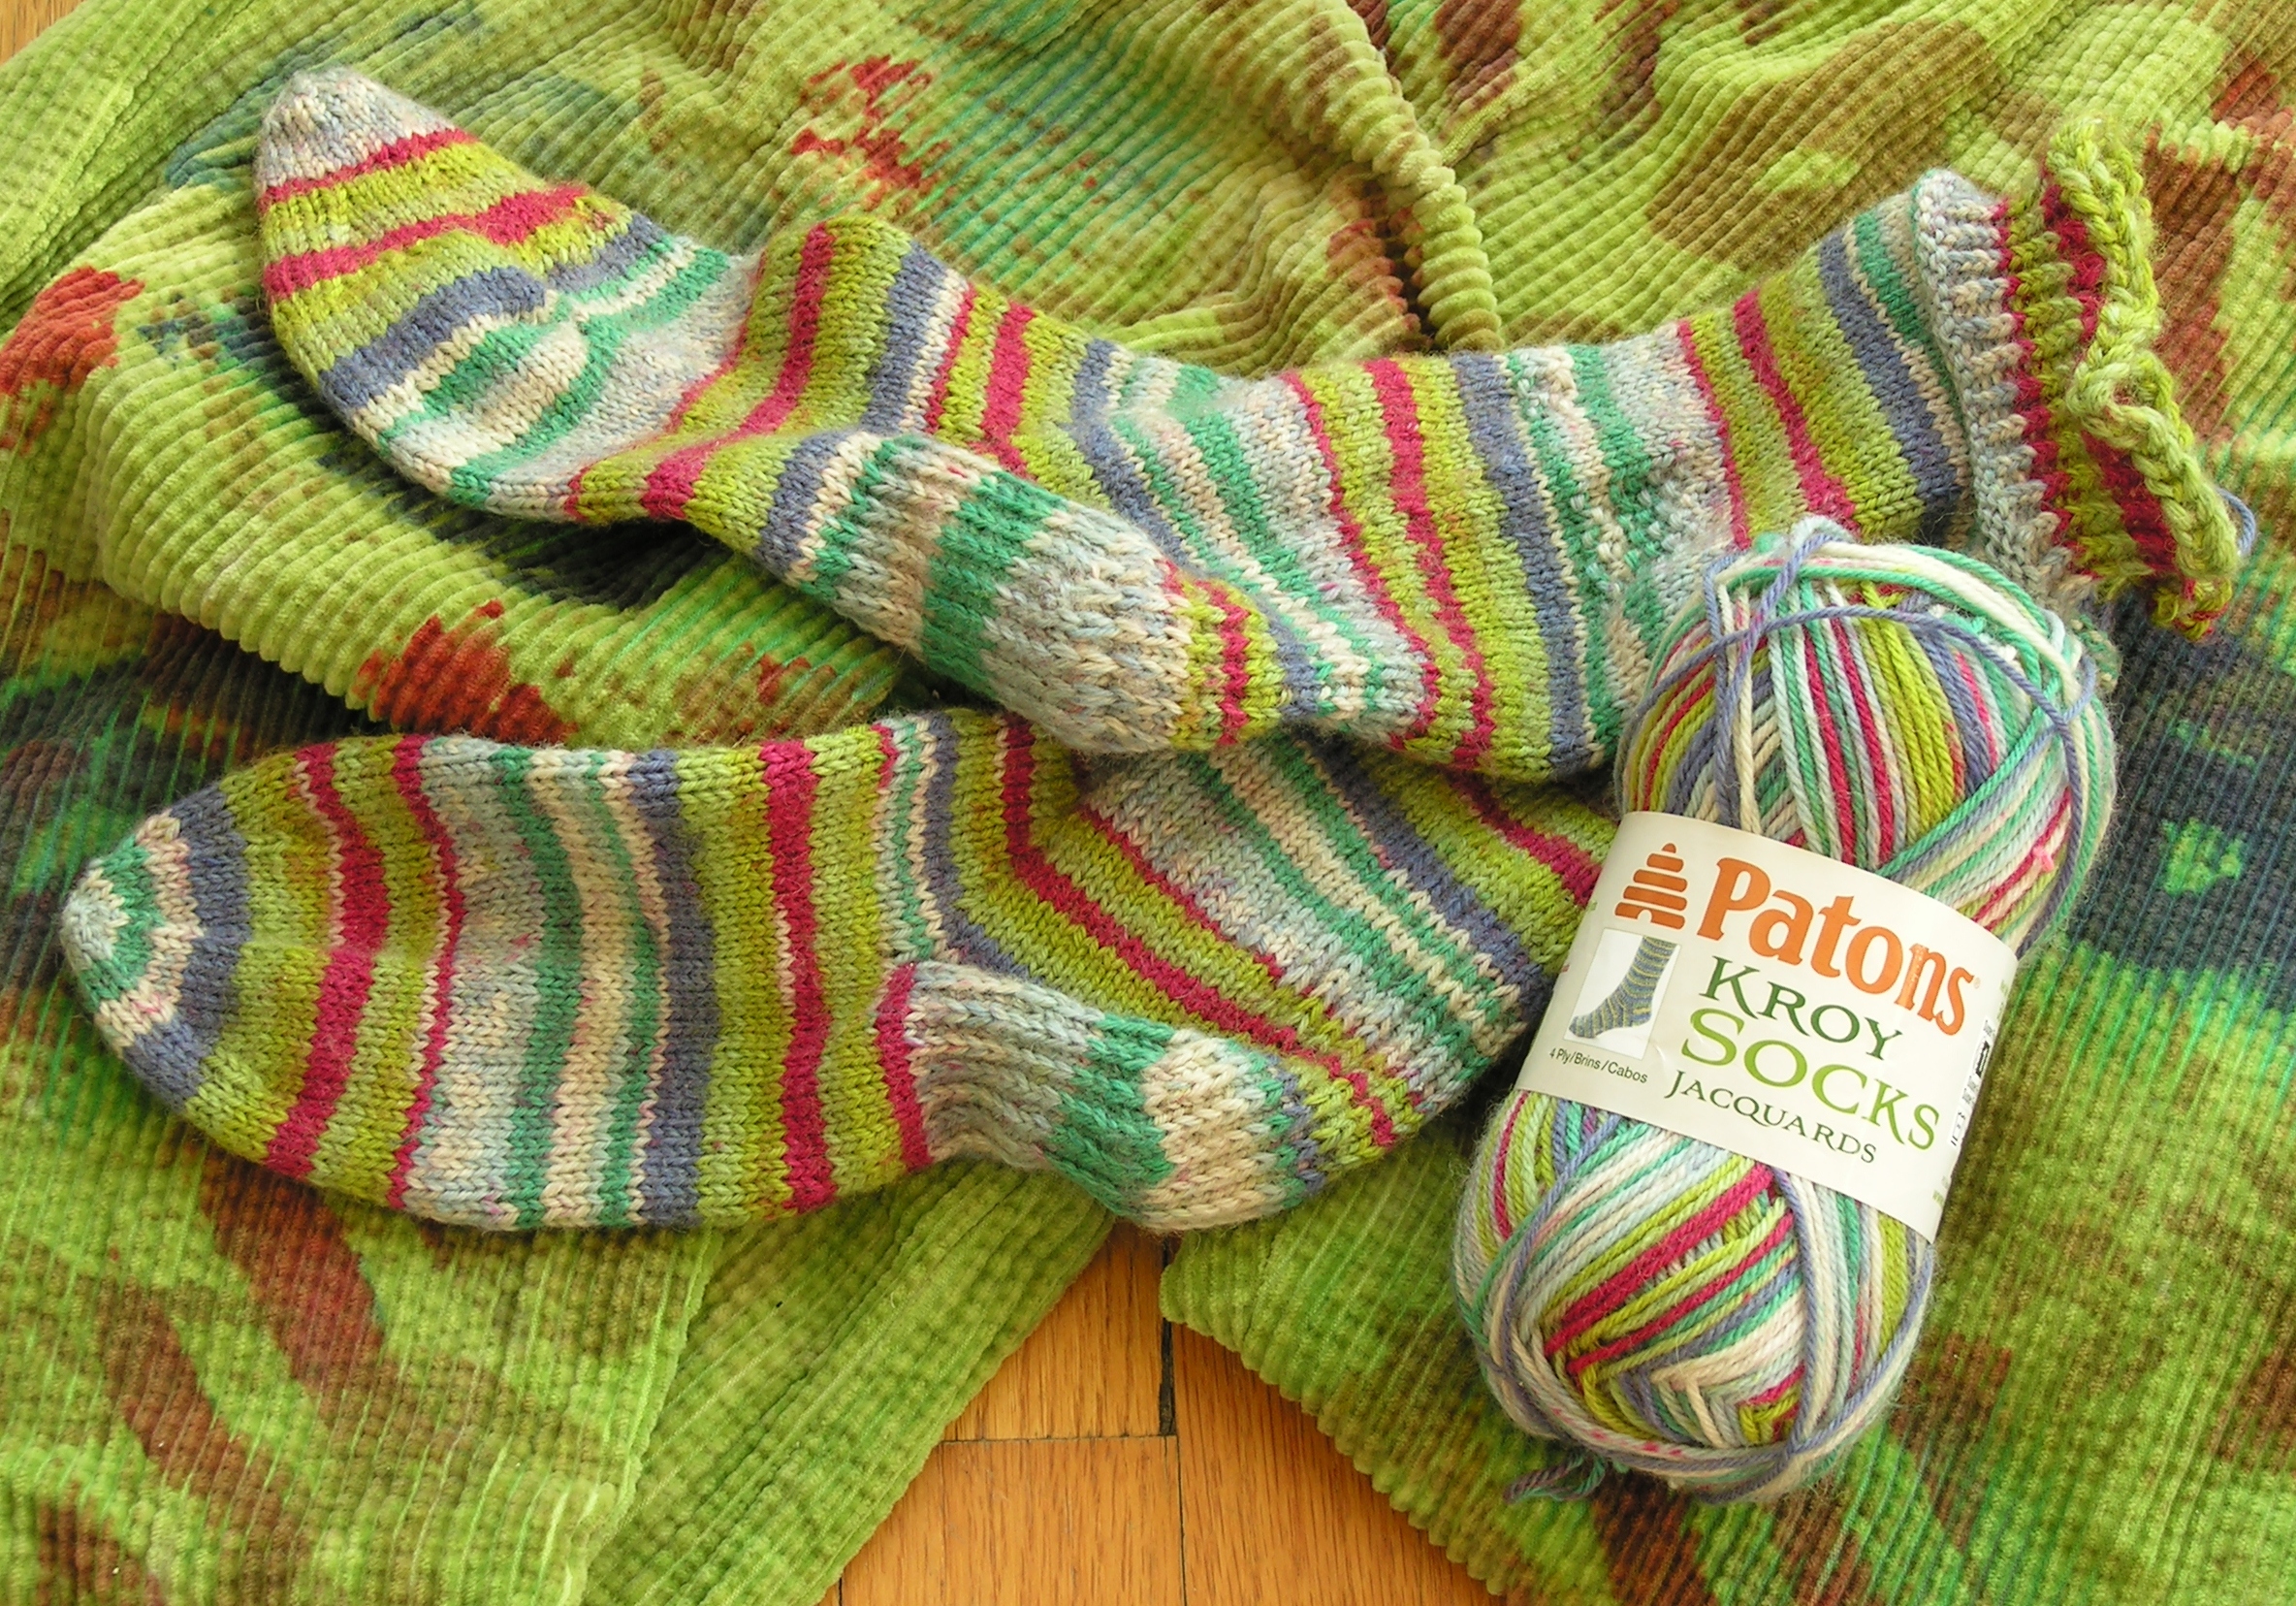
closeup, showing the source yarn as well, paton's kroy socks yarn, #56612 "summer moss jacquard" 196629 dye lot.
So this yarn is a little coarser than most: at 166yd/152m per 50g, compared to, say, the 215yd/200m that appears to be more typical, which would explain my friend Posy's comment "wears like iron" —it's something on the order 25% thicker!
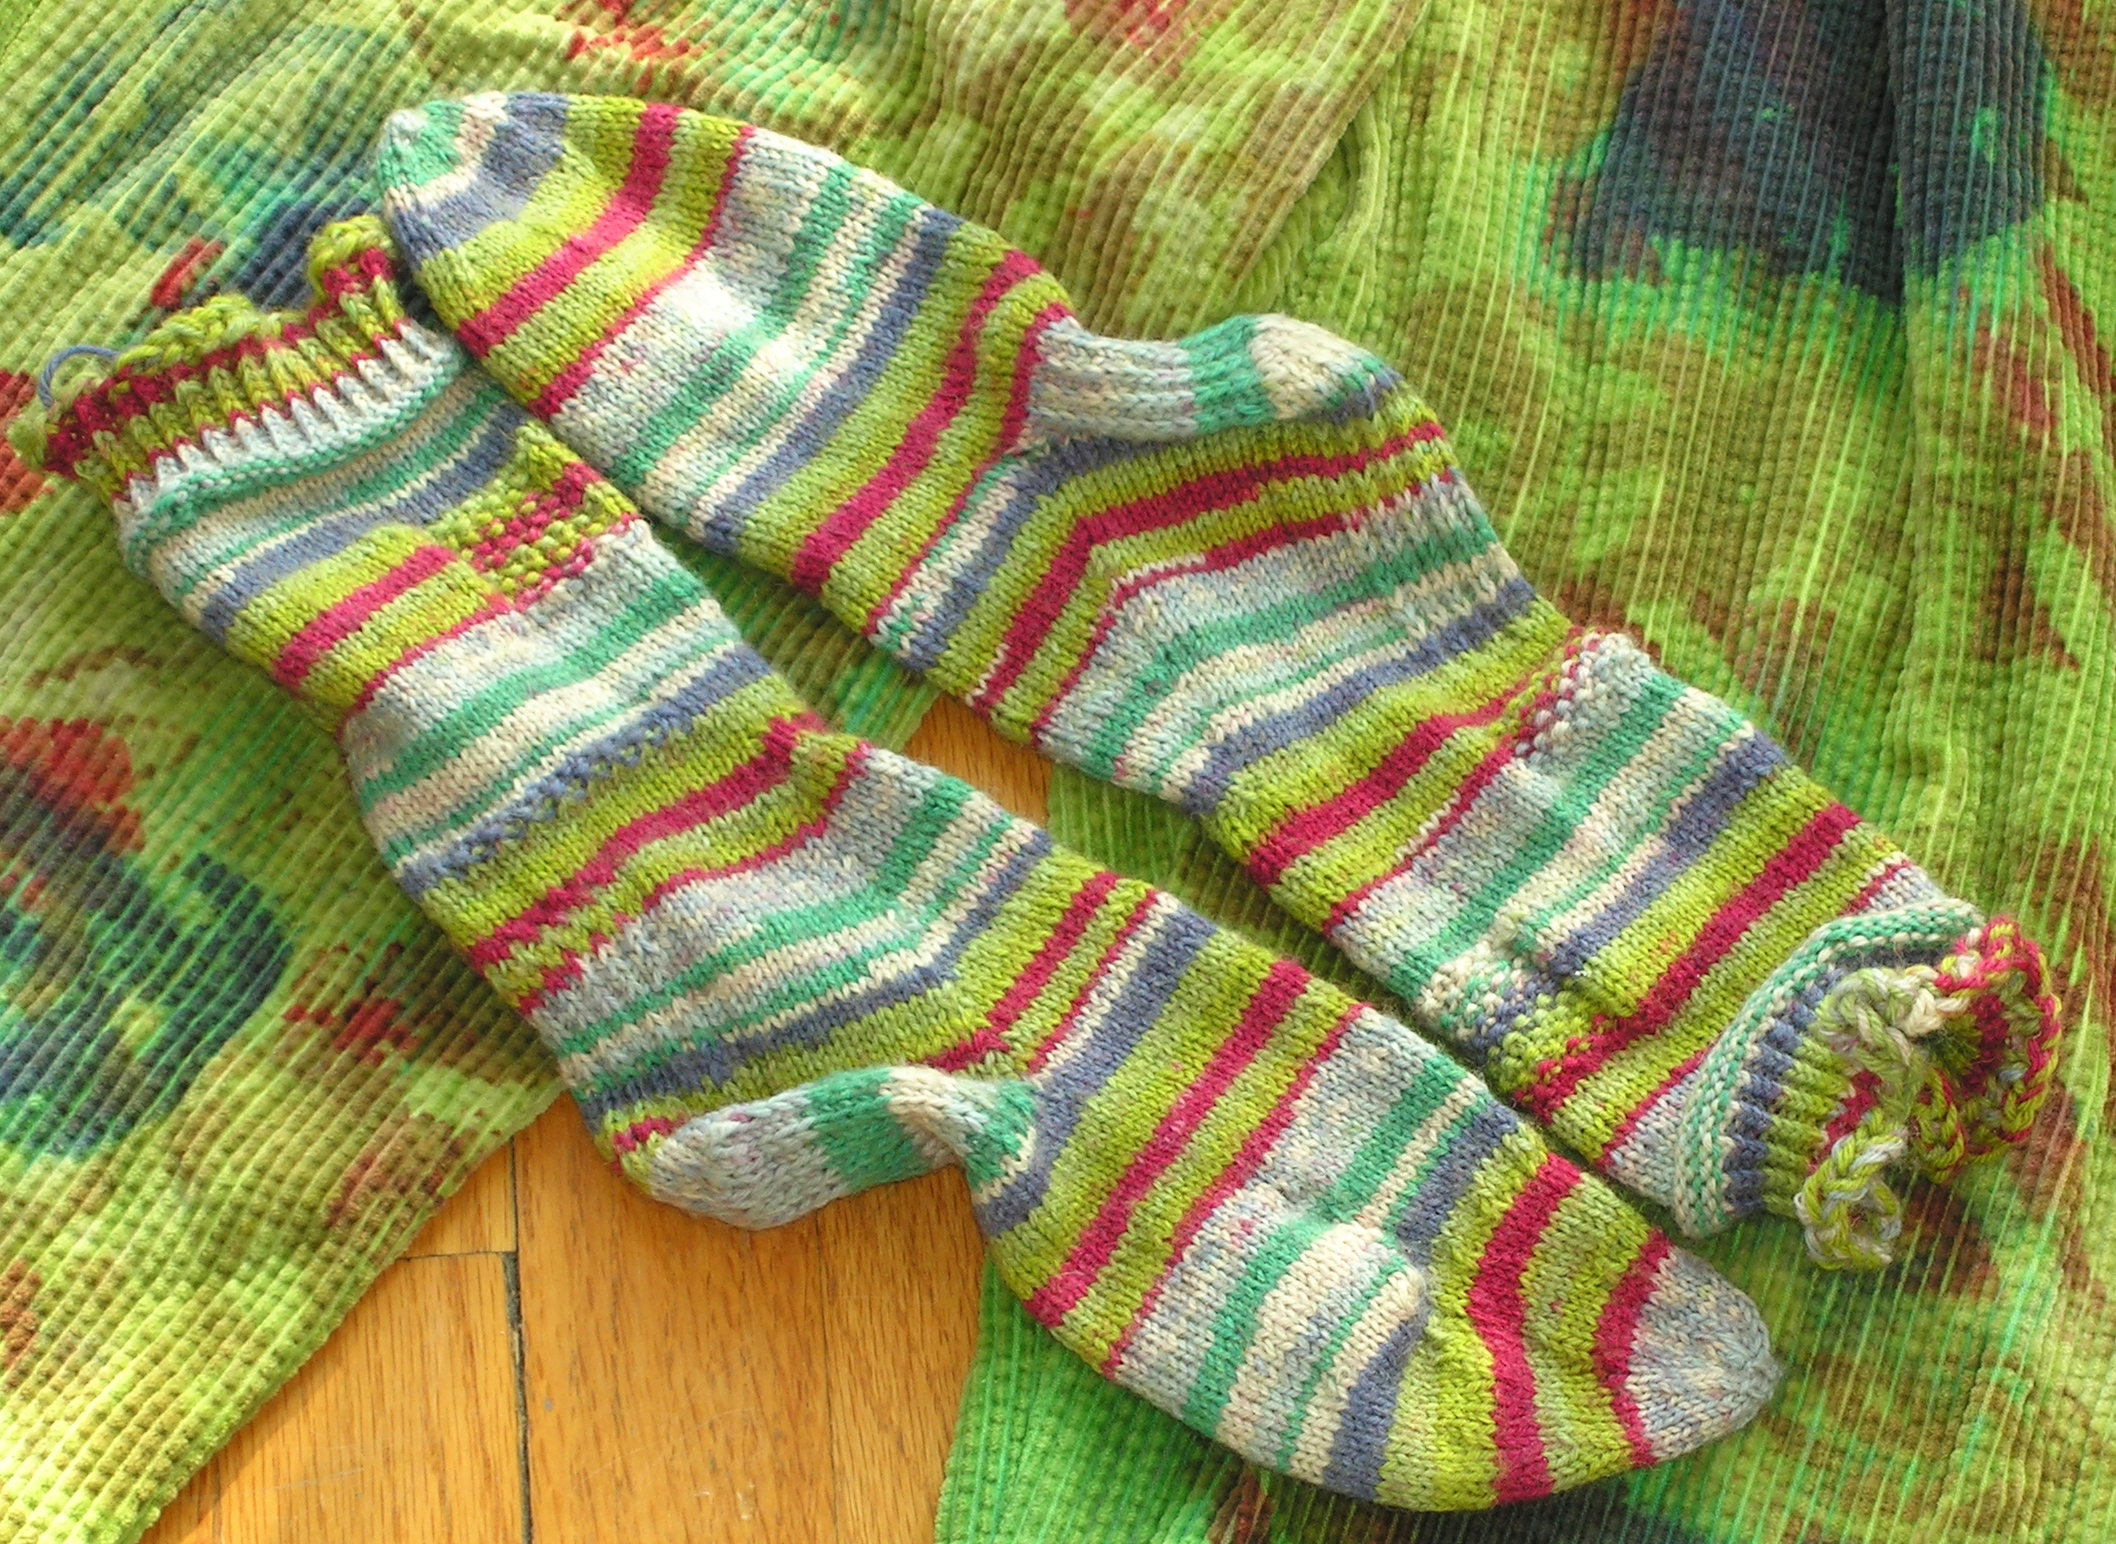
Close up of socks
So, specs:
- yarn: patton's kroy socks jacquards
- color 56612 "summer moss"
- dye lot: 196629
- quantity used: 50g/sock: ~13 & 6 yds/10g left
- cast on 54 st
- knitted caston, double stranded
- 7st/in (avg: 6.5–8.5, most 21–22st/3"), 2.5mm 24" circs (knitpicks)
- pattern: modified cat bordhi "master sky architecture"
- begun: mid December?
- completed: mid Jan
I should note, I don't recall exactly when I began these, because there were a couple of abortive efforts to start the Eames sock, which is still on my to-do list. Hm, it couldn't’ve been before I received my knitpicks 2.5s, cuz I lost one of my addi turbos, and I waited till I had 2 circs again before attempting this project.
I started with a doubled knit edge (I still can't do anything more complicated without the instructions in front of me), and in the interests of learning how to purl, decided upon a 1x1 rib. After a bit I noticed that the purls, which of course are knit stitches on the inside of the sock, weren't, but something else, a quite beautiful braided effect. Intrigued, I went back to my Reader's Digest Handbook of Needlework, which manages to pack in an amazing amount of information in its 20 page or so section on knitting (along with some of the most truly representative, and therefore, hideous, designs from the 70s).
Ah. I was plaiting my purls, because my "this must be the right way to loop the yarn since it feels best" was backwards. I loved the effect, and thought, gee, if I just turn the ribbing inside out, those pretty plaited stitches will show. Of course, I'd done in three rows in stockinette before I remembered this resolution, but decided the purl puff looked sort of cool, just below the ribbing. However, I still hadn't achieved my original objective, and after making two socks exclusively in stockinette, felt I was now experienced that ugly specter of boredom might raise its head—what about some random, rather piet-mondrianish blocks of seed, my favorite stitch? So I started incorporating those. I quickly learned I needed make any such blocks at least 5 stitches wide; that they should be an odd number of stitches, and that beginning and ending rows of said blocks should start and end with purls, if I wanted crisp, rectangular outlines. I also discovered that yes, it made sense to set stitch markers to mark off the boundaries of the blocks (sometimes I started the beginning or ending edge where I switched needles.)
These socks are made with sky architecture, and after the requisite reading of instructions for lifted increased ten or fifteen times, along with another 5 or 6 rereadings along the way to make certain I really understood, I finally got fairly comfortable with that. By dint of wrapping the yarn one way around my finger for the increase rows, and the other way for the plain 2 rows, I was more or less able to track those as well, but I still ended up counting rows and stitches a lot to see if I was on track. Then came the heel.
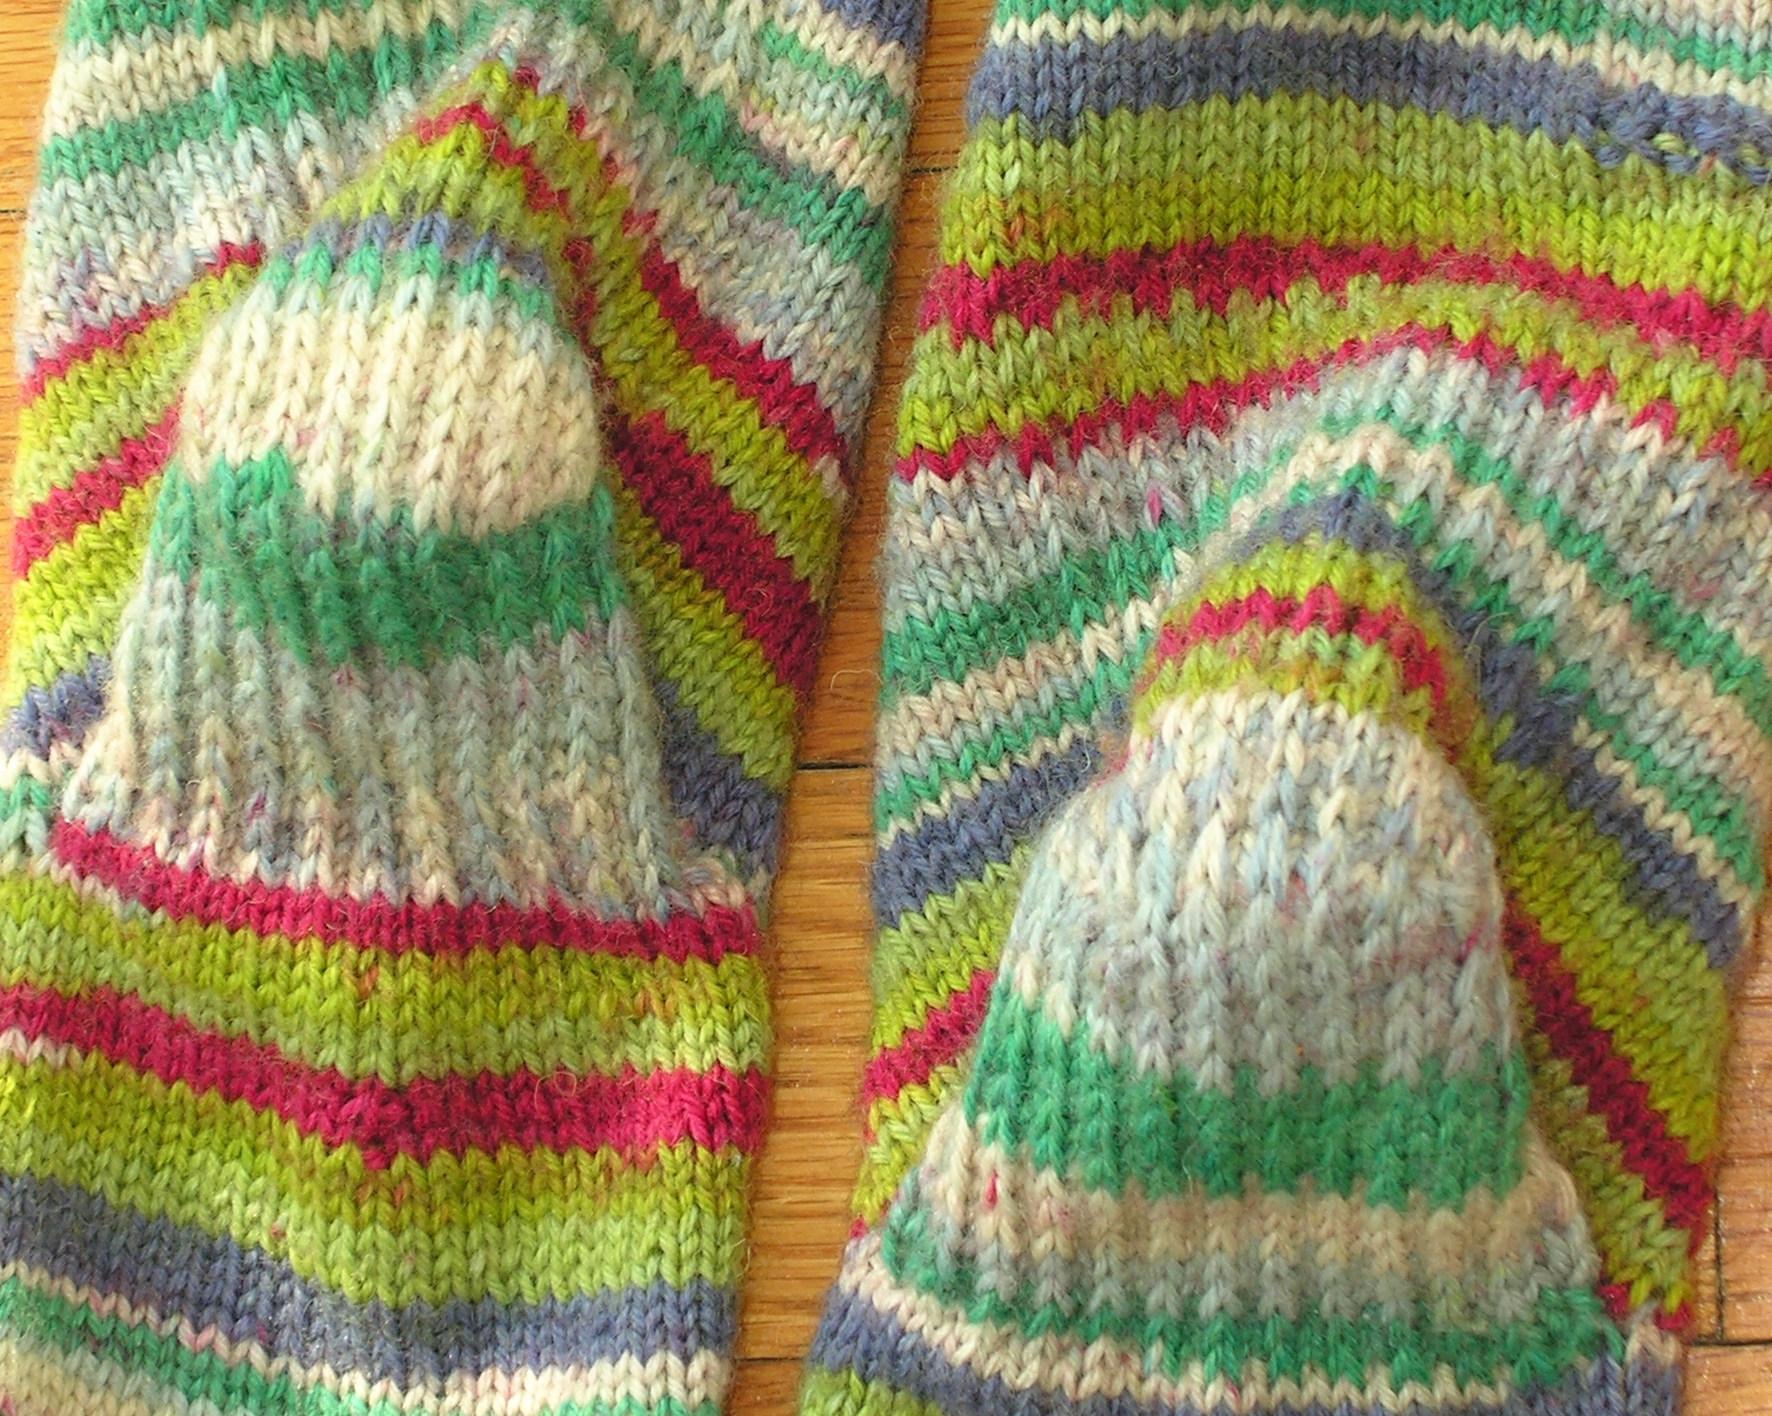
And of heels. Note that slip stitch ridges on heel on second sock (left side, sorry) flow much better, and managed not to get slipped for 3 or 4 rows, which I suspect happened the first time around (right sock).
So far I'd only ever done a short row heel, with someone to show me what I was doing, and I never did really, precisely understand how that whole "wrapped stitches" thing worked. Now I had to do a completely different kind of heel, reinforced to boot. I was taught to knit backwards rather turn and purl; the only downside to this approach is that I knit backwards so readily and easily that I forget which way I'm going. Since RS rows were to be k1, s1, and WS rows purled (knit in my case) I needed to keep my boustrophedronic rows straight. Because it's the region at my achilles tendon that wears out first, I started reinforcing the sock with the heel stitches as soon as I commenced increasing for the gusset stitches.
Of course, then I failed to take into account which rows would be knit, and which slipped, so of course they jogged when I started on the official heel flap. I also dithered over any number of rereadings whether the instructions were exactly the same regardless if one was knitting top down or toe up. This did not quite make sense to me, because the part I believe is traditionally called the heel flap goes above the actual heel turn, but surely there didn't need to be the equivalent flap on the heel-sole, right...? (In fact, there is. Why is not clear to me. Extra padding for folks with too great a heel strike as they walk, perhaps? Symmetry? Making the instructions more general for noobs like me? Who knows?)
—Something tells me Ms Bordhi didn't really intend the audience for her groundbreaking book on socks to include necessarily include knitters who'd made exactly one pair of extremely dodgy socks, let alone those who weren't also purlers, and who can't read knitting instructions any more complicated than k1, p1, and co. Fortunately, her book is written with relative (just not rank) beginners in mind, and the instructions are well-written and nicely illustrated. And, as little interest as I had in making cute little baby socks (exactly none) I grit my teeth and completed one and a half of the little learning socks (I skipped one toe, figuring I more or less understood that part.)
It's just the fog inside my head that takes so long to clear. Ok, so p2tog wasn't too bad, and eventually I did come to understand that ssk was the left-to-right equivalent of p2tog...but I had to look up the abbreviation for lifting the wrapped stitch every time. In fact, I can't bring it to mind now, though as I recall it was something similar to cast on. Anything involving PSSO still strikes fear into my heart, and it took forever to learn k1f&b (knit one front and back, aka the bar increase) and kbl (knit thru the back loop), even though I do both of these things all the time.
So finally I got to start doing something with all those increases, except...my heel seemed to be awfully large, until i discovered to my dismay that I had moved the gusset (or wing) stitches from the instep needle prematurely, including them in my heel decreases. Oopsie! So I ripped that all out, and then started my decreases strictly between my stitch markers. At least this had the advantage of giving me the opportunity to line up my columns of slipped and knit stitches between the achilles area and the heel proper. After reading how to lift wrapped stitches 15 times (with the requisite 5 or 6 additional checks while doing the technique) I think I finally got that down. I was so pleased when I finally managed to finish the heel, and resume knitting in the round.
By this time, having concluded I liked my new knitpicks needles, and ordered 4 more sizes so that I could take on all these projects that required a different size of needles for the cuffs, I figured I could try a little hint about swapping out smaller needles for the soles, to make them tighter and thicker, so I substituted 2.0 mm needles for the soles.
Sky architecture was not the pattern to try this, as the sole was already lagging behind the instep. Halfway along, alarmed by the way the sole part of the rounds were behind, I switched back to the 2.5mm needle. By the time I got to the ball of my foot, it remained stubbornly bare, whereas my instep was covered to the beginnings of my toes. Hideously ugly socks or ones that failed to look the picture didn't frighten me, but I was afraid the tip of my sock would wind up underneath the joints of my toes, making an uncomfortable lump. By this time I had discovered a beautiful, warm pattern (based on cat bordhi no less) on knitty, that utilized extra rows in the soles so i tried that. A ways along, I finally figured out that slipping stitches at the end of increase rows made their transition much smoother, but in the meantime, I made some very odd joins along the sides of my sock. Quite by accident (honest!) the most appalling of these joins are on the unphotographed side.
Since my teacher had instructed me to start my decreases at the beginnings of my toes, I did the same for this sock. It became obvious very soon that I would run out of sock before I ran out of toes, so I started adding an extra row here and there. Not enough, so I'd rip back and add more. After checking the sock on my feet another 20 or 30 times, with the requisite 6 or 8 or however many ripbacks, I finally completed the toe, which was absurdly pointed, and, owing to the extra sole rows, curved up to boot. However, this very odd looking toe proved to fit my feet—both of them—correctly.
Now having a better sense of the pattern, I resolved to follow it a little more carefully the second time aroud. I once again did my plaited purls, but not having the first sock on hand for reference, ended up making 6 or 8 rows (instead of 3) before flipping the tube inside out. Forewarned, I followed the heel instructions for setting up the slips and stitches when I started my reinforcing, and this time not only did the rows match up, I remembered to (backwards) knit the alternate rows, thereby avoiding 4-row long slip stitches. I even followed the instructions for the toe, adding only a few extra rows here and there.
As a result, the second sock went faster than the first, not least because I wasn't having to try it on every 5 rows or so; but oddly enough, it didn't fit as well, being slightly loose at the ankle crease and blunt at the toe. This was something of an amazement to me; and yet another reason to appreciate circular needle sock knitting—I think trying on socks with dpns would've been far more problematic.
And what of the future? Well, I decided to do coriolis next, and attempt to adapt the pattern for my pointier toes. I have an entirely unused ball of the moss left, and it occured to me that I could make handwarmers. —Last week, at knitting, someone brought Laura Irwin's Boutique Knits which featured an intriguing bag with knit and felted sections, and a sort of pleated handwarmer. Now, felted mittens out of old sweaters are a common upcycled thing, and handwarmers with a felted center panel (with yummy beaded embroidery) and side flaps pleated over certainly sounds like an interesting design challange.
But I'm not quite ready to design from scratch; and meanwhile I found the lacy socks and handwarmer pattern mentioned above—the designer, who claims you can have your sock and wear it too, says her patterns have bold enough lace to work in patterned yarns. Moss is certainly patterned, but I didn't really want an open, lacy panel on the back of my hands...but what if made ’em double layered, using some commercial socks with worn out heels that lovely and soft underneath? It would increase the warmth, put softer fibers next to my skin, and show off the lace.
Ok, then. That's gonna be the next project in my queue.
pants dyed summer 08; socks completed mid feb 08; photography, post, 20feb08
Unless otherwise noted, text, image and objects depicted therein copyright 1996--present sylvus tarn.