This is a very image heavy page, so it make take a while to load, particularly if your connection is slow.
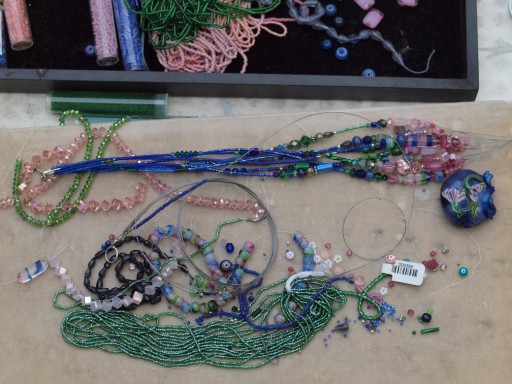
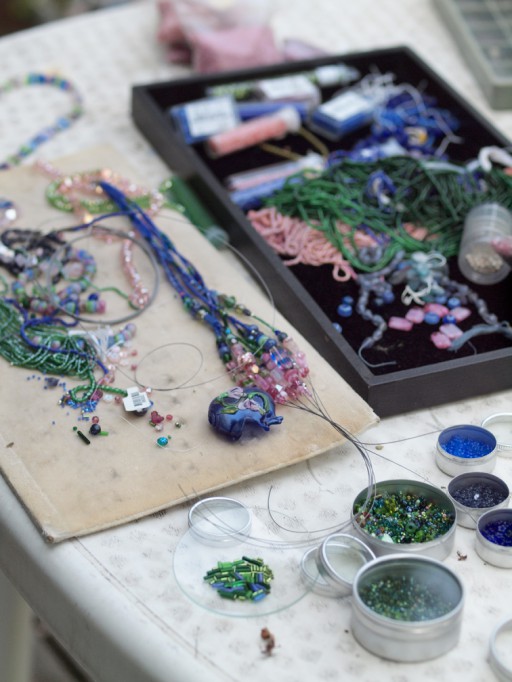
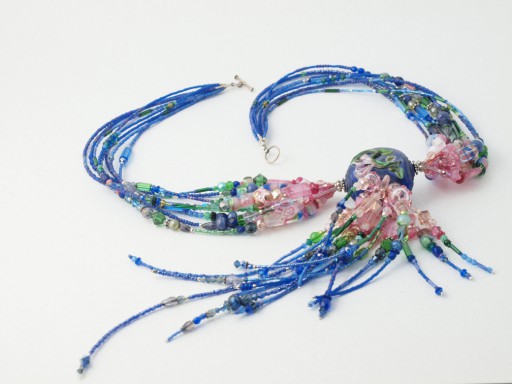
The first progress shot, shown below, was taken 21sep2010; the rest of the progress shots on 23sep; and the completed necklace was (the first time) photographed 25sep2010, and then I took another batch of pix on 01sep2011, hoping to get the piece into a magazine.[1]
There were two drivers to this piece: on the one hand I wanted to string the 3hole focal, having been inspired by my customer's piece; on the other, I realized the color scheme of the focal—blue with green leaves and pink flowers—meant I could do something with all these tricolored pink, green and blue beads that had accumulated over the years: they were unsuitable for the bead curtain. Specifically, the 8x8[2] barrels shown in the progress shots above and below; and particularly the graceful, flattened ovals, which you'll see in the piece.
In addition I had similar vintage pink and white rectangles, plus some other fun beads—lustred green 3 cuts and 3mm czech; opalino corner-to-corner pink cubes—a very fun chinese variation. Until the Chinese started making faceted crystal cubes were hideously expensive.
Careful inspection (below) reveals a tiny bit of green aventurine—a little 6mm heart—in addition to faceted iolite (water sapphire), and of course rose quartz (some faceted) as well as artist-made mini-hollows, some in blue and white stripes: this piece mixes a decent amount of opaque, with the lustred-surface and translucent (i.e. opalino) acting to transition to transparent beads.
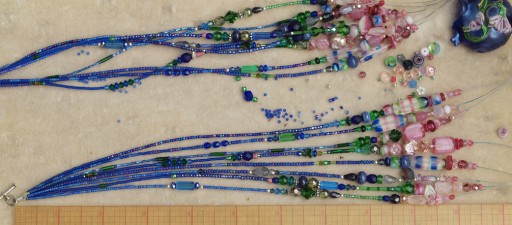
Though my preference is actually for stringing each side individually, only close inspection would reveal this detail; the average customer would probably prefer them to be the same, and they certainly prefer the lower cost (since honestly, you're mostly paying for the artist's time when purchasing a piece. And copying one side of the necklace to the other, as I'm doing in the photo above, achieved two goals:
- A significant saving of time and stress (at the cost of making sure I had enough beads, or at least work-arounds).
- Visual balance of the two sides, since each has basically the same accents.
So I was lazy.
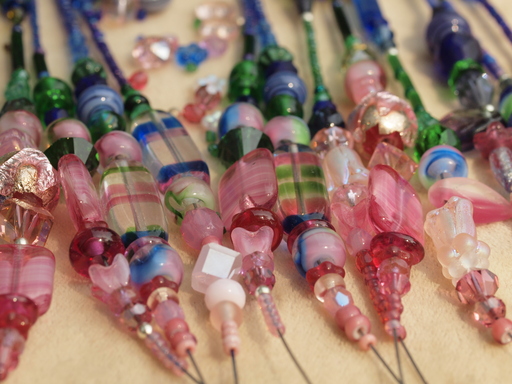
Here you can see on the right, near the bottom of the image, one my very favorite vintage pressed beads, what I call a tulip; also a couple Italian lampworked pink beads on a silver-leaf core that I'd been saving for a special piece.[3]
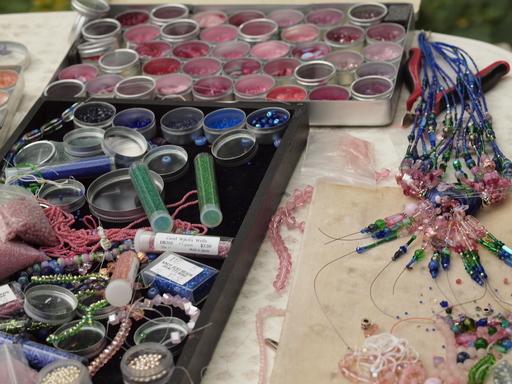
At the same time, I wanted the piece to be lighter, visually and physically, than, say the yellow and blue one I featured a few days ago; so I started with seed beads, including some AB frosted cobalts that I believe came out of a kit that a friend[4] had given me. I wanted drama, but manageable drama. This meant stringing smaller beads, say 8mm or less. Very hard!
Note that in both the image above and below that fringe—that is, the part of the strand that becomes the tassel—is first strung with seed beads, at least some of the time. This is partially so my designer beads (the czech, austrian, and lampwork beads) don't retreat into the 3hole and disappear but it's also a control mechanism, so I can (more) precisely determine the relationships of the designer beads to each other at the top of the tassel.
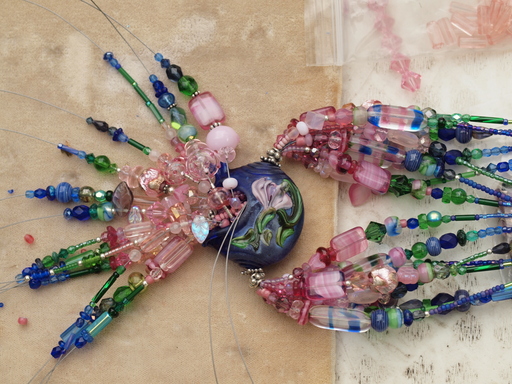
Note also how I've ‘necked down’ the necklace to seed beads as the strands approach the focal. This gives a cleaner appearance and helps to set off the focal, rather than leaving jumbled in with a bunch of necklace strands.
Thus, I had to string the fringe more-or-less simultaneously. This is standard operating procedure for me: Although I seldom have to go back and redo earlier strands—most of the time I simply adjust the later ones to the prior—I never crimp the ends until they are all strung.
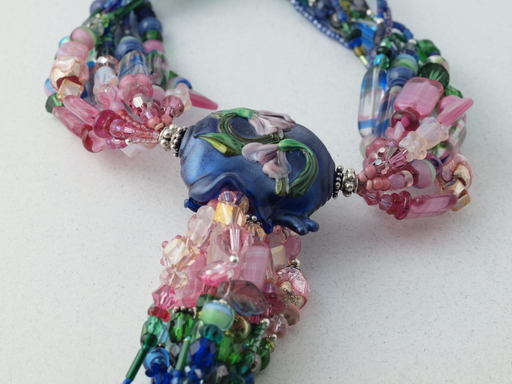
Success! the tassel is a true reverse teardrop, and in effect the piece has a roughly trilateral symmetry, because of the tassel echoing the necklace strands.
And here's another photograph showing the other side of the focal, making this a reversible necklace—left or right handed, there will be flowers on the front. However, this side has the two lampworked hollow dotties—that is, it showcases the poofiness of the tassel more.
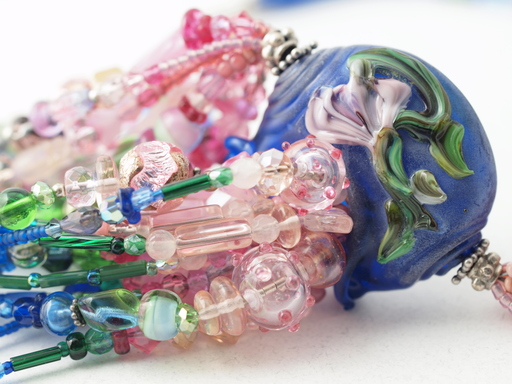
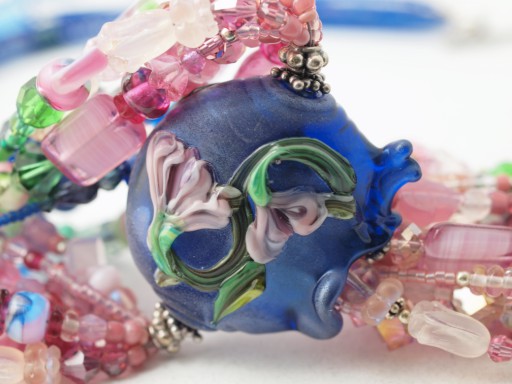
Another detail shot of the obverse, with the bead tipped up so I can bounce light through the piece as well as off the front of it. Note that the hollow dottie is double strung with liquid silver for a more finished look. Little details like this really can make a piece sing.
I hope you've enjoyed following along as much as I have making, photographing & writing about this piece. I would have never chosen this color scheme on my own, so I'm very grateful to my customer for commissioning the bead that led to this focal and those anonymous beadmakers whose parti-colored vintage creations made this piece possible.
Beadwork, at least the kind I love, is very much a team effort.
[1]It didn't make it, but one of my mini-leopard heads did:)
[2]approximately...
[3]Despite the fact that I could make these beads, and bought them because it was cheaper to do so...
[4]Diana van Assche, I believe....
Unless otherwise noted, text, image and objects depicted therein copyright 1996--present sylvus tarn.
Sylvus Tarn