So, here's the first post on a beaded plant hanger tut:
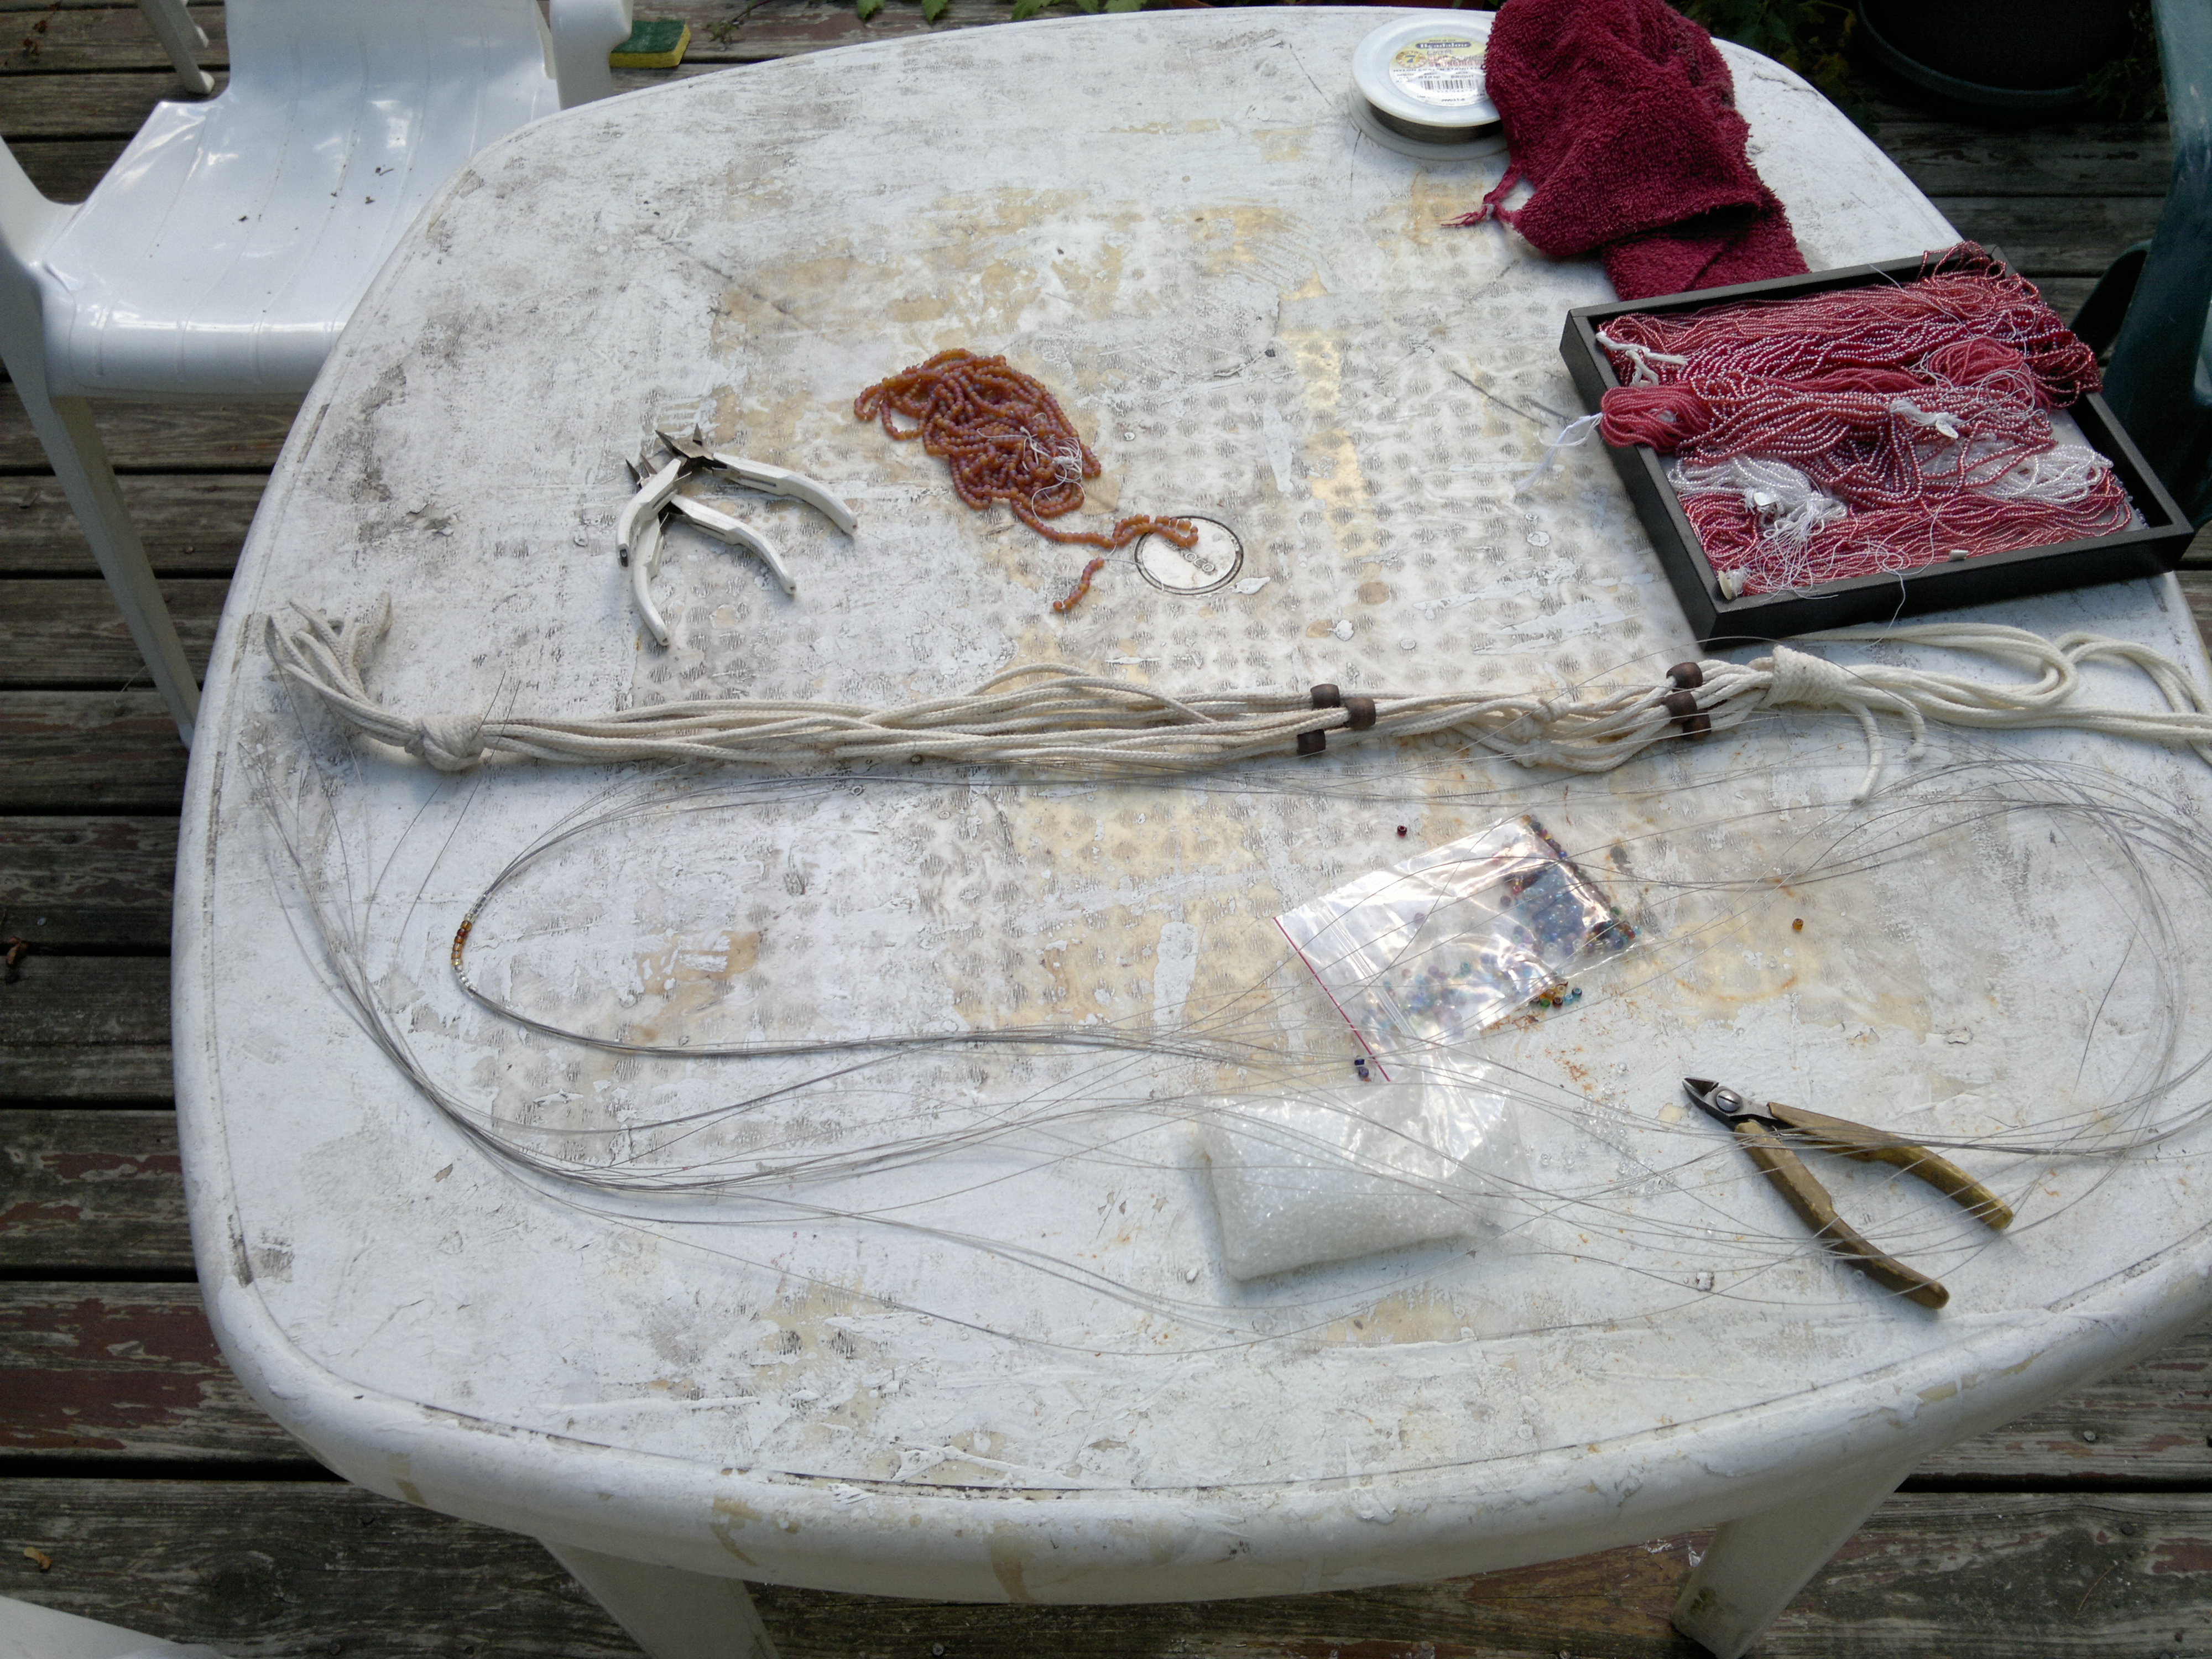
model, tigertail: I begin. Warm temps and outdoor stringing for the win!
If you look closely the model made of woven cord and wooden beads, you can see it features 4 doubled over strands to make a top loop (on the left) then a web to hold a pot created with overhand knots and beads, which can be slid to adjust the fit. The bottom finishes with a big overhand knot and tassel on the right, which hangs down in use.
Somehow, despite the model sitting right in front of me I got it into my head that there were eight strands doubled, not 4 doubled. Needless to say, this led to a little problem:

Despite said model, I'ma cut and put 8, countem eight strands of tigertail through the top loop.
Fitting the strands through the 8/0s used to cover the top loop. By dint of using the biggest-holed 8s I could find, I managed it, though of course the tigertail twisted inside the beads.
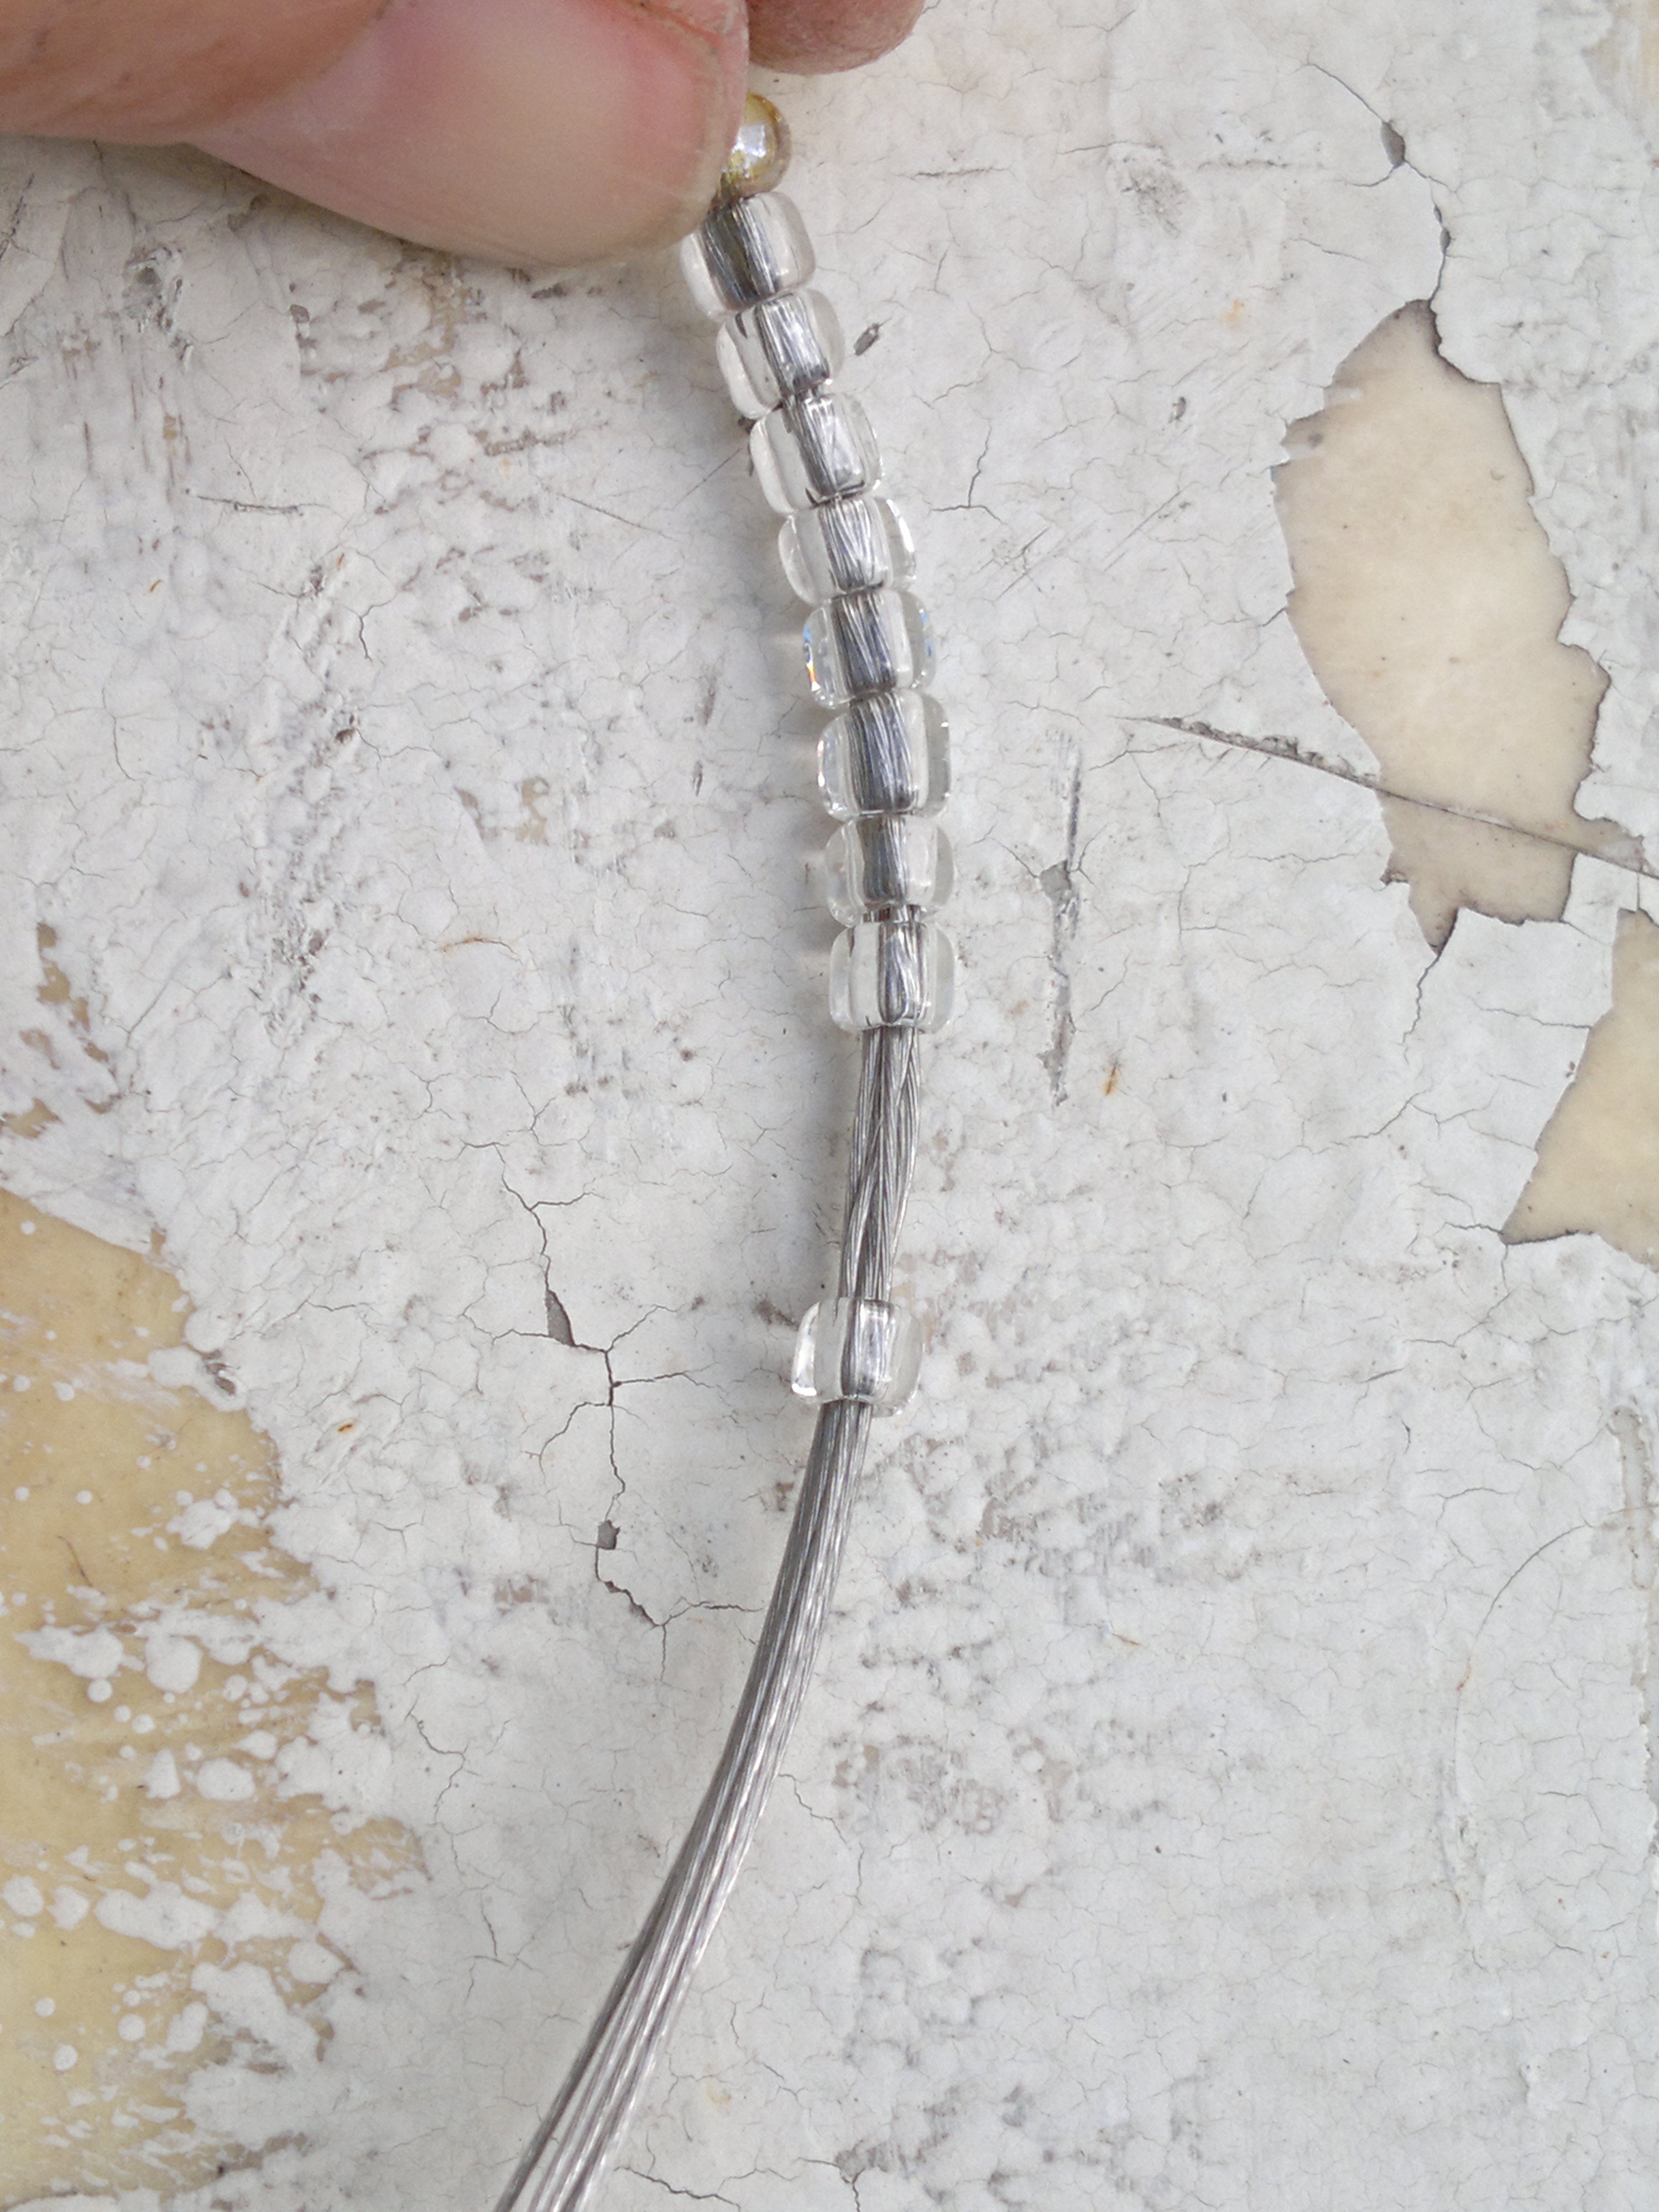
And they fit really, really tight, to the point of the beadalon strands twisting and crossing each other (between the two bottom beads): this is very difficult to avoid when there's no extra room for the strands to slide past each other.
You can see this really clearly here. Moral of the story: BEFORE you start on the project, test your beads to see if the holes are large enough! Alternatively, after you discovered you've screwed up, you can pull half those extra strands out and save them for a second plant hanger.
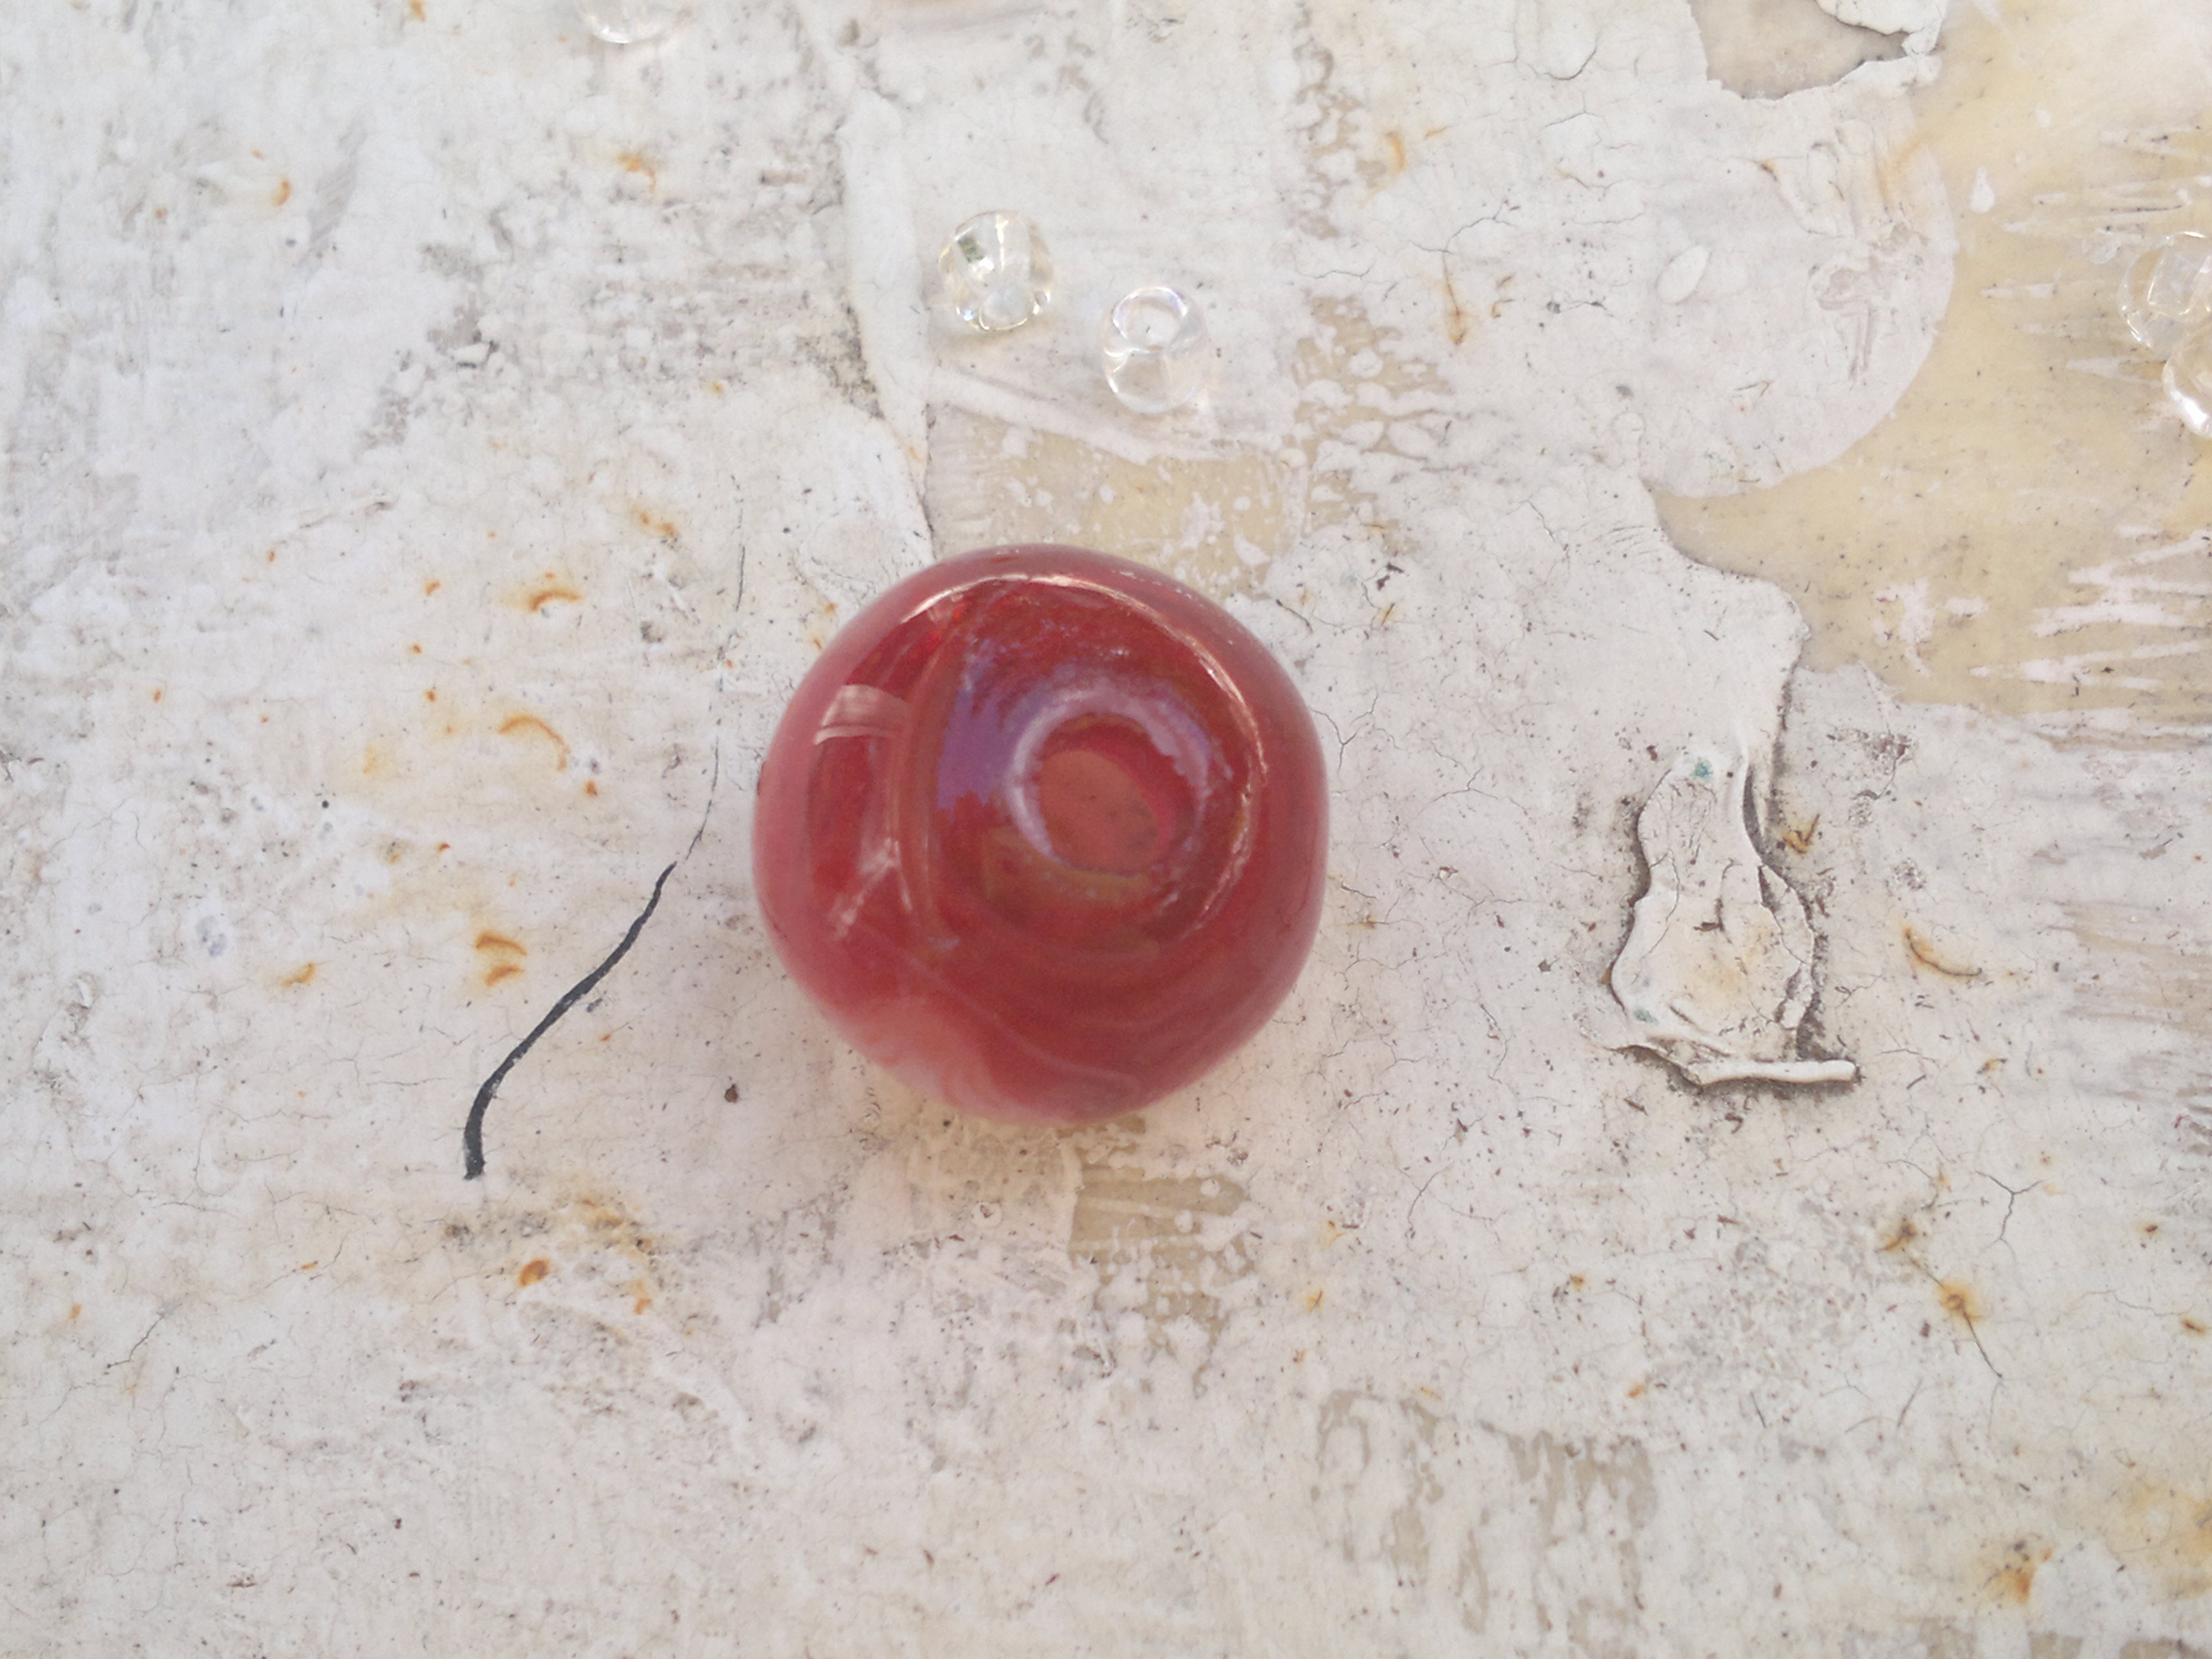
In fact, I enlarged the hole in this lampwork bead to accommodate them.
However, I became curious to see what would happen, and decided to forge on ahead. after stringing on 3–4 inches (75–100mm) worth of beads, and sliding them to the center of the tigertail (such that I had two sets of ends, 8 ea., sticking out from the middle) I folded the tigertail into a loop and ran all 16 ends thru this 12–14mm bead. Knowing that it wouldn't fit easily, I used a diamond bit to ream the hole larger, as you see above.
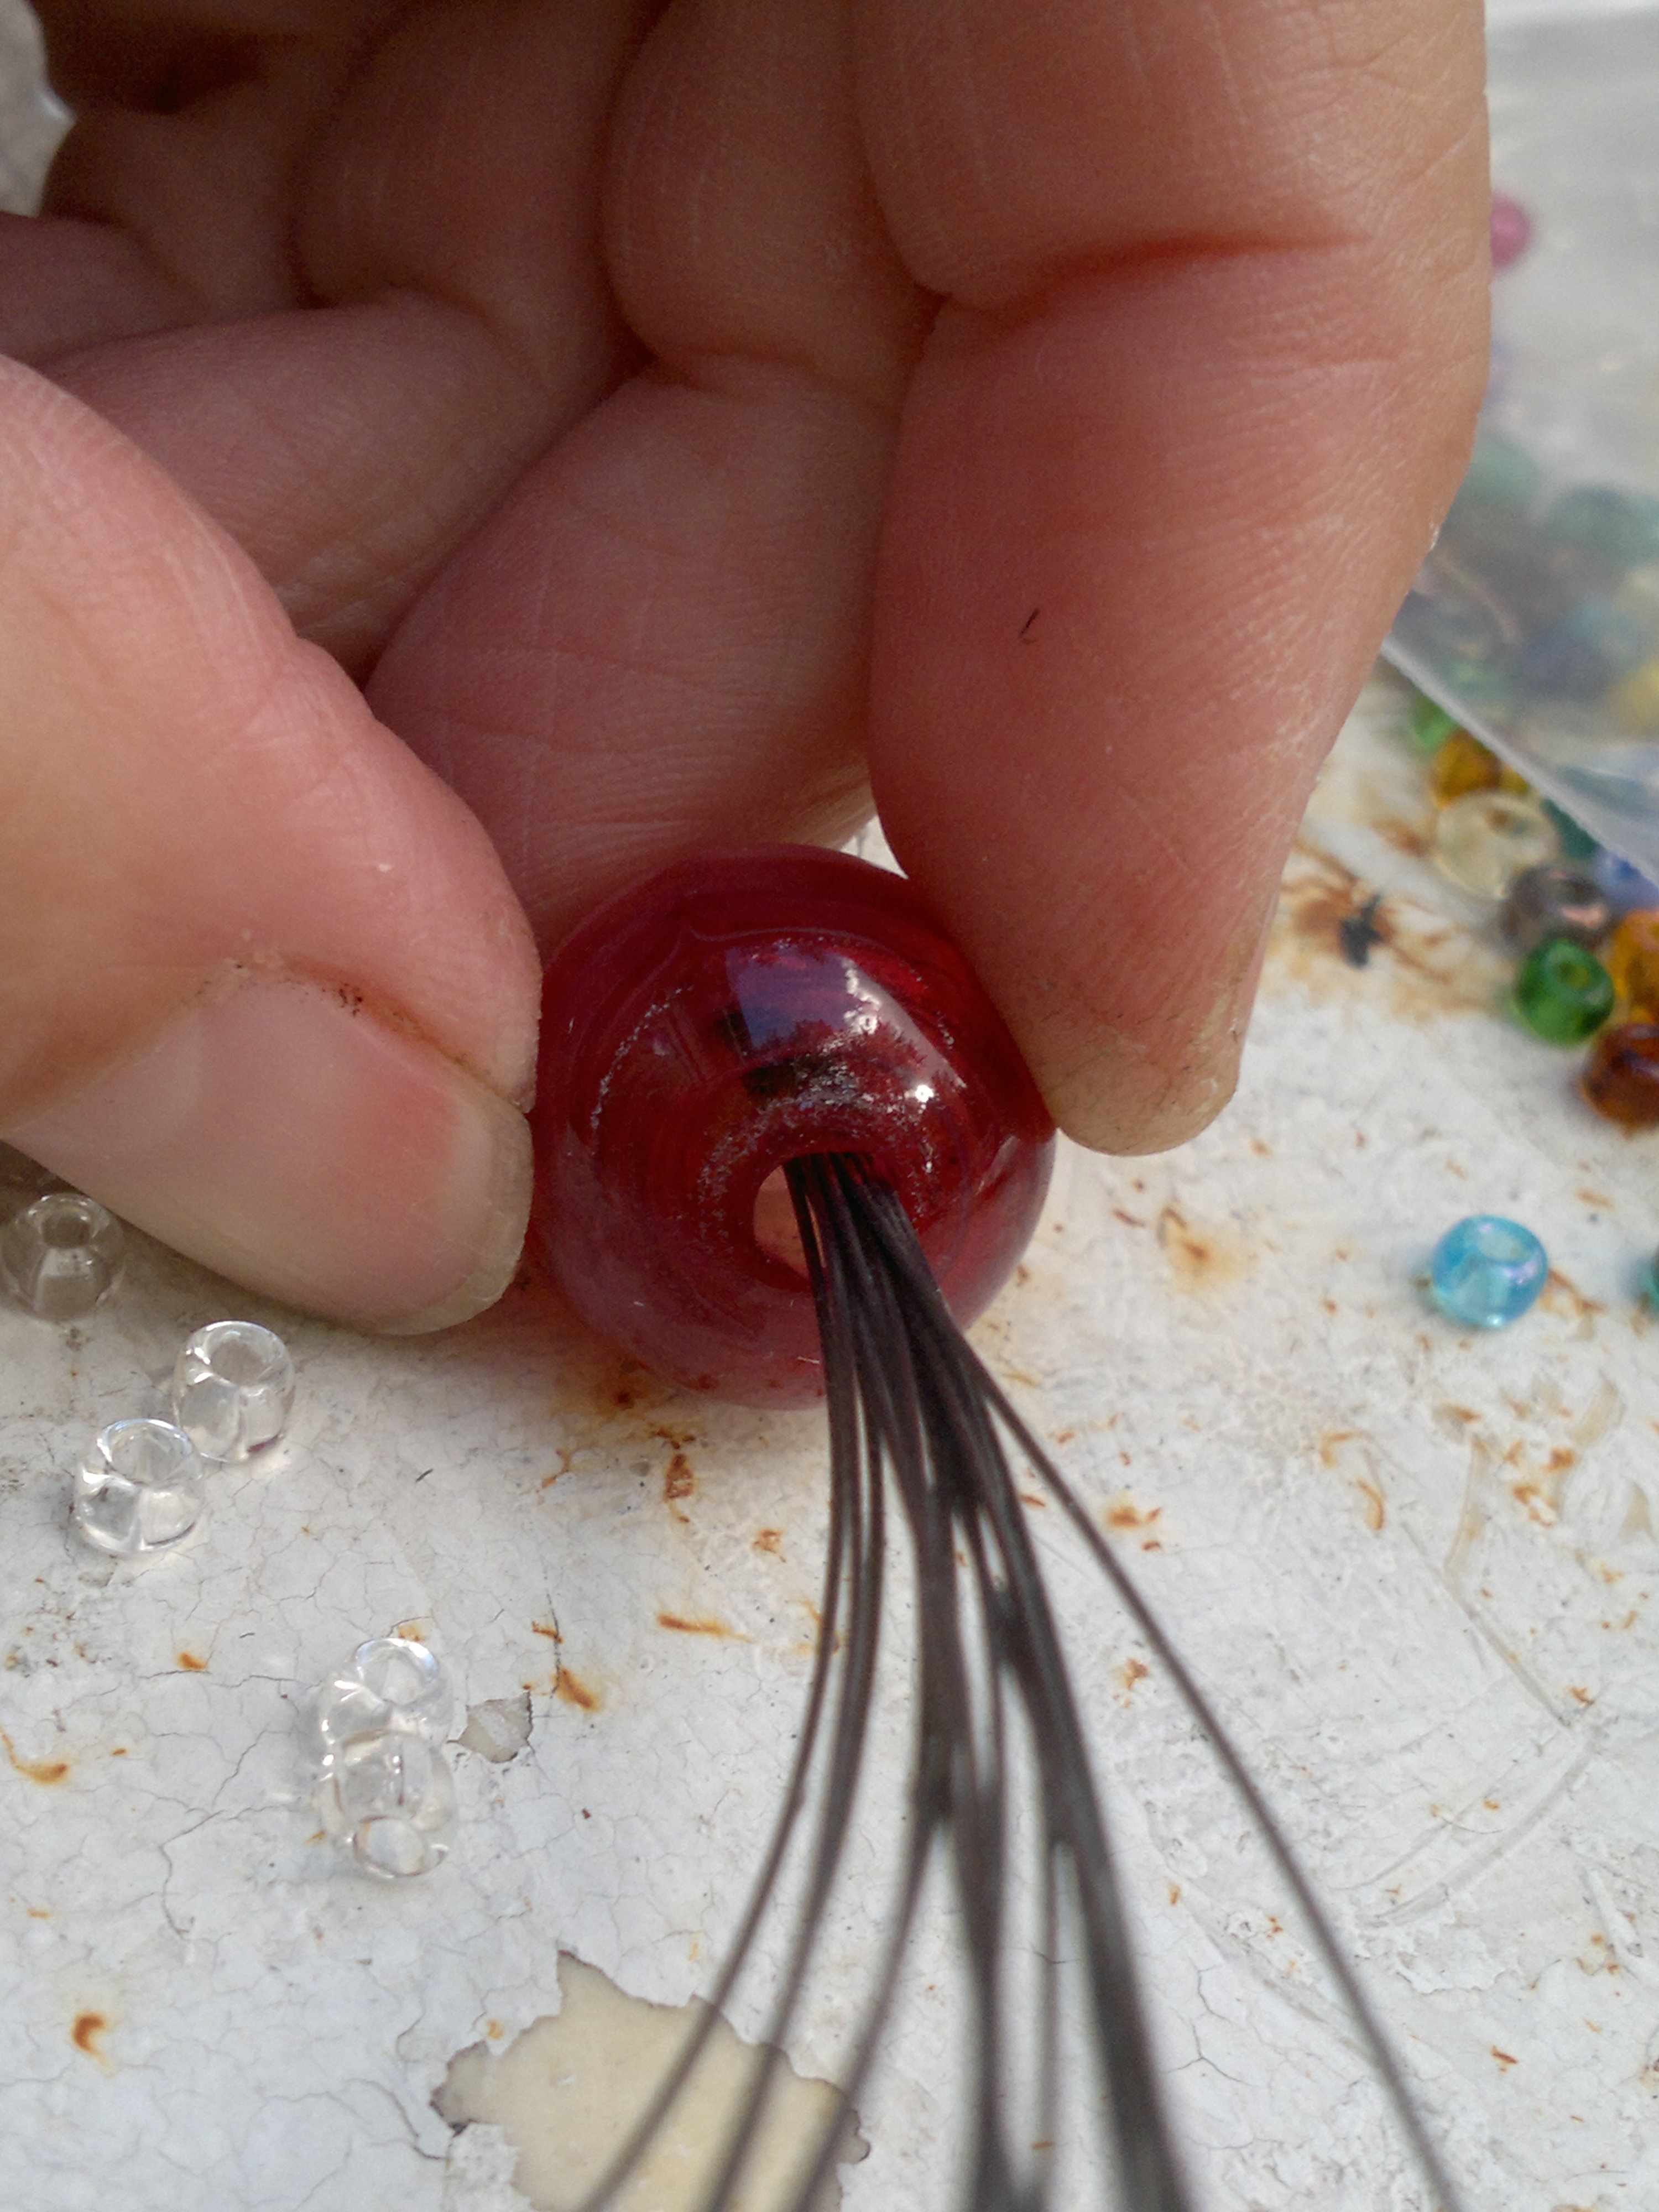
Note that I've doubled the strands: 16 must fit through there PLUS have enough room to spread (because of seed beads: otherwise, the beadalon will be bent at a sharp angle, weakening it).
Now it's time to start actually string the part of the design that holds the pot, as opposed to the loop that hangs off the hook. This will continue in the next post...here's a preview, which also shows the completed loop:
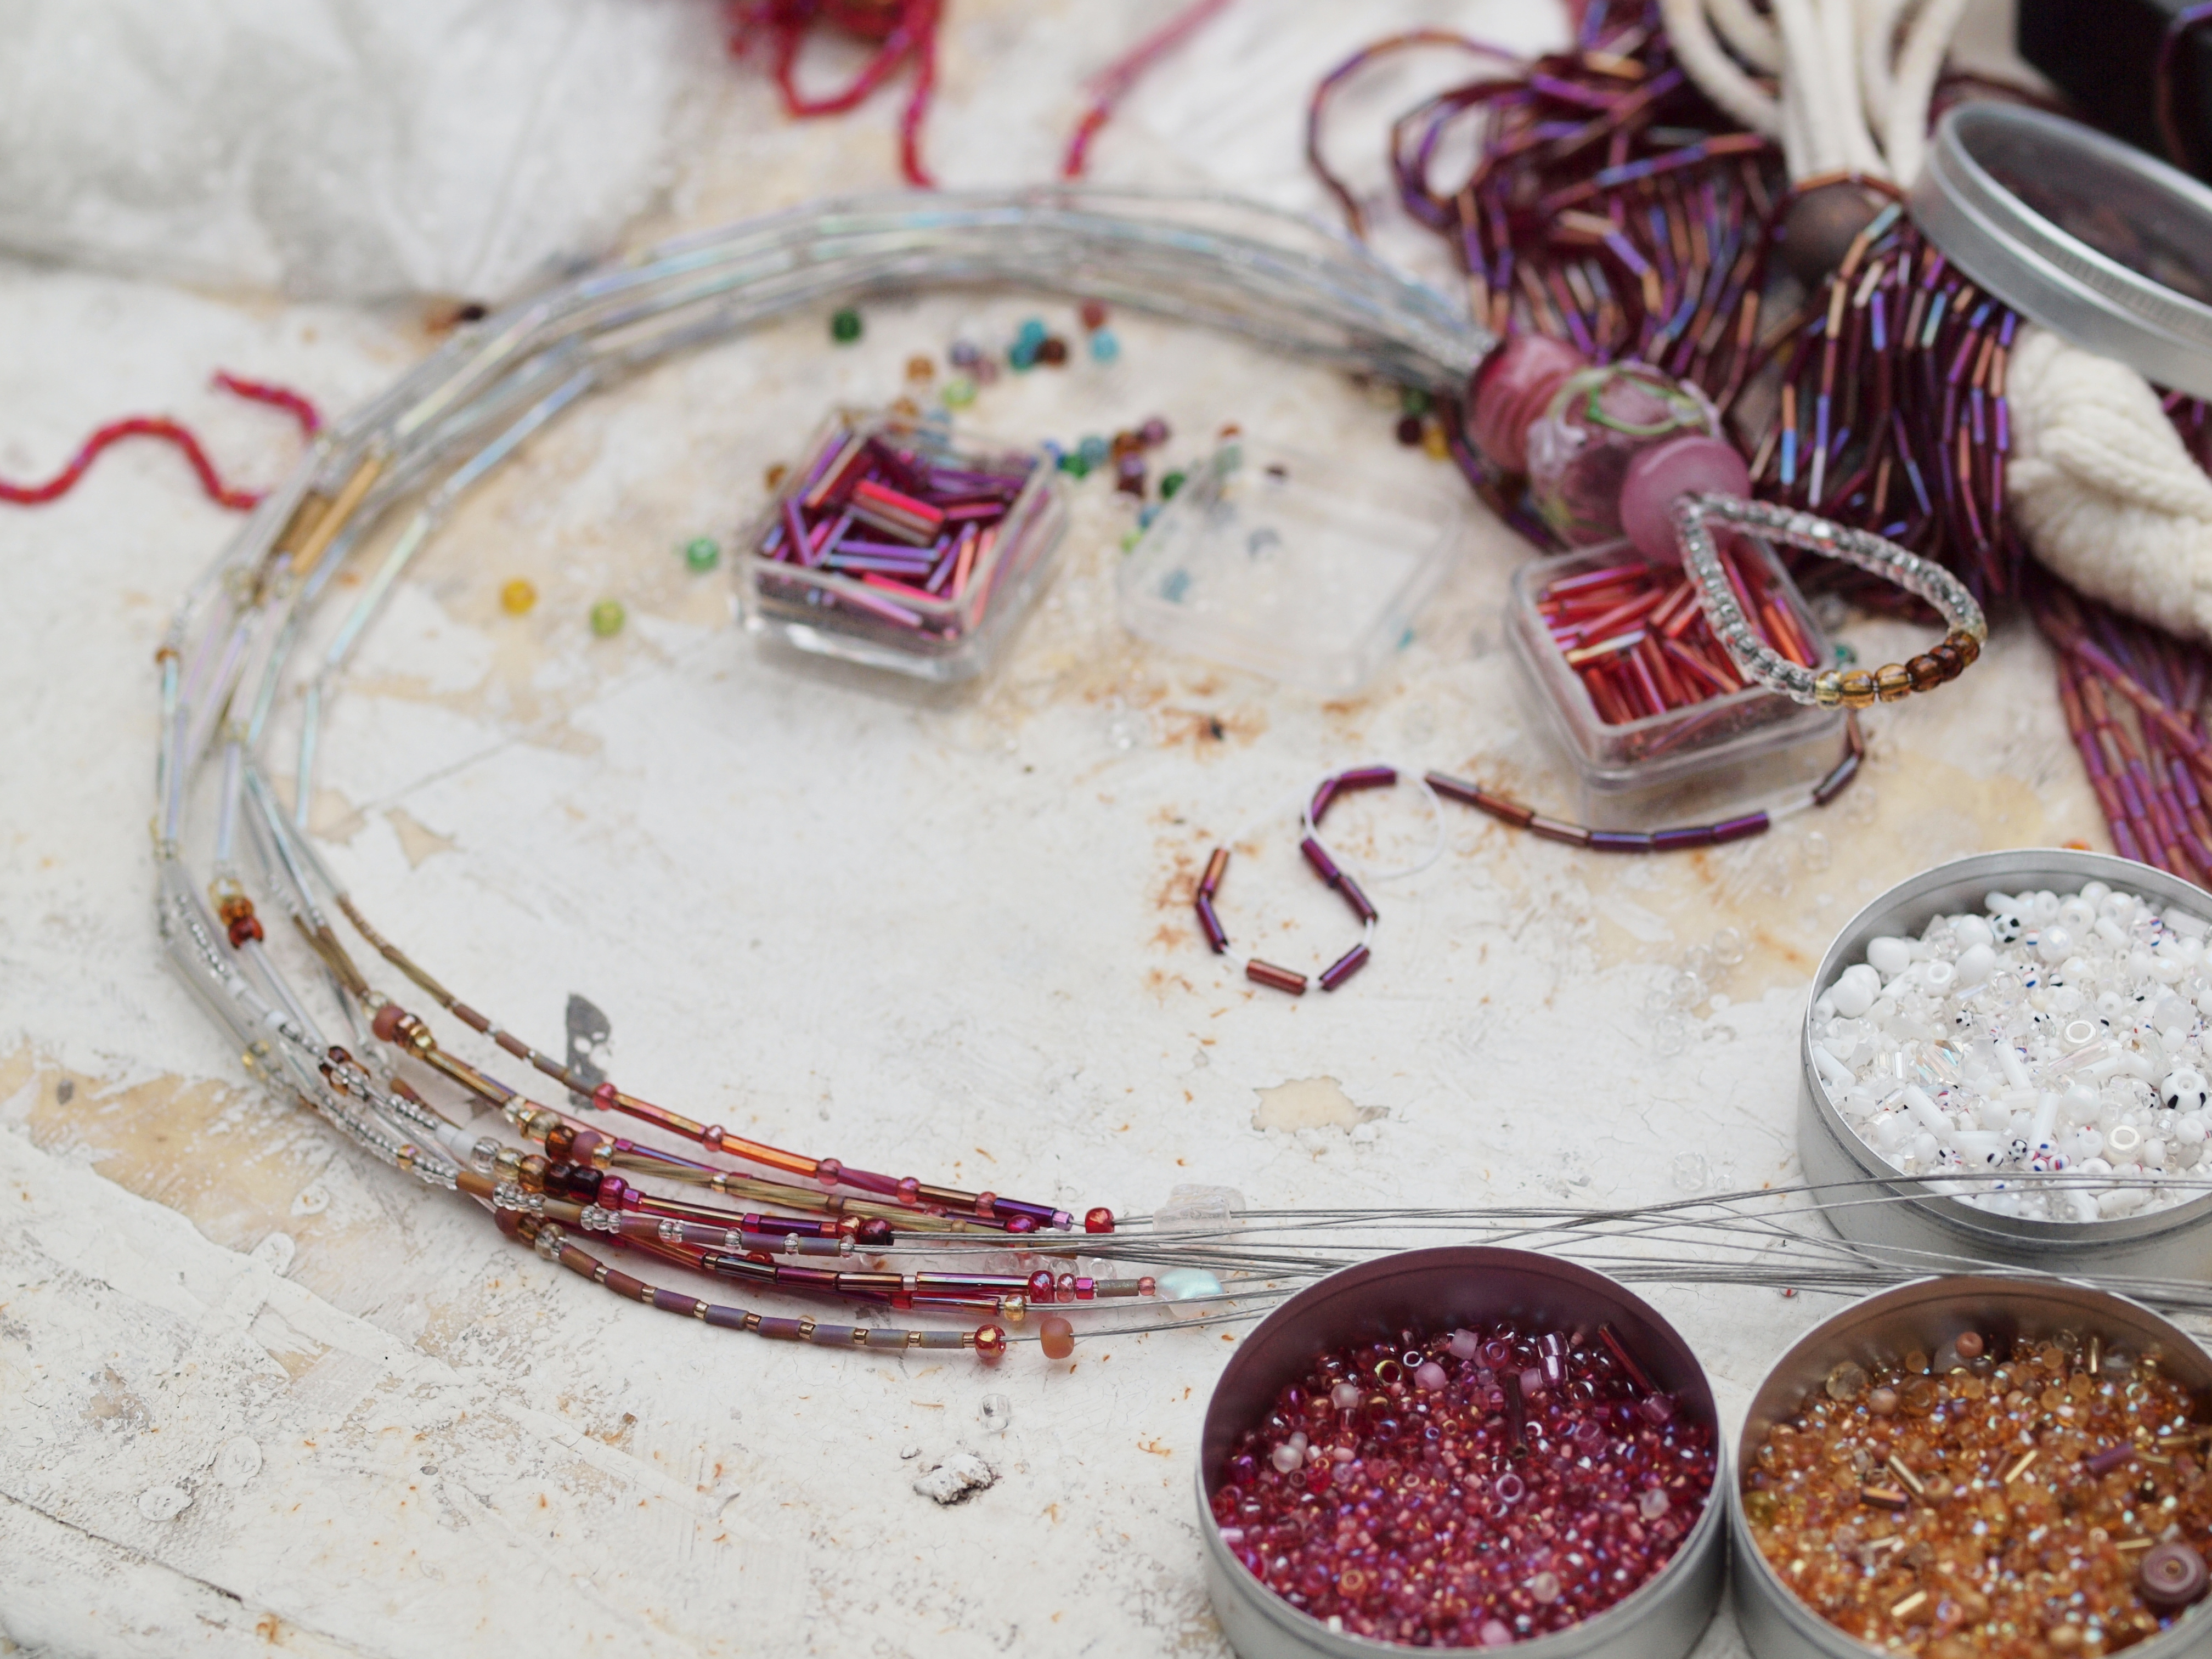
in progress. The loop and three decorative beads (the bottom of which was shown above) are to the middle right of the image; the 8 hanging strands have 2 each pieces of tiger tail in them.
Unless otherwise noted, text, image and objects depicted therein copyright 1996--present sylvus tarn.