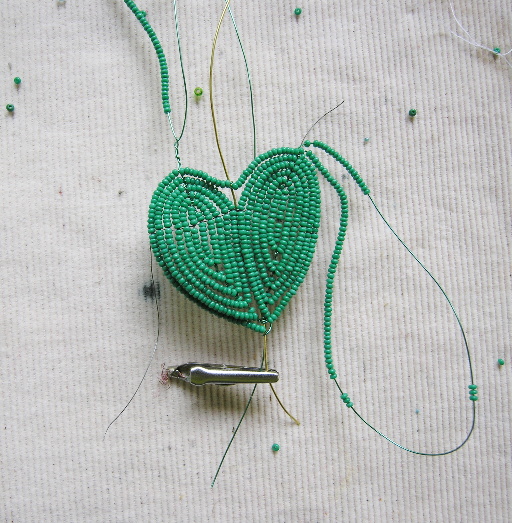
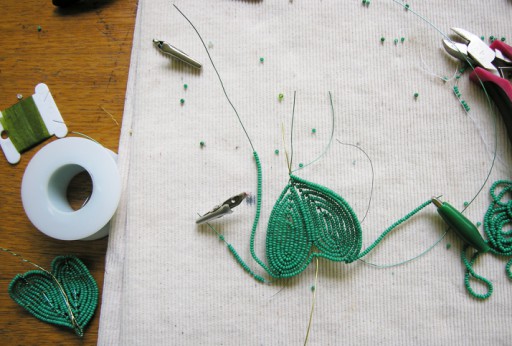
I was able to find an authentic 2008 page I could recycle to finish this tut, yay!
I'm unable to figure out exactly what the hell I did so I can properly write up the tut, boo, hiss![1] For those of you following along at home, it's clear that this leaf uses a variation on the split double technique. Out of the 6 french beaded flower books I own, only two document this advanced technique—one of them being my fave and recommendation, the Virginia Osterland, though Carol Benner Doelp's book also mentions the technique.[2]
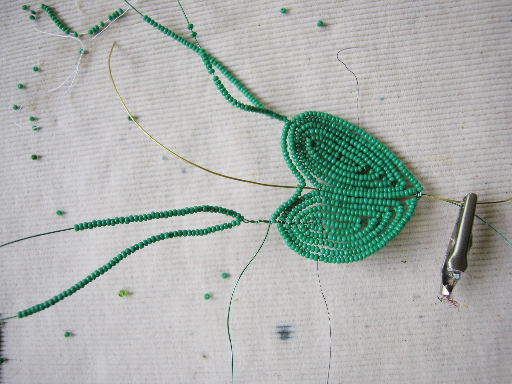
Ok, so, um we've wrapped the heavy brass stiffening wire with our spool wire/beads which is presumably heading off the image at the bottom, there. Note also that I've taken very fine lacing wire to pull the two halves together as well.
Take the spool wire all the way around the leaf, from the pointed tip, around the stem (at the top of image) and back down to the point of the leaf. Clip with a roach clip to keep beads from sliding off, but don't wrap the wire around the brass midrib/stiffening wire.
Now it is time to cut the loops (the things sticking out of the leaf, like rabbit ears.) Cut a loop into unequal sections, with perhaps 1/3 of the beads on the shorter piece of the wire. N.b., that one of the loops have several twists—untwist this first. Put clips on the cut ends to keep beads from spilling off. Cut other loop, as before.
Check to make certain there is the correct number of beads on the cut end (either short or long, doesn't matter) and wrap the wire around the brass stiffening wire. If doing the long piece, you'll also wrap the green wire you clipped in place a couple of steps earlier. Repeat for the other side.
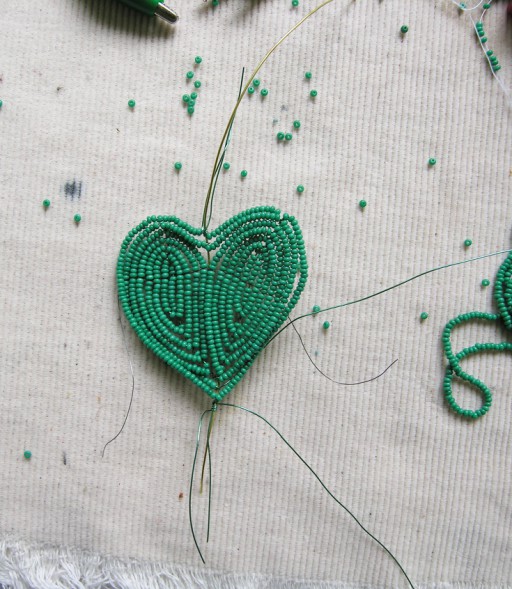
The completed leaf, front. Note the plethora of (spool/beading) wires: three at the bottom, two at the top/stem end of the leaf.
By now you are no doubt wondering why the pattern specifies all this double split basic nonsense (the bunny ear loops) when it would be so much easier simply to take the spool wire around a second time. I believe that the reason I specify this rigamarole is so the beads snug down towards the midrib (brass wire) at the dent in the top of the leaf: They could, if necessary, be made extra long and taken behind the leaf, and added to the pointed tip/midrib wire and wrapped for extra shaping.
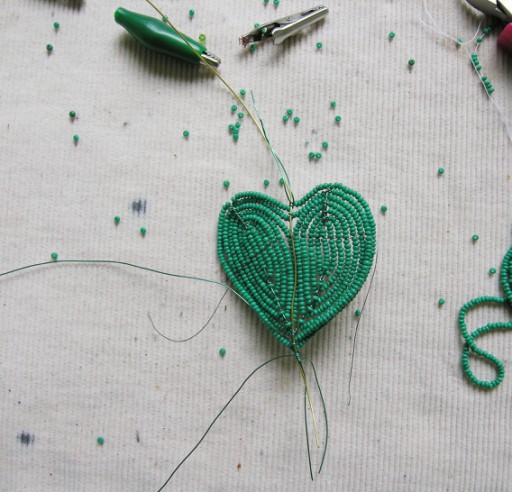
The completed leaf, back. The three spool wires and the stem wire at the tip of the heart need to be folded back to completely finish the leaf, but it's basically ready to use.
In fact, I'd say you might be better off cutting the loops in half, so as to be able to do just that. Note also the lacing extended across the broadest part of the leaf, also to help shape it.
[1]This is in fact why I never finished it in the first place...
[2]Buy the Osterland for value—it has double the number of patterns of modern books, some 60odd iirc as opposed to 24 or 30; the Doelp if you're all about gorgeous photography and lots of step by step pix. Her technique is very loose, though, which I don't like. Otoh, she's got some fun edging/fringy ideas, including a shot of somebody or other's famous cattelya orchid.
Unless otherwise noted, text, image and objects depicted therein copyright 1996--present sylvus tarn.
Sylvus Tarn