Some friends who'd never seen the new house came over to visit last night, and one of them, a talented fellow who's tried leather-work, ceramics, blacksmithing and is an avid knitter, had never seen a bead made before. I did a demo, an amber dottie (he picked the style and color.) He remained equally fascinated by the end of the demo as the beginning, so I asked him if he wanted to try it himself (no matter how much people enjoy watching you make beads, they'd vastly prefer to try. Even if they won't admit it, either to you or themselves.) My job then was to try and teach him. And what a flood of memories that brought back...
The very first beads I made were actually not bad, if you discounted the fact that I destroyed the second one, and the first cracked. I have the third one, an opaque lime green with orange spots and for a totally beginner bead, it's not too-sickmaking.
But that was under the tutelege of my first teacher, Peggy Prielozny. After I got home, I needed to practice using my own tools, on my own time. Being cheap, and knowing it would cost 2 grand to set up a lampworking studio, I tried adapting my meco brazing torch to the task. Let me give you a tip: if you're wanting to start out cheap, just stick with the hothead. You'll get much better results.
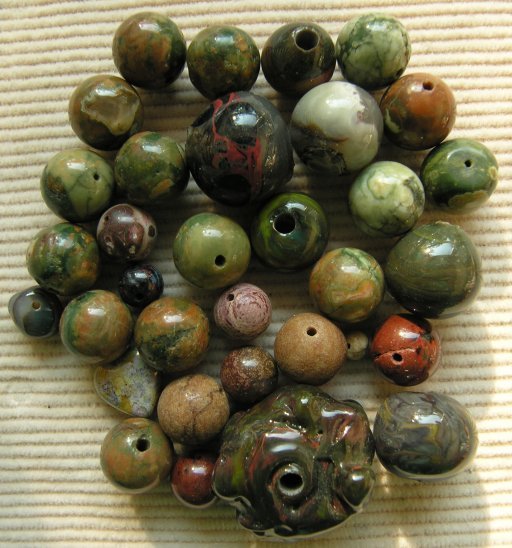
I feel the worst are down just a bit, but these are good competition. Can you spot the glass amongst the rejected stone beads? Well, my color sensibilities were doing okay...hard to imagine that I actually saved these monstronsities with the idea of stringing them some day.
Besides, as anyone who has put some thought into this realizes, it's not the torch that's so expensive—I picked up a used minor for $125—nor even the regulators, at $80 or so a piece (you can get them cheaper, if you work at it a bit, but I'm lazy) nor the oxygen tank (that's another $120 used, at least around here)—it's the kiln. And, as I've mentioned to folks just now wanting to get into beadmaking, competition has brought kilns down in price.
Mine is an Arrow Springs AF99, and it's not as slickly finished as some of the others—the top doesn't even stay completely closed at fusing temperatures—but it's safe to use, owing to quartz-tubing shielded elements, and it's multi-purpose. I've annealed, fused and cooked pmc with it. (My fancy multi-step controller doubled the price, but I love setting it and walking away...but this is not as critical as you might think or as I believed when I thought beadmaking wouldn't be worth doing with out it.)
And, of course, modern beadmakers have the option of going with an oxygen concentrator. Deals can be had for as little as a couple hundred bucks, and they pay back for themselves immediately in terms of safety (no oxygen cylinders to punch through walls or the trunk of your car) and very quickly in terms of price (lessee, $120 for tank plus 5 refills at $15 a pop that last approximately 10 to 15 hours a piece...plus a bonus discount of $40–80 ’cuz you don't need the oxygen regulator any more—sure, they use a little electricity, but otoh you're not spending time, gas money & depreciation to drive to the welders to get ’em filled—even a 4 mile trip will even out.)
In fact you can buy a glass-beadmaking kit for under a hundred bucks (be sure to wear some kind of eye protection!) and a professional setup, including kiln and good ventilation, will cost you less than a thousand, if you shop carefully.
So why? Well, there is a point to all this, besides the fun of it (they're not called fun ugly beads for nothing after all:)
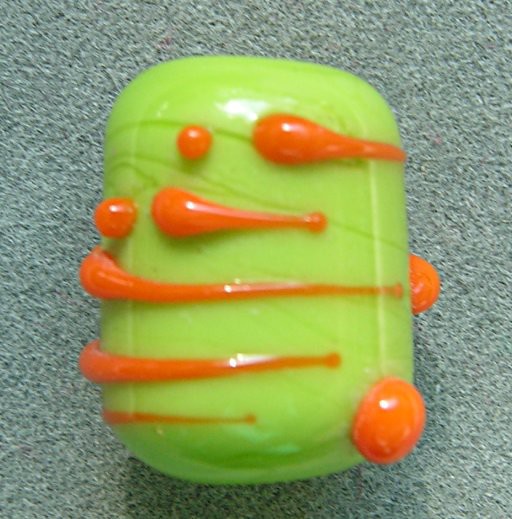
Beginners often have hit or miss luck with their early efforts, and this was one of my hits. For quite a while, I might add.
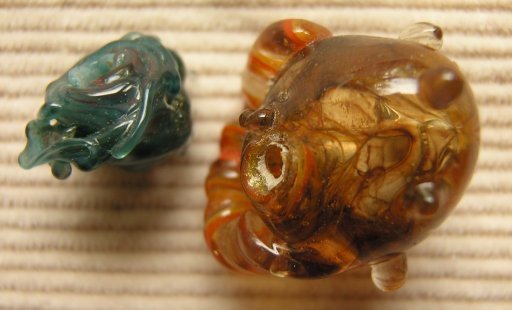
These are the most gloriously ugly beads in my collection. The one on the left is made with bullseye scrap; the one on the right is, I presume, effetre, and they were no doubt worked on the meco, with that dirty acetylene. I had no control over my stringer whatsoever, and you can see I was forcing the glass too cold.
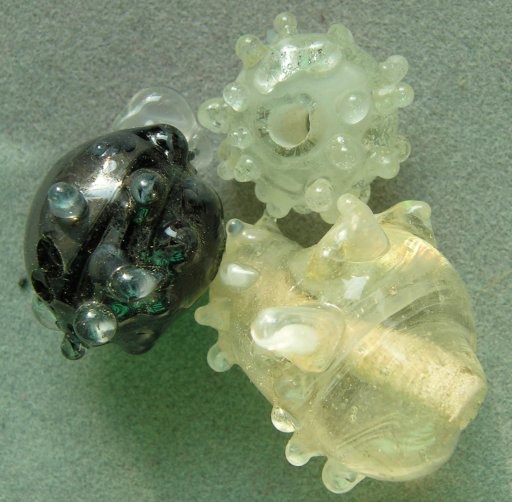
These do not reach the same level of sheer ugliness as the last batch, but it's not for lack of trying. It is the goal of product photography to make the object(s) look as enticing as possible, but my efforts in this medium have not been nearly as sustained [as beadmaking practice]; they're still only marginally under my control. Thus it is these undeserving beads are made an order of magnitude better than they really are; the ugly yellow tints in the clear have dropped out and the scum on the grey bead hints at dichro (it's not!) Ah well...
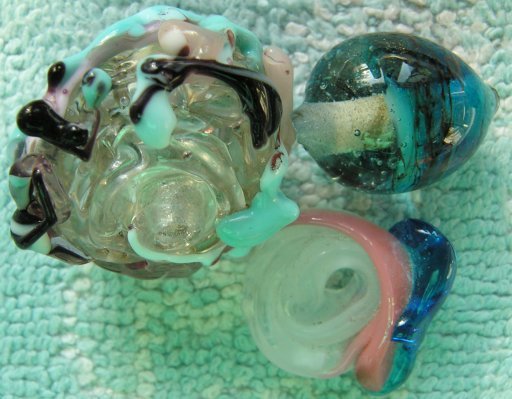
Sad to say, I still make beads with trailing that are just as unattractive as the one on the left.
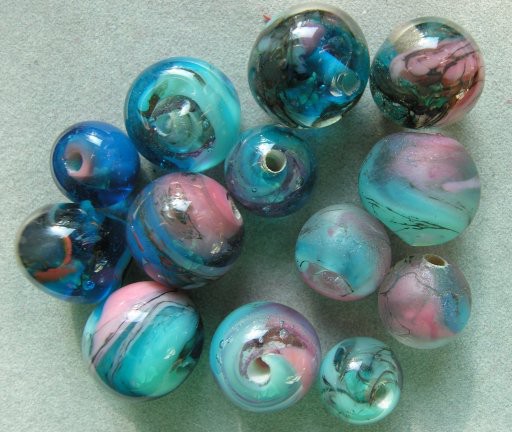
The best of my early efforts. Oh, the carbon scum, the rusty red reduction. Also made with bullseye sheet scrap from my friend page, her taste in glass accounting for any attractiveness in the color scheme. Many are acid etched in an effort to remove grey haze. Again, the reason I have still have them is at the time I was very proud of them, and planned to string ’em up. Now they're merely the level of curiousities, documents of my growth as a beadmaker.
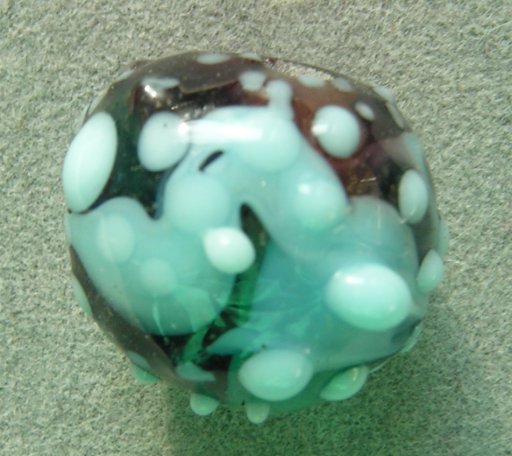
This is a somewhat later bead, where I'm actually attempting my own (copied from someone else, naturally) color combos, rather than just using the colors of scrap I have to hand, and it's pretty bad...but you should (I hope!) start to see a little progression here. This is why your beadmaking teacher always tells you to save all your cracked and broken beads, because though they look awful, you will appreciate them later. I'm up to six or seven jars, now, and that's with the not-too-badly cracked ones going into the bead curtain.
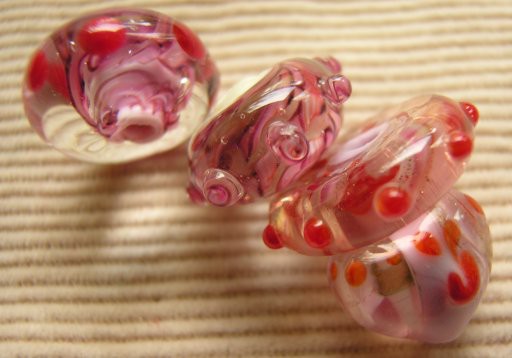
I didn't always made hollow beads. Initially I was fascinated by cased twisty beads. These were actually good enough to sell (ahem, if not for very much), and the only reason I have them is that my spouse selected the ‘best’ to show off to someone or other—perhaps at work—and we both forgot about them for six years or so, till we went to a wedding that required a suit, and discovered them again. Talk about a trip down memory lane. Oh, those hideous holes...
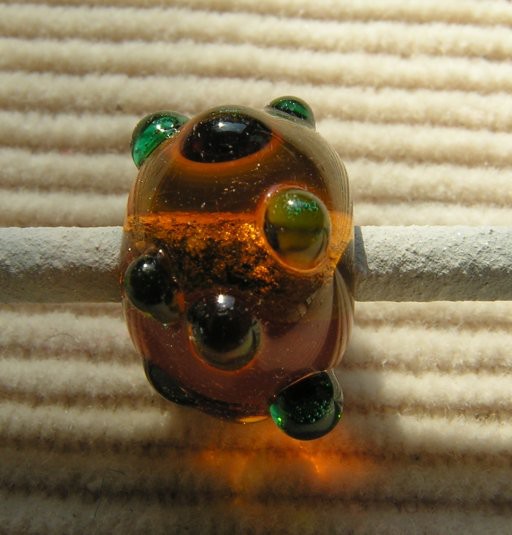
My friend's first effort. He made a quite creditable dottie (though I forced him to use green instead of red, ’cuz red is a striking color, and bit much for beginners.) He made several more beads, trying to put little hooks on the rim of a disk bead. Of course, the glass wanted to slump into soft roundess, so how do I do that? he asked. Let me demo a couple more things, I said, so I showed him how to do a twistie and how to pull his dots into twisted pointed flames.
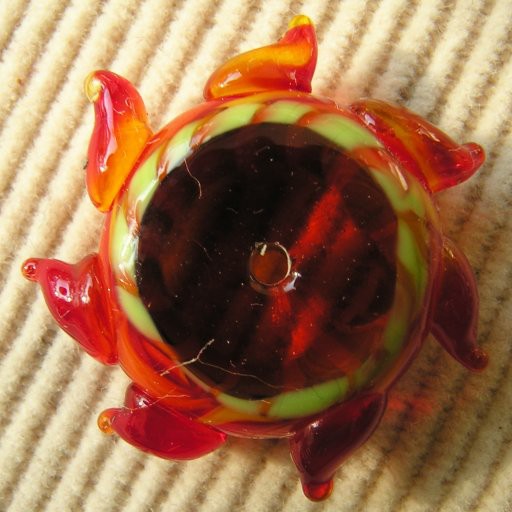
The twistie is nice, he opined, but what's it good for? Ah, I replied, and wrapped my disk demo with a couple of different kinds before putting the flames on it. (and I should've cased with clear: the second twistie would show much better. And lo those still-bad, not-dimpled holes...)
Oh, he said, and went back to work. By the end of 35 minutes or so I could see he was tiring. It is exhausting to work glass as a beginner because your concentration is split so many ways—watching the glass melting off the end of the rod, watching the bead on the end of the mandrel, rotating both, keeping track of the heat base of both, particularly the bead, so it doesn't crack, trying add or shape glass or the while, plus adjust the flame as needed, and work with any tools...I tried to practice an hour every day, six days a week, when I was first learning, and I well remember those early feelings of exhaustion. My practices were limited to 45 minutes to an hour because that was all I could endure, not because I didn't need the practice.
But I think that, just as so many other techniques have propagated during the past 10 years, so have teaching methods. So there you have it, the point of this post: you too can make glass beads. It's fun to play with fire. It's easier than ever, and yours will assuredly look better than mine:) for I truly believe people ramp up much more quickly than they used to. Or perhaps I was just a very slow learner.
But then, I've known that since 2nd grade.
file originally created 29may05, tagging changed from fugly to fridayfugly, 01may14; reformatted from t/l/d to icap/cap structure 16jan19
Unless otherwise noted, text, image and objects depicted therein copyright 1996--present sylvus tarn.
Sylvus Tarn