I know I've recounted stories about acquiring and using various scrap, though I can't find the one in which I rhapsodize about tidying Margaret's studio, and getting a bunch of bullseye sheet edges. —Bullseye still rolls out their sheet by hand (I watched) and oddly enough, the edges look a lot like what I get when trying to roll out pie dough—uneven, slightly thicker, a little lumpy. Fusers tend to discard this scrap, but I begged for it. But, now, of course, I have a great deal of glass to “use up”.
Yes, I know, you're entirely, eternally exhausted hearing about this kink.
Instead of just mashing a molten rod into a pile of pieces 1” or so, I decided to stack pieces crossways on the end of the rod to make stripeys, reasoning this would give me better patterns. The sheet is easier to chop into small (1/4” /6mm) chunks, which I then picked up (more or less) one by one. I would like to say this is an entirely new and creative idea on my part, but I suspect I was dredging up that Kim Fields demo of her bees: she starts by making a small black spacer, then adds striped bodies by applying a dollop of yellow glass on one side, then a dollop of black on tip of that, (rinse, lather, repeat till you get adequate length) then melts it into a smooth form, sags it, and adds the stinger to make the abdomen.
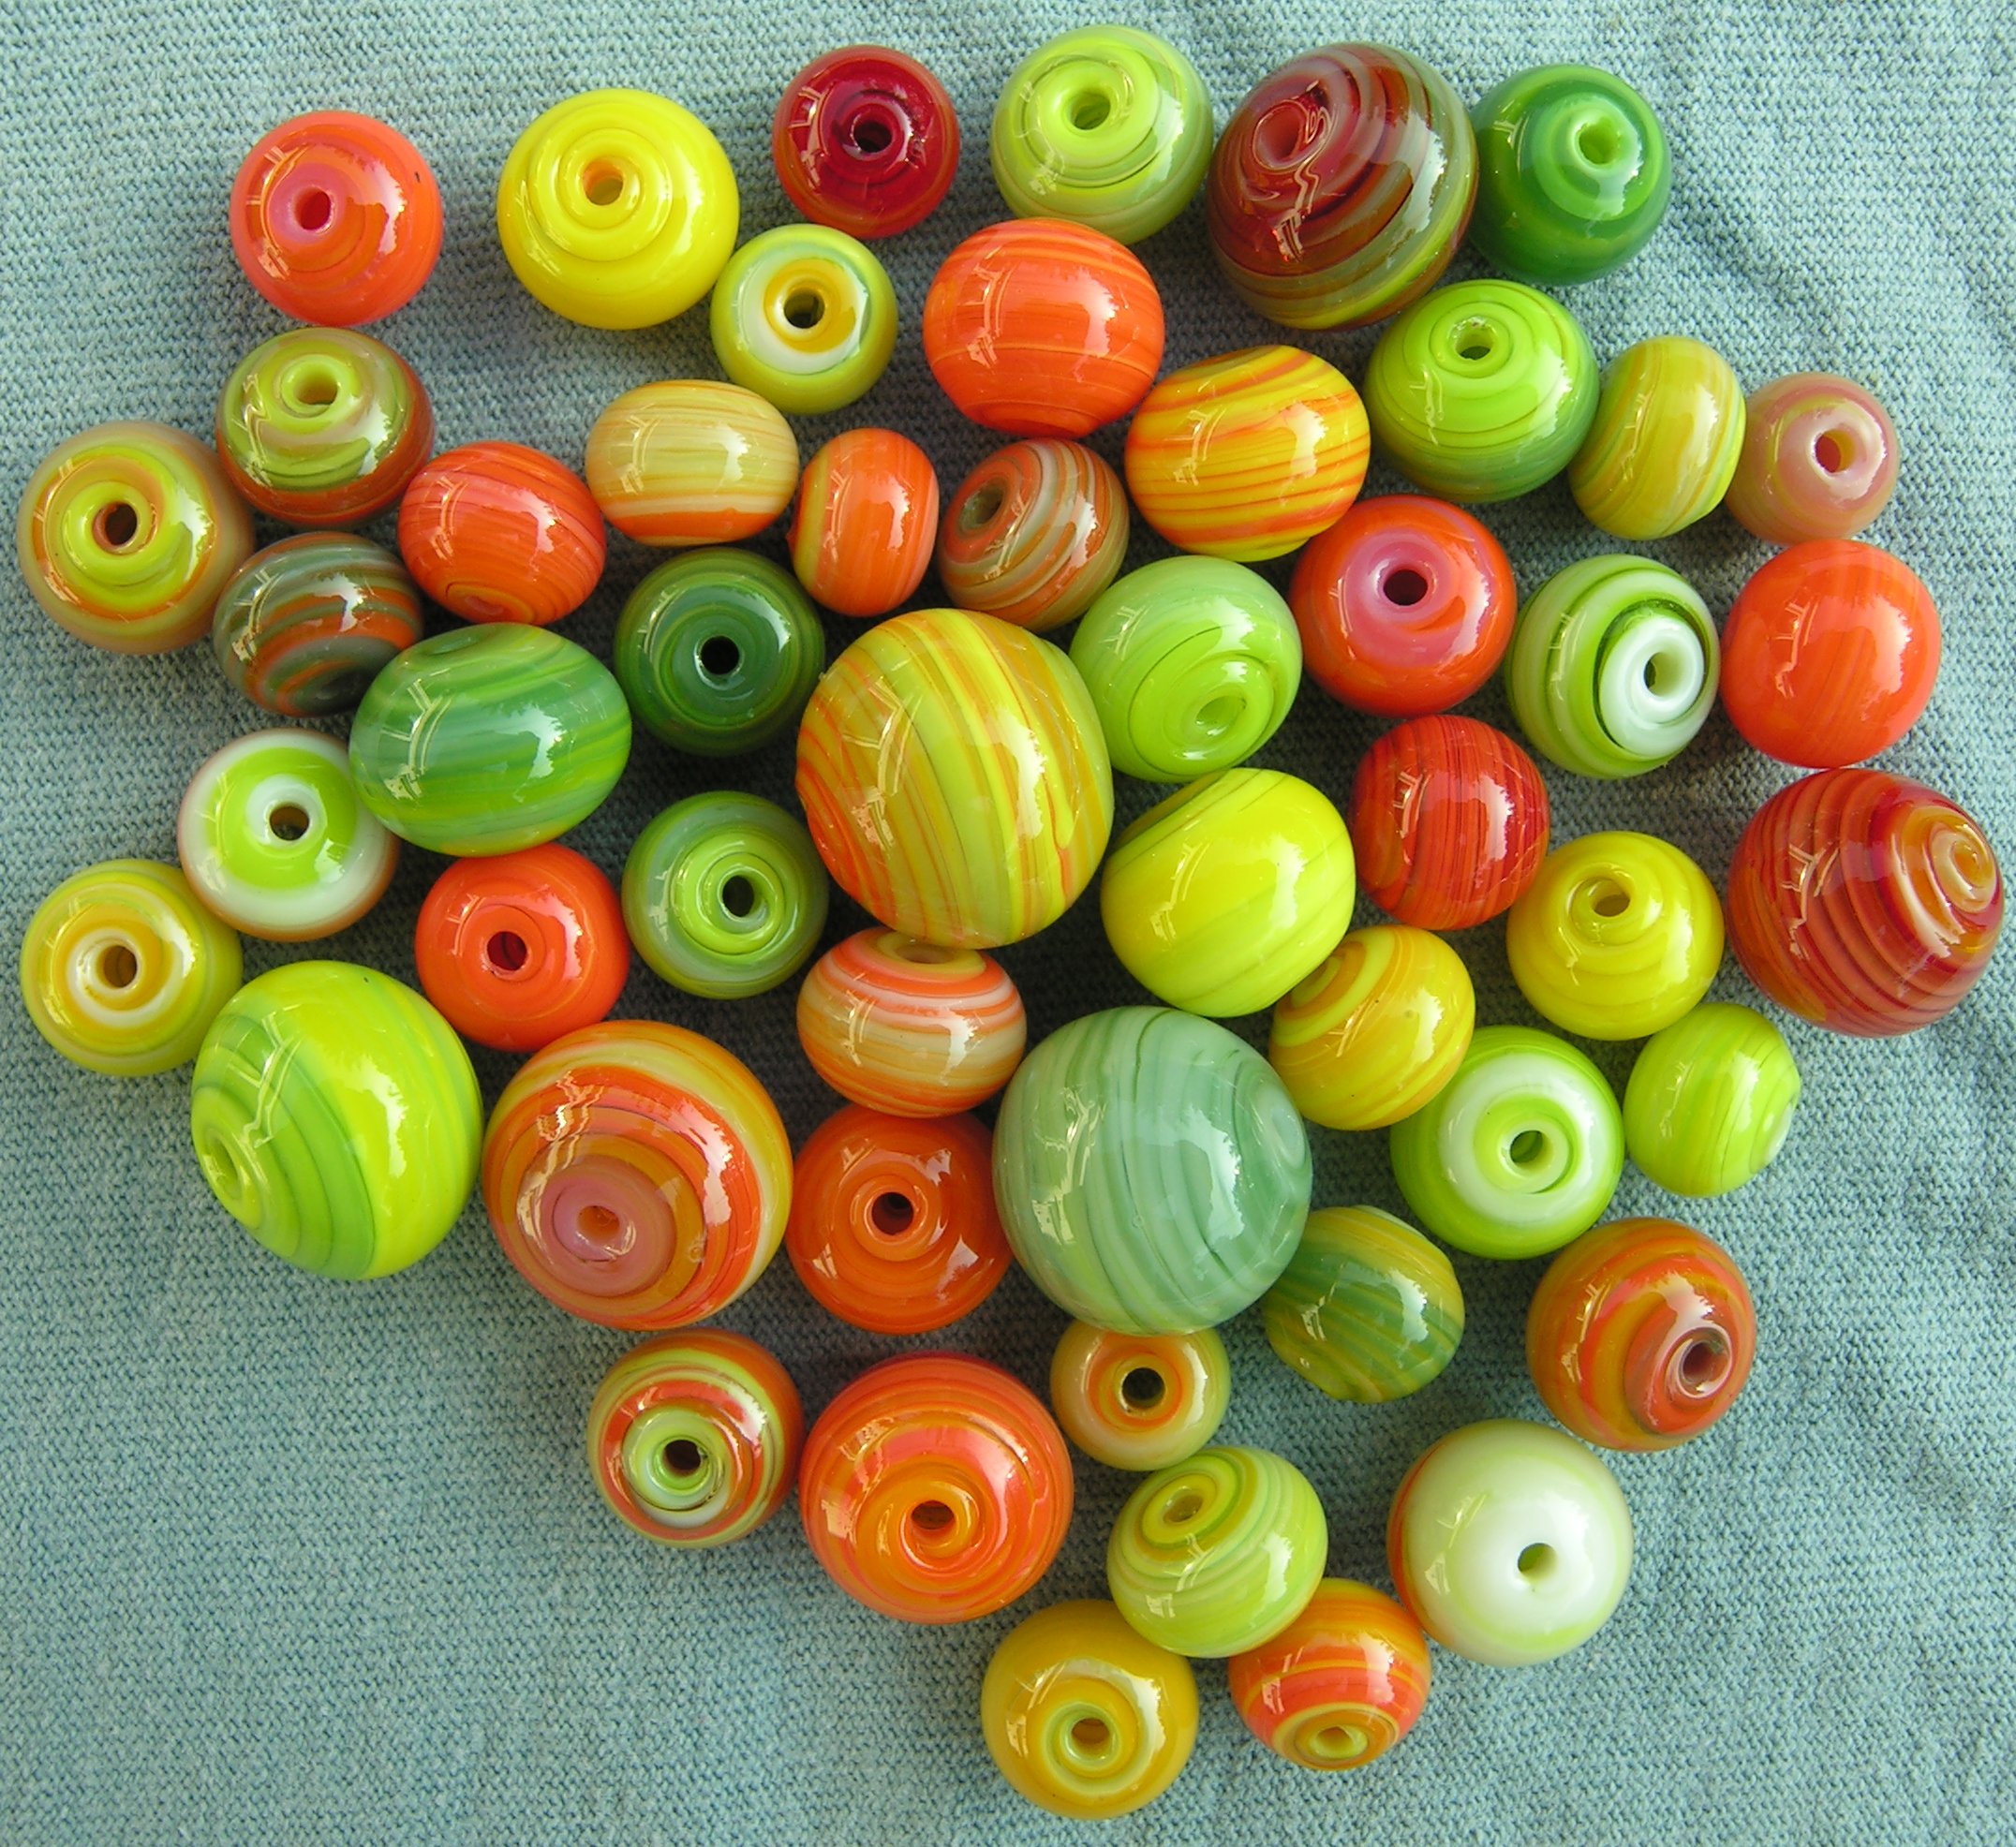
The smallest of these beads also measure 6mm hole to hole, but are wider, and therefore appear bigger than the ones shown yesterday. The largest beads are my usual “small” size, roughly 10-13mm. August 2006, bullseye opalescent rod and sheet scrap. Most built on 1/16” mandrels, just to make my life easier.
This approach worked particularly well with the mini-hollows, for which the glass needs to change color more frequently (think about self-striping sock yarn versus traditional ombres) but it's slower, and eventually I got impatient and reverted back to my bad old ways. I did discover, however, that the spring green (that's the bright yellow-lime one) mixed nicely with orange, canary and marigold yellows, as well as the (newer) sunflower yellow and the pumpkin oranges, to which chunks of the darker green (olive? forest?) did not come amiss. White and vanilla filled in as transitions.
Lately, as I may have mentioned, I've been playing with making beads entirely without hand tools—just laying down the glass and melting the two halves together entirely with heat and gravity. The advantage to this approach, of course, is that you don't get any marver scum (plus you can impress your friends). But my other, long term goal has always been the pursuit of the perfectly shaped bead, and that's a journey I fear will have no end in site as long as I'm still making beads. Stripeys, like abstracts have at times been particularly problematic because the varying viscosities of transparent and opaque glasses has tended to cause the beads to be misshapen.
This annoys me to no end.
However, just as one of the critical secrets to making a no-marver hollow relies upon gentle but continuous heating, so too does the perfect stripey. One way to tell whether you're (or at least I'm) heating the glass too fast is it develops a wedge shape: that is, you're twirling the hollow donut on your mandrel, and one half, usually the top, is lower and wider, while the other is narrower and taller. In a very exaggerated form, it looks like you've got a piece of candy cane threaded crosswise on a stick, and though sometimes more heat will even things out, the better solution to this problem is to apply what I think of as ‘soft’ heat—a bushy flame distributed over the entire surface of the bead, rather than a defined flame that focuses on one area of the bead (say, the upper half).
This not only seals the lips of your hollow bead halves before they
collapse, it also yields nice even stripeys. But wait, you say, it
sounds like you're using all opalescents (Bullseye opaques) for gorgeously formed some, but not all, decently shaped stripeys. What about
reintroducing transparents back into the mix? Well, turns out it
works for those too.
So: when shaping your bead, either turn down the torch (or if you're lazy like me) move the bead up in the flame (some 6”/18cm or more) with enough heat to move the glass, but not so much you have to pull the bead out of the flame to let it stiffen; if you're bobbing that bead in and out, it's too hot. You'd be surprised how fast this seemingly low heat (and gravity of course) can shape your bead, but, see the thing is, you don't have to wait around reheating—all your time in the flame is used to work the bead, not in letting it stiffen or warm back up.
That saves a lot of wasted resources on several fronts.
And this, you say, is my secret to the universe? Well, yeah, it is. Some of us are very easily impressed.
file created 09aug06; file name changed to add image # 08sep06
Unless otherwise noted, text, image and objects depicted therein copyright 1996--present sylvus tarn.