Little embroidered pouches are a quick and fun project to do, as they can be completed in one day.[1] This page includes some process shots for how I do them.
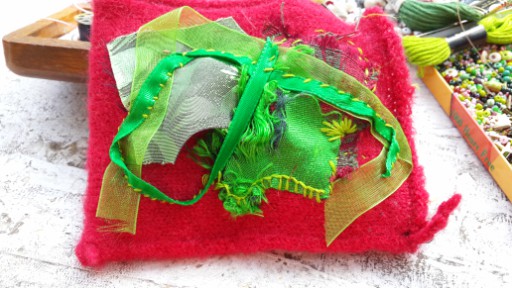
Start by gathering together the fabric for the bag, lining and zipper. Select some co-ordinating or contrasting scraps—in this case, bits of silk, tapestry sample fabric and ribbons.
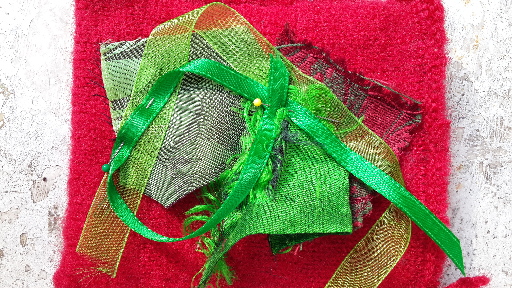
S4, 07sep15. Click on any image to see a full res version—recommended, since the downsizing algorithm went to town with moire effects. Sorry about that.
After removing the pockets from the jacket (& deciding whether to sew on the ‘outside’ or inside—i.e. with knit or garter stitch facing up[2] Pin scraps roughly in place.
Because the fabric was so thick (and relatively loose, even with felting) I relied solely upon hand embroidery to help finish the edges (and add some lime to the design.)
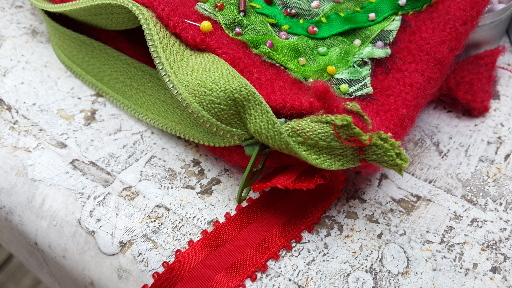
The next step, after doing the bead embroidery, is to insert the loop and zipper, which I stitched by hand, after failing to on a similar project with machine.
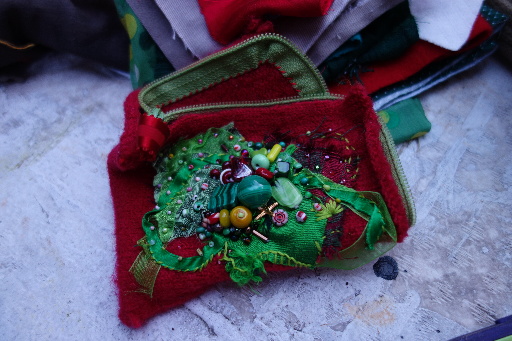
Zipper insertion completed, 07sep2015. The project sat as shown for a week or so, then I finally got around to putting the lining in.
There are two of these little pouches in this sub-series, and this one was my favourite (because of not having the turquoise and pink ribbon), so I saved the sour green zipper for it.
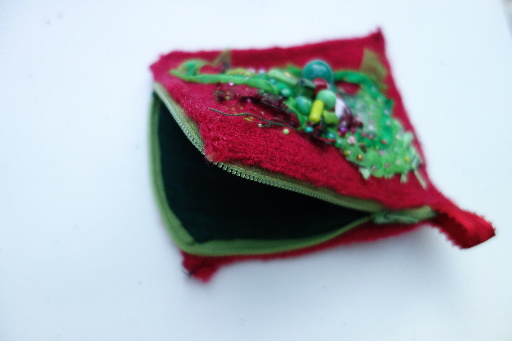
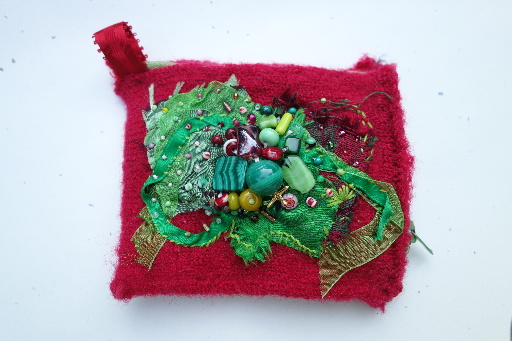
Open. Same dark green silk lining. Red wool, silk, ribbon, glass beads Started 07sep15, completed sometime by 17sep15.
Unlike the first two pouches in this series, these are embroidered only one side, and include scraps of fabric applique. This one as a better ribbon loop insertion.
Finished and ready to use: I keep my guild holiday exchange bracelets in them.
Unless otherwise noted, text, image and objects depicted therein copyright 1996--present sylvus tarn.
Sylvus Tarn