So recently, I acted as a studio assistant to a Kim Fields workshop. She taught her sculptural flowers the first two days, and her glorious birdies the second two.
I loved the flowers, but it was obvious by the first demo (let alone the last) that the floral techniques are not for lazy, impatient flameworkers like myself. I count myself lucky, however, if I pick up a new technique or two, and besides the crisp floral demos Kim kindly did just for me (is that not generous? —always a marker of a really good teacher, in my book) I did learn a couple of fun things. One involved plunging murrini; the other, multi-layered opaque canes. —I've done the latter, but only with two layers; Kim uses up to four. Pretty impressive!
Perhaps the most useful thing I picked up, though, is yes, you really can work that cold. This became even more obvious with the birds, which I mostly discovered by doing (I only got to see one demo all the way through, the chickadee.)
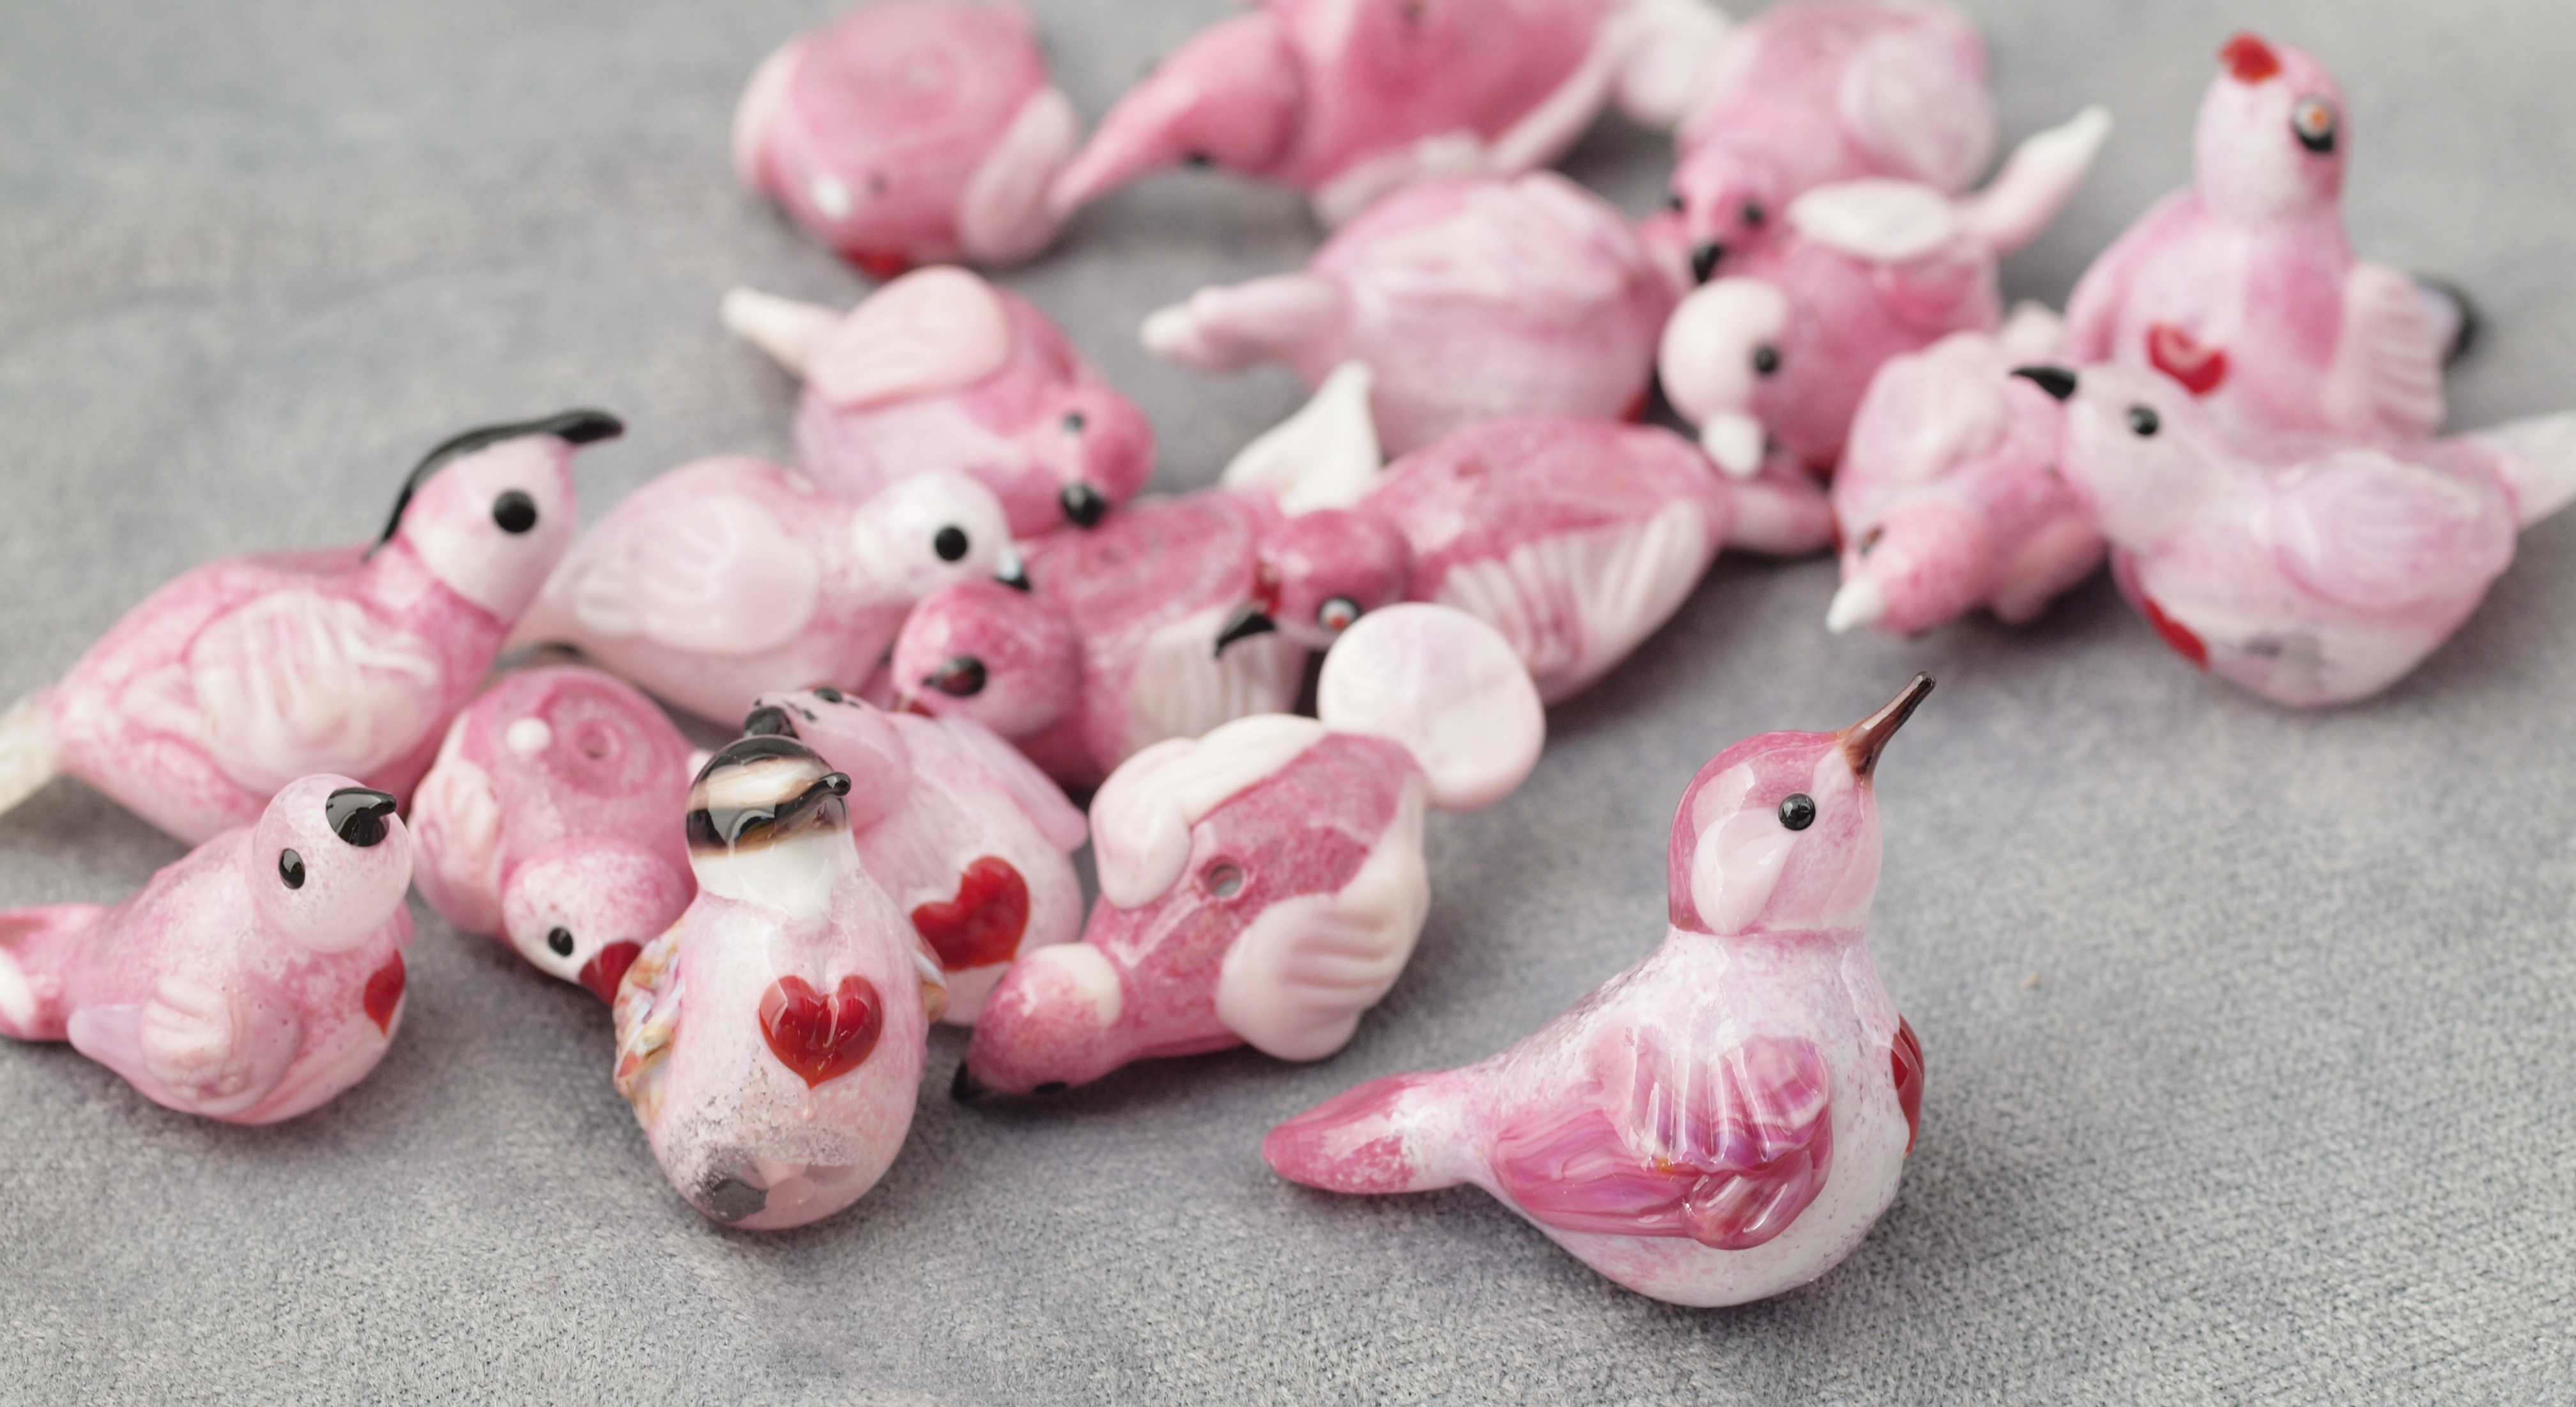
Birds. Hollow soft glass beads, decorated with thompson enamels and trailed hearts. The one in the foreground is a fantasy pink version of a red-breasted nuthatch.
To be honest, I no longer recall the order in which Kim assembles her birds (and anyway, you should take her class if you want to learn how to make them—I mean, her splendid bird was featured on the cover for The Flow's last Women in Glass issue) but I concluded if I were gonna be at all successful in doing this sort of sculptural beadmaking I would need to practice. And since our guild was in the middle of a february hearts challenge, I figured by the time I finished with 12 or 24 birdies I would have a handle on them.
So, that's what I did.
Stiffer glass is generally thought to be easier for sculptural, and also real birds—like many animals—often have a somewhat graded transition between their underparts and backs. I figured I could (ha) kill two birds with one stone by rolling the diskiest, fattest donut hollows I could manage in thompson enamals.
I'd start by rolling the entire bead in white, then the tip in the darkest or next darkest opaque pink available, stepping down (literally as well as figuratively) to the lighter pinks, with a layer of transparent cherry over all for additional blending, and to help avoid the boiling to which the opaques are prone.
Then I would flatten the bead, pull points for the head and tail region; add and razor wings (by far one of the most difficult aspects for me)[1] The position of the wings usually gives me enough of a sense to predict where the little breast heart (my nod to the requirement of the challenge, which required a heart theme). On good days I was able to rake it with a glass rod pulled hair thin at the end, no other fussing required.
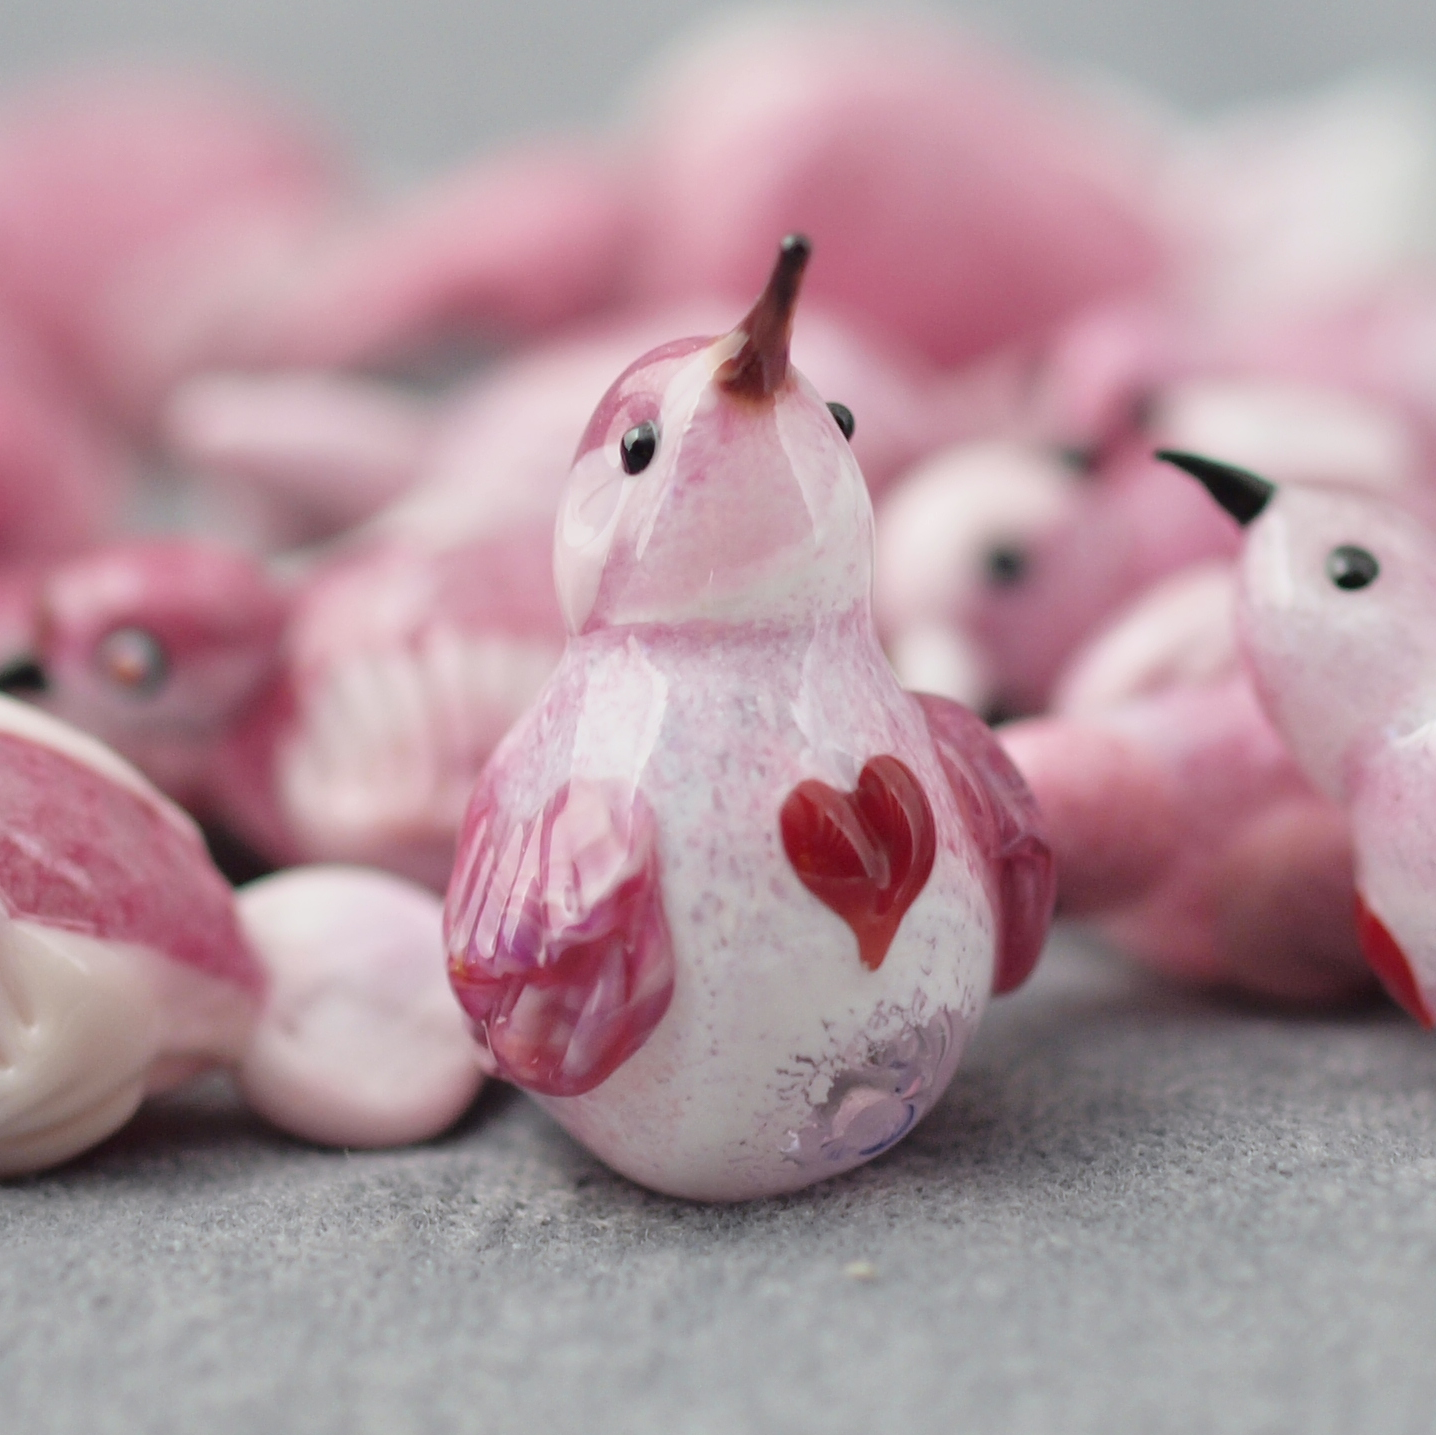
This was the last one in the series, and my favorite.
Since the tail is less complicated than the head, I put that on next. My early efforts using shears yielded something far more appropriate to fish. Le sigh. Kim has amazing control over the fine bent tip forceps she uses for this part, which, needless to say I don't. I ended up doing a lot of wiping on and off, interspersed with softening and pulling to point. And the tails are still pretty bad.
Then I added a big dot of glass on the other end for the head. By rolling the ventral (belly) side in white, and the dorsal part in a dark pink, and then raking down the midline (throat and nape) this helped to blend the head enamels into the body. Then two dots of intense (stiff) black on either side. Letting these cool while gently heating the head meant they simultaneously stayed round and small while deforming the head glob into something more bird shaped. And while mashing, I could twist or bend the head glob so the eyes lined up. This, to my mind, was a nice example of solving a problem creatively to make the end product better (in this case fixing mis-aligned eyes with a more lifelike cock to the bird's head).
Then there was just pulling the beak, which is one of my favorite parts. I didn't worry about making them realistic (obviously) but I did play around with different body shapes, heads and beaks, enough to begin to get a sense of how various species might be represented.
Somewhat to my surprise, putting the birds in the pin polisher to clean them (albeit at half-speed) didn't break the beaks, though I did have problems with the enamel spalling around the top hole. Pre-grinding that area with a diamond bit solved that problem.
My birds still have a ways to go[2] , but I expect I'll be able to make some (bald eagles & our state bird) for f2tY to take to Japan, which is the goal. Plus, I discovered I can ‘pull out’ features with thomspon enamels, which means, Yay, I can do human faces in enamels. Goodie!
And the birds? Well, I wrapped them all up, and they seemed to be a pretty big hit at the last meeting, not to mention f2tE snapping up the black striped one before I even finished the series.
[1]I should note it's tricky: even Kim only uses an approximation of actual feather patterns in her birds, and I spent a goodly amount of time looking at photos and books on animal anatomy to get a sense of how bird wings actually fold on the bird's body. Turns out the primaries insert to what is analogously the bird's ‘fingers’, and the whole business is quite a bit more complicated than is usually depicted—and, I'll note, the Ernest Thompson Seton drawings, from the late 1800s, were ultimately more useful than the other, more modern, (and extremely expensive) animal anatomy book I consulted.
[2]Kim is not gonna have to worry about any serious competition from me, that's fer shure...
Unless otherwise noted, text, image and objects depicted therein copyright 1996--present sylvus tarn.