Someday I'll have to finish up with all the process pix I shot of the pink and green plant hanger, but in the meantime, here are some briefer ones for the fourth in this series.[1]
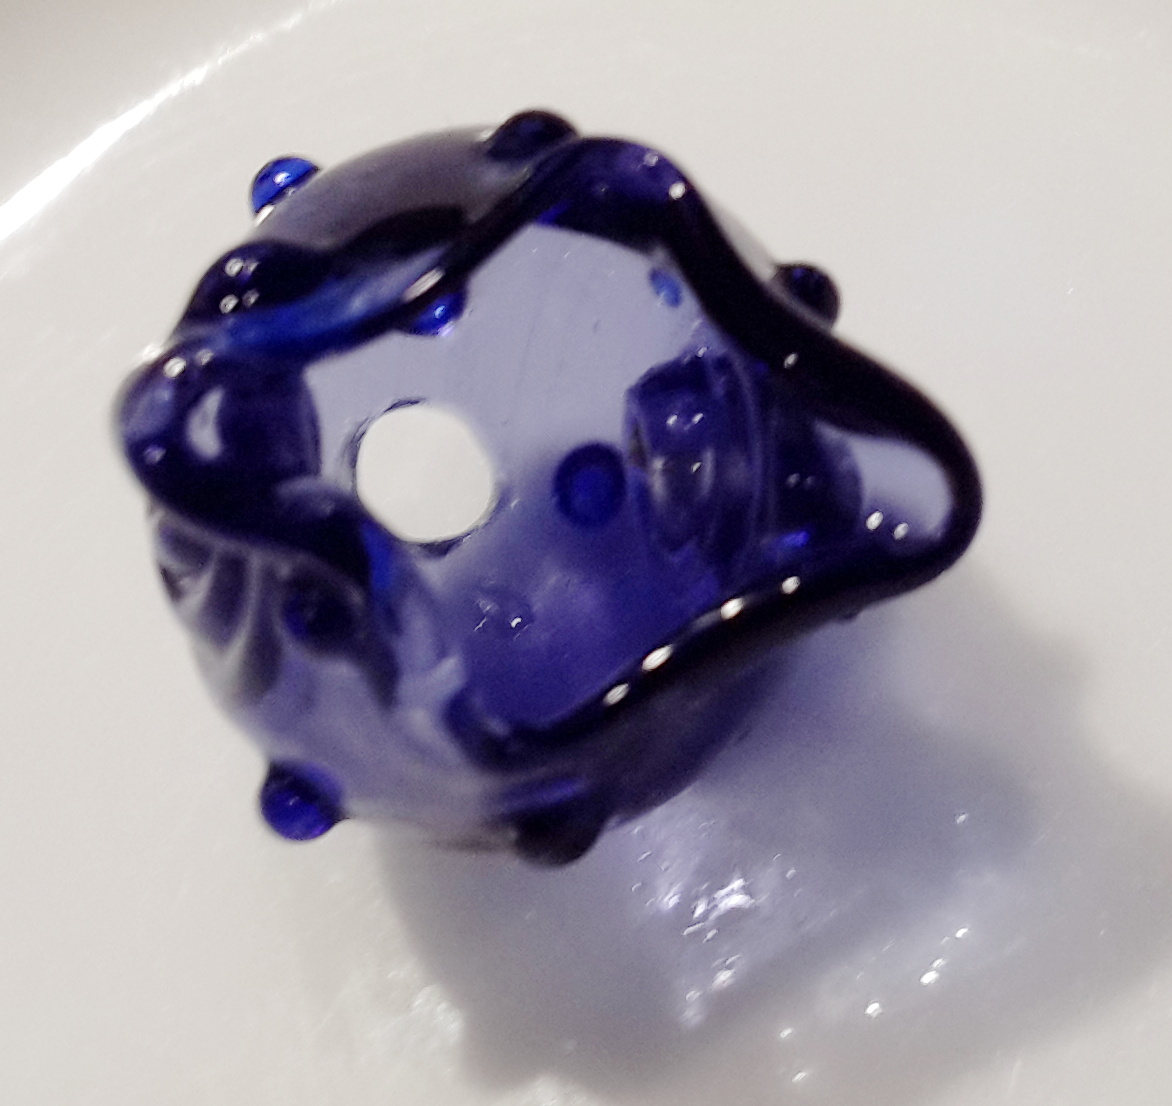
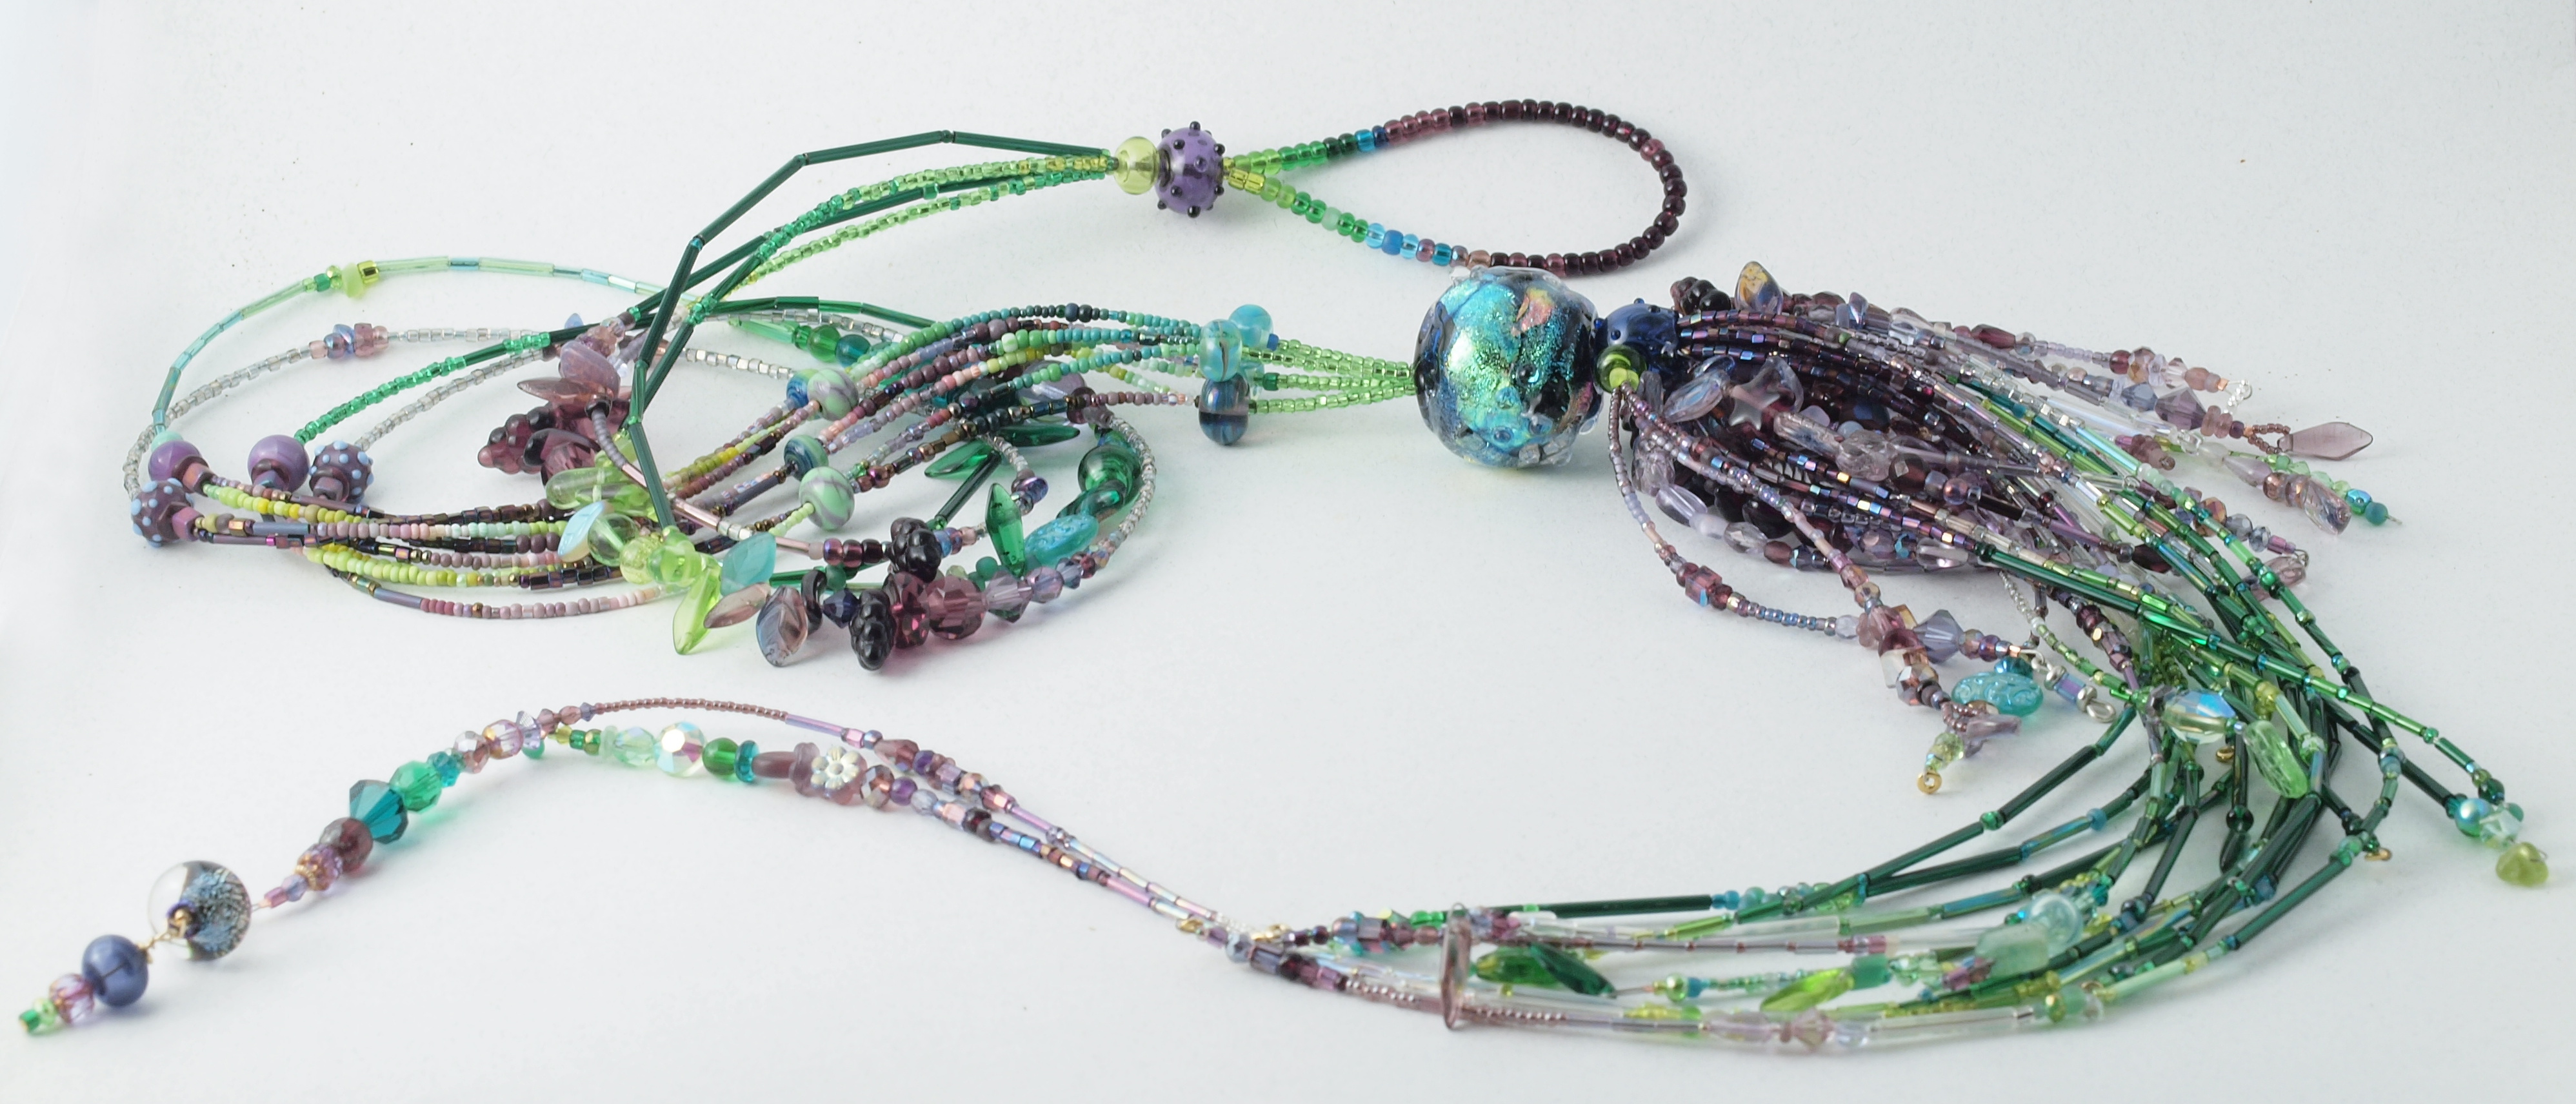
After pulling the beads for the project (or at least some of them—I always add as I go along) I cut 4 pieces of tigertail (7 strand 018) each about 3 yards (meters) long, and strung them all through 8/0s in graduated colors to make a center loop. This left me 4 pieces of tiger tail sticking out either end of 5–6 inches (125-150mm) of beads positioned in the middle. I folded the beaded portion to make a loop, threading all 8 strands through a holder bead, another purple dottie; then divided the strands into pairs to begin making the ‘hanger’ part of the piece. I had inherited a lot of daggers and other similarly off-centered beads, and thought incorporating them, and some leaves, would make the hanging part more visually interesting.
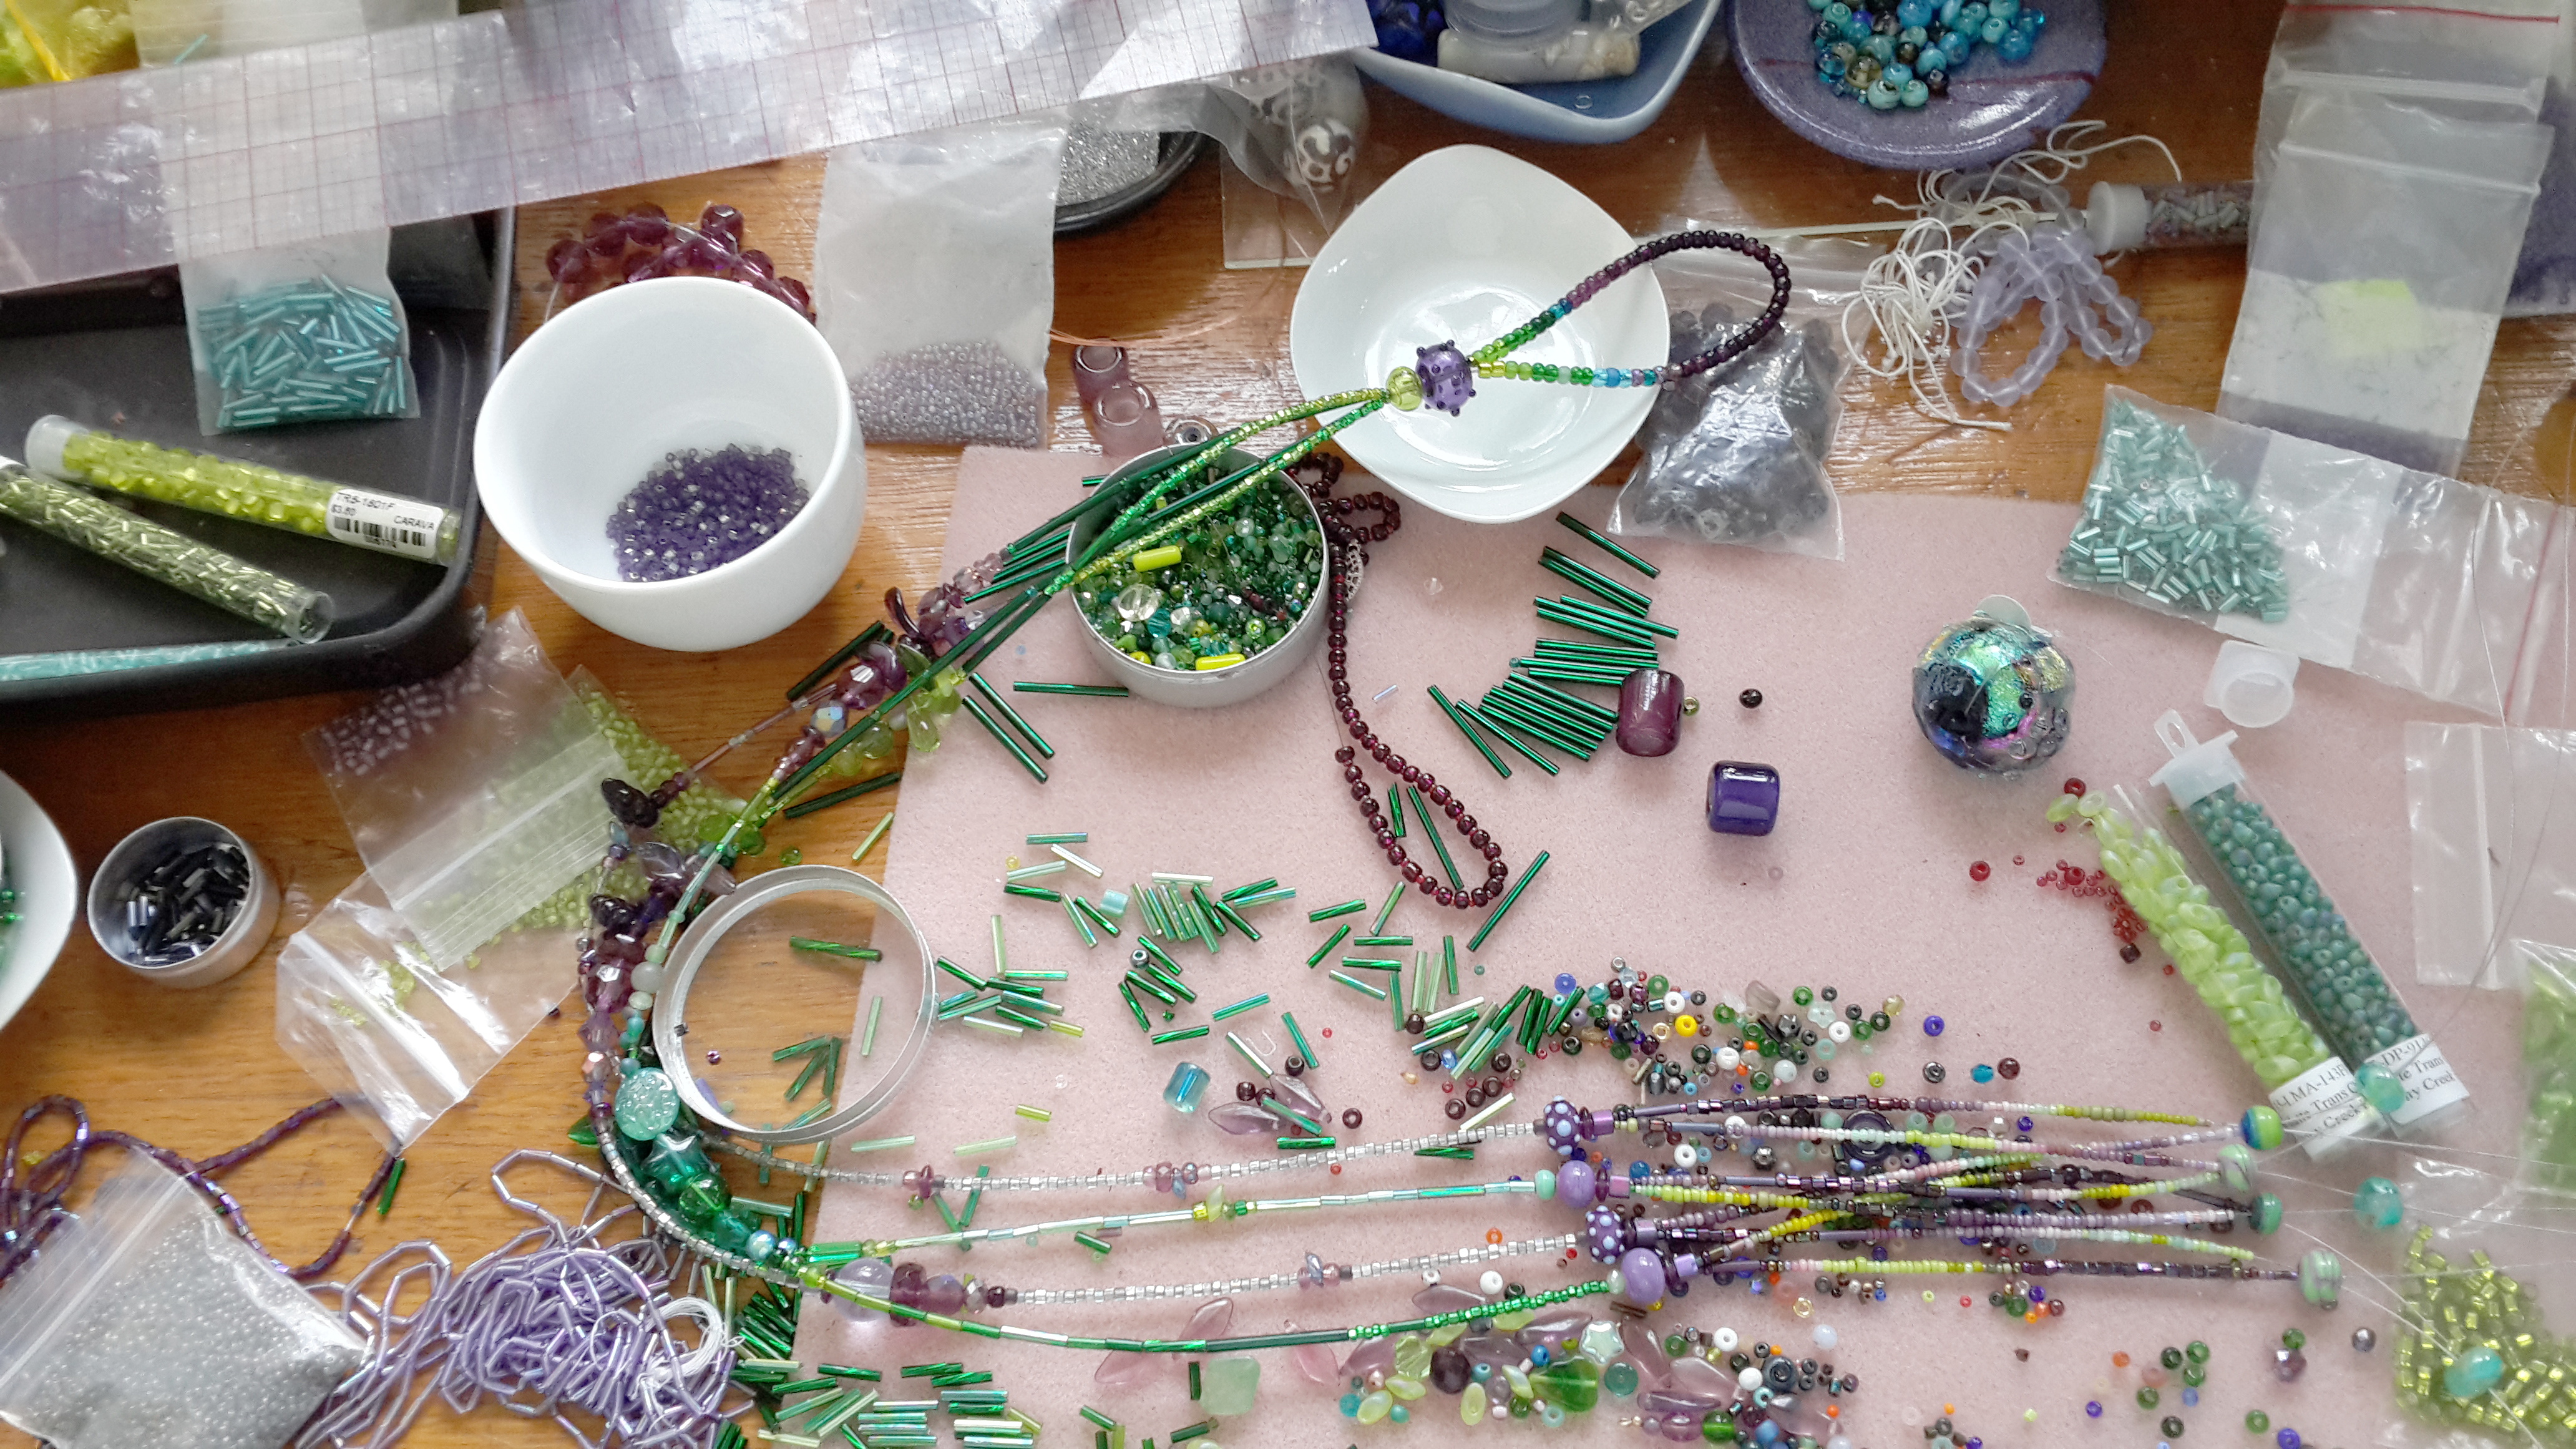
stringing in process: loop, strands completed and first course of webbing completed. The little purple beads with periwinkle dots may have been made by friend Ona Sostakas, who sadly died of cancer last year. Note the daggers and other off-center drills used to add interesting texture and visual bulk to the hanging strands.
In this sense, the multistrand tassel necklaces that I've been making over the years are feeding back into the design, because I'm mapping stringing patterns onto the hanging strands, which are, in effect, highly (visually) spread ‘multistrand’ portions.
I strung roughly 16 inches (400mm) of that, then put on little lampwork spacers. In the original plant hanger, of course, these would've held the doubled strands together; here, they're primarily a visual accent. Then I split the strands and started the webbing, which, since it lies against a pot, I do in opaques, rather than transparents.[2] The first row is about 4 inches/100mm; then another set of lampwork spacers—with relatively large holes, so as not to kink or strain the tigertail at the split/bend point. Then 2.5 inches (62mm) for the second course. For the last course, which is roughly an inch (25mm) I double the tigertail again, running it through rocailles because of those nice, big holes. (Also, this part of the webbing stands away a bit from the pot, so the transparency works.)
To sum up in a chart:
- Cut 4 pc tigertail/beadalon 3 yards/3m long
- String all 4 pcs thru 4–7" (100–225mm) 8/0 (6mm)rocailles
- Move rocailles to center of tigertail; fold over to make a loop
- string doubled (8 pcs) tigertail through bead
- divide tigertail into 4 groups of 2pc
- string 16 inches (400mm)
- Put on spacers (i.e. decorative lampwork 8–12mm); divide into singletons
- string 4" (100mm) with seed beads/bugles 6mm or less
- match into pairs, string each pair (2 strands) into a spacer (e.g. small lampwork bead) to begin mesh
- split back into 8 strands
- string 2.5" (62mm) with seed/bugles
- match into pairs, shifted one over to create mesh, string each pair into lampwork
- keep strands in pairs, continue stringing with 1" (25mm) rocailles or other seed beads with holes big enough to take two strands
- Gather all 8 strands into focal
- Begin tassel (see detailed instructions below)
Round about this time, I started thinking about the tassel. In the past I've simply stuck in extra strands of tigertail crosswise (horizontally), squeezing it between the 8 strands (4 to a side) sideways, and between the main focal and the bead just below it up-and-down. This time I came up with a similar but slightly different approach.
I picked out a purple ‘screamer’ and using a diamond coated bit, drilled a hole opposite the hole pop. This gave me a bead with four holes, 90 degrees apart along the equator of the bead.
Screamer 3hole bead with fourth hole drilled out. Sorry about the crappy focus. I was more interested in stringing the piece than checking my photography.
I ran the 8 main strands through the new hole and out the screamer opening; and threaded 3 other pieces through the original mandrel holes. Around two of them I looped a bunch of loose pieces of tigertail (the parabola shape). The advantage to this method is the second bead shows, rather than being hidden under a mass of sticking-out tassel strands.
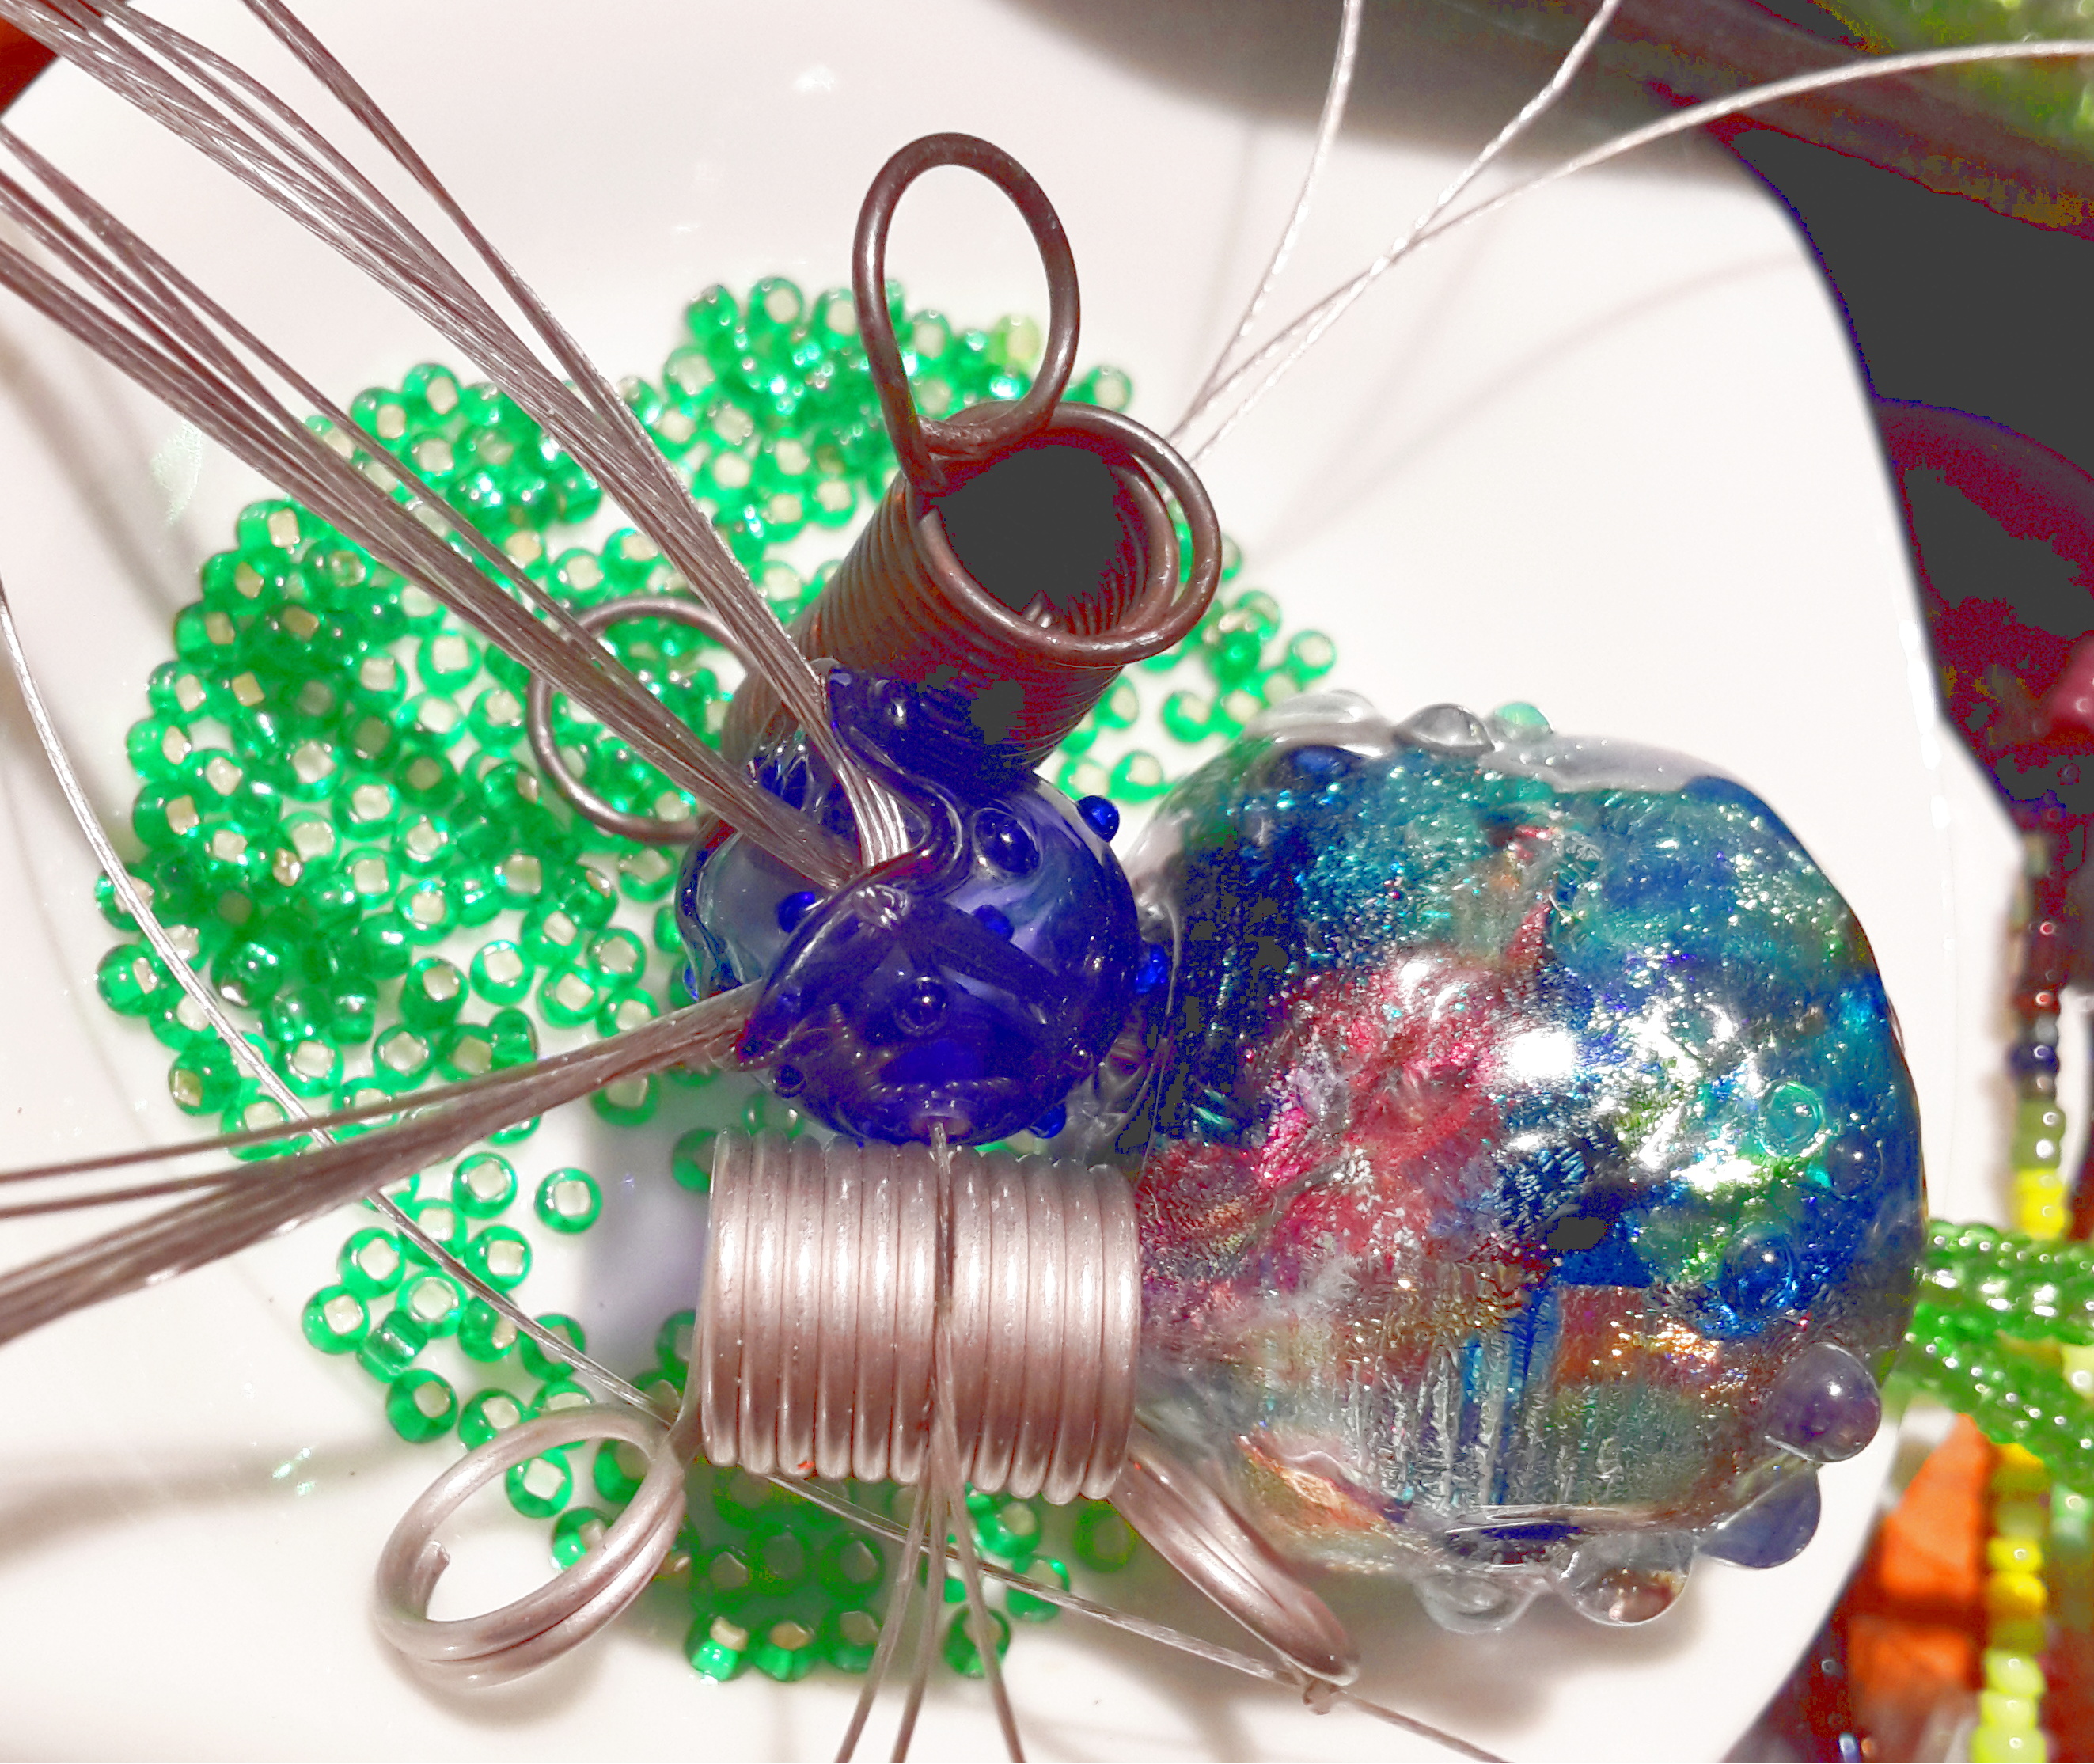
Dichro focal with setup for tassel. The clips hold the side-to-side tigertail that acts to retain the extra tassel strands. Photo sucks, sorry about the horrid color—this is what I get for doing image editing in bright sunlight.[3] Hopefully you can sort of see what's going on, at least.
I was pretty happy with the way the pink and green tassel hung, but I wanted something a little less over the top. Plus, as I said I had all these daggers, grape bunches, leaves, etc which I thought would string up to make a sort of Dale Chihuly reverse-teardrop shape.
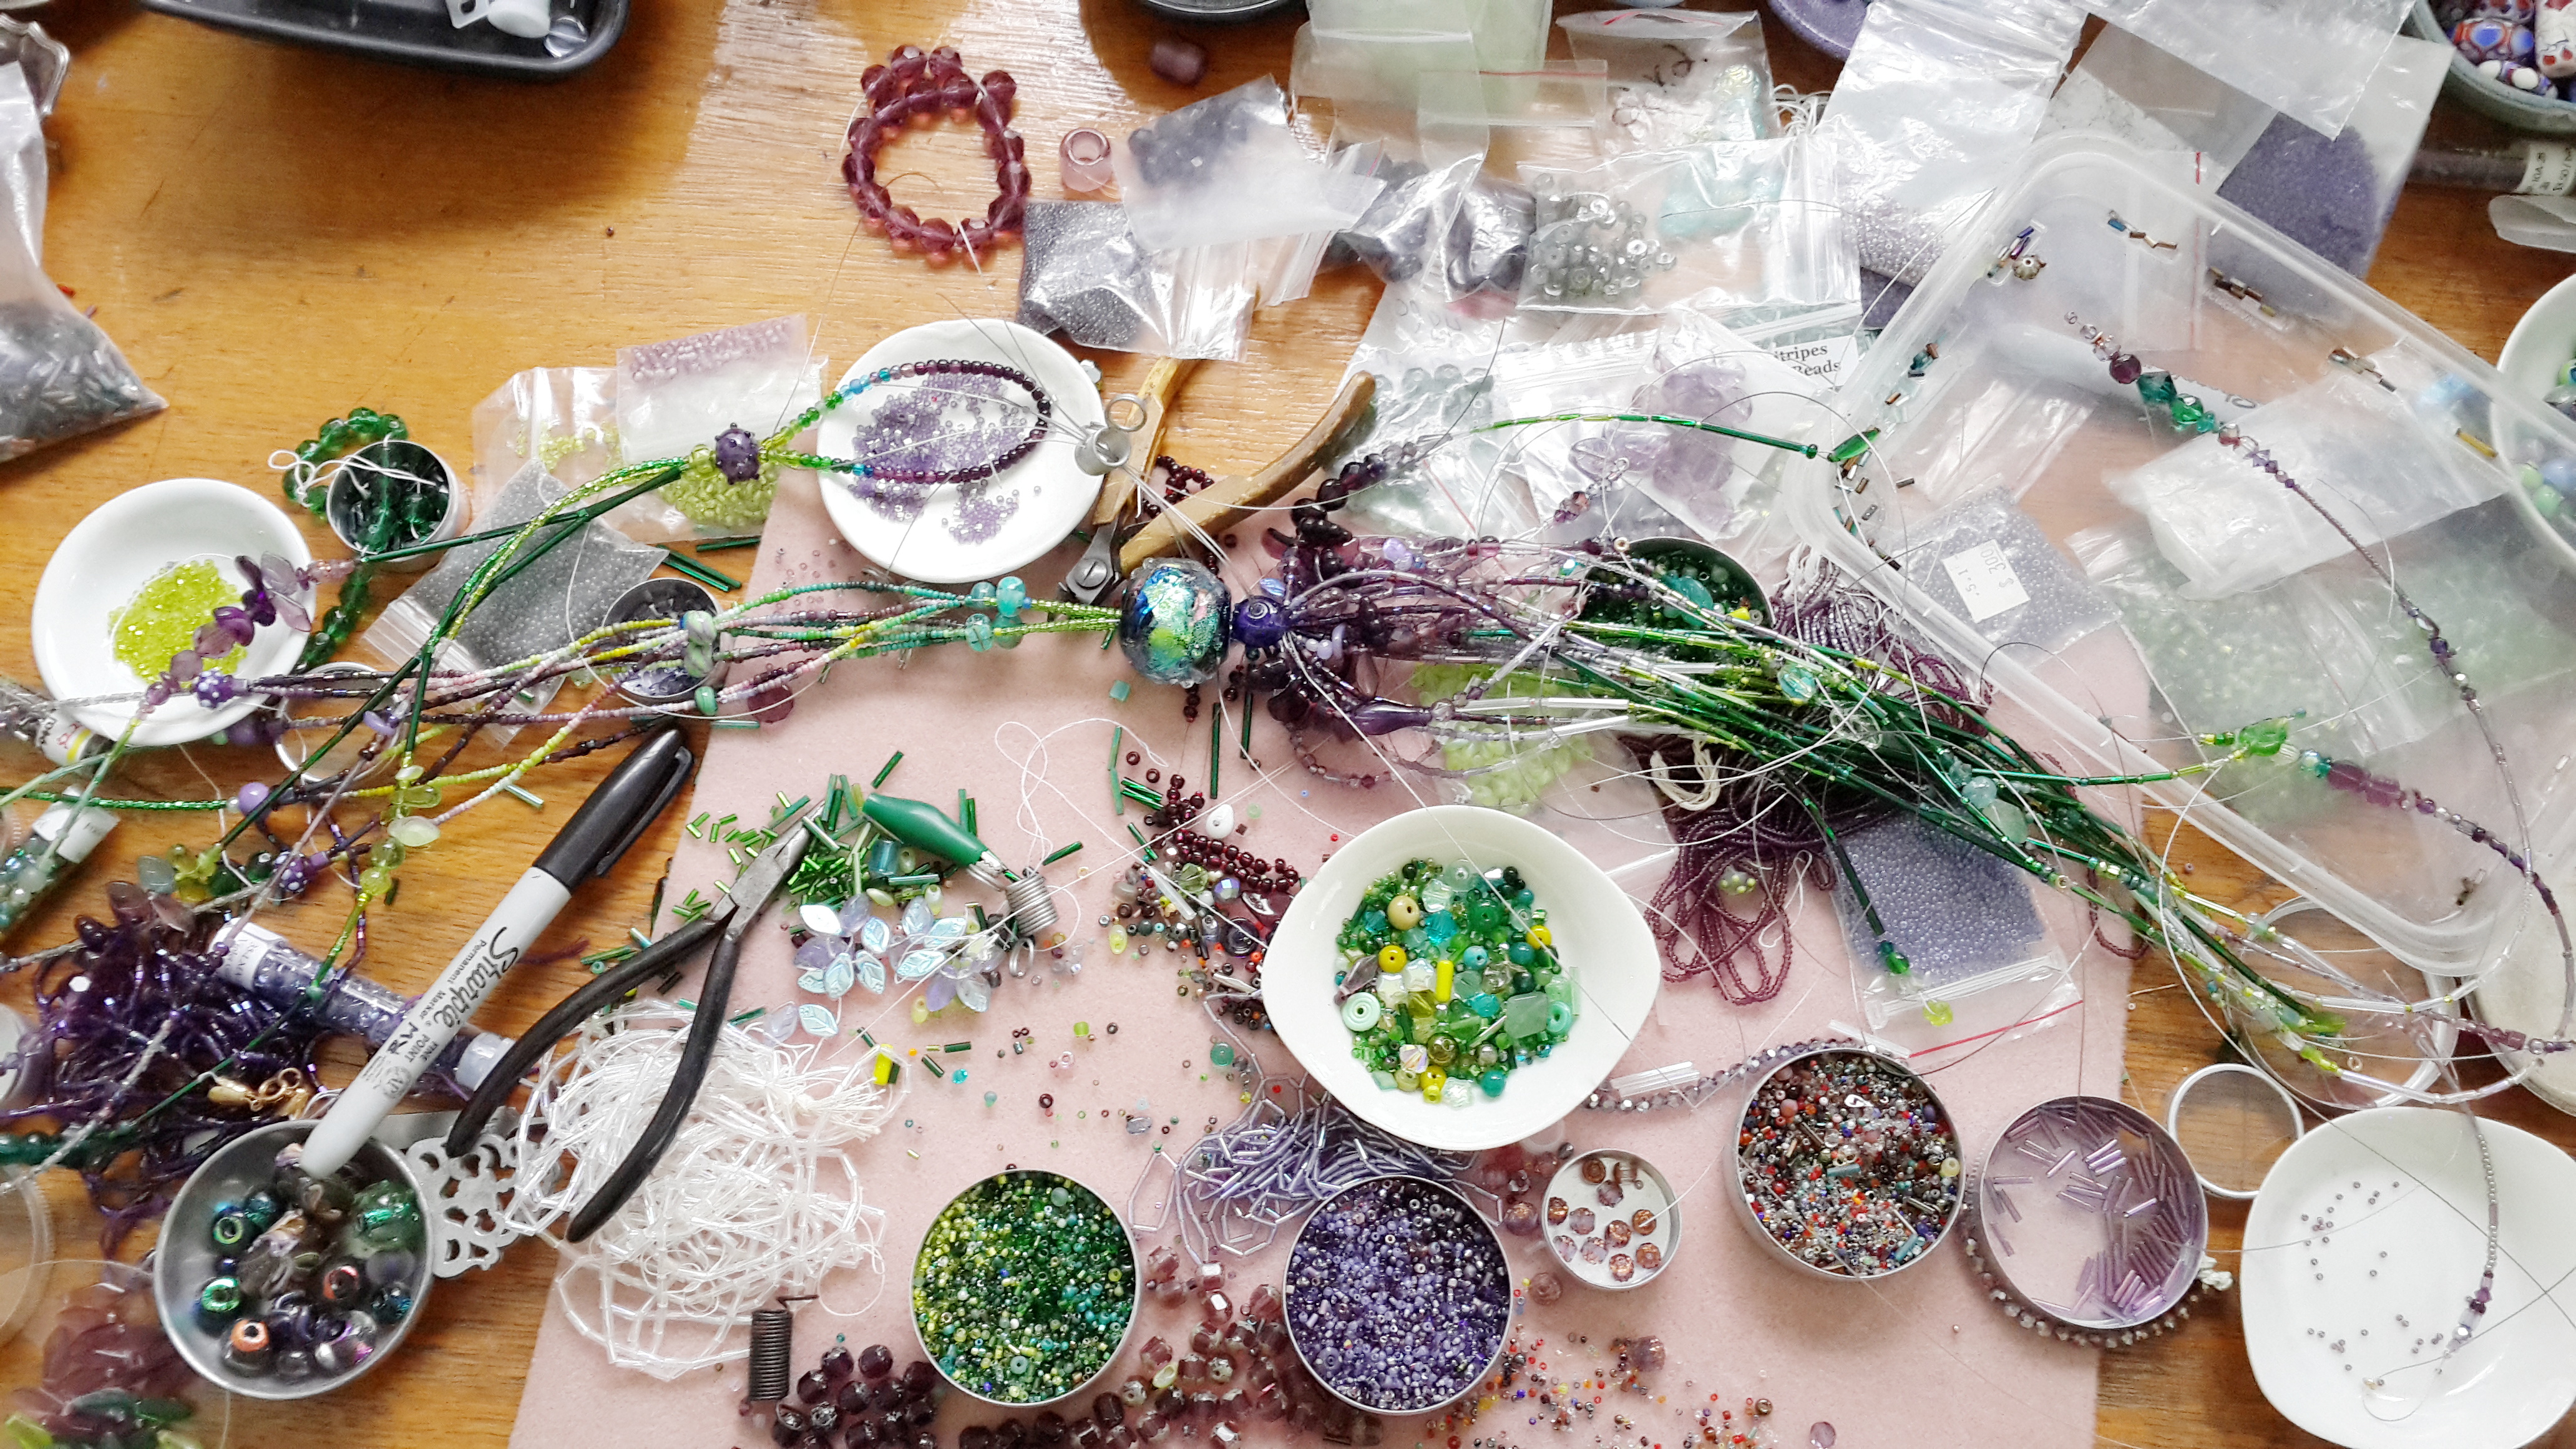
tassel in progress.
In order to keep tassel strands from dropping beads everywhere as I held the thing up to check progress, I twisted them into circles. These scrap pieces had been stored as coiled up circles as well, so they looped every where. It was quite a cool effect, and I thought about incorporating it into the piece. Alas, such looping around would have been very prone to kinking.
43.3 in long. Started 27 or 28dec13. Completed (abound 4:33!) 2jan14. Besides the two ink blue/blue-violet dotties and the dichro focal, almost all the beads are manufactures, mostly czech.[4]
In other words, I chickened out. —However, I might spring for the good stuff—real 49 strand beadalon—and try it next time. Considering that I sort of just half-assed wove the ends of the tassel back in in a haphazard fashion, failing to run them through super tight beads or crimps, there's really no excuse. I was ready to be done, after a week of hard stringing; but I'll have no-one but myself to blame if I find the whole business on the floor in a pile of beads and broken crockery.
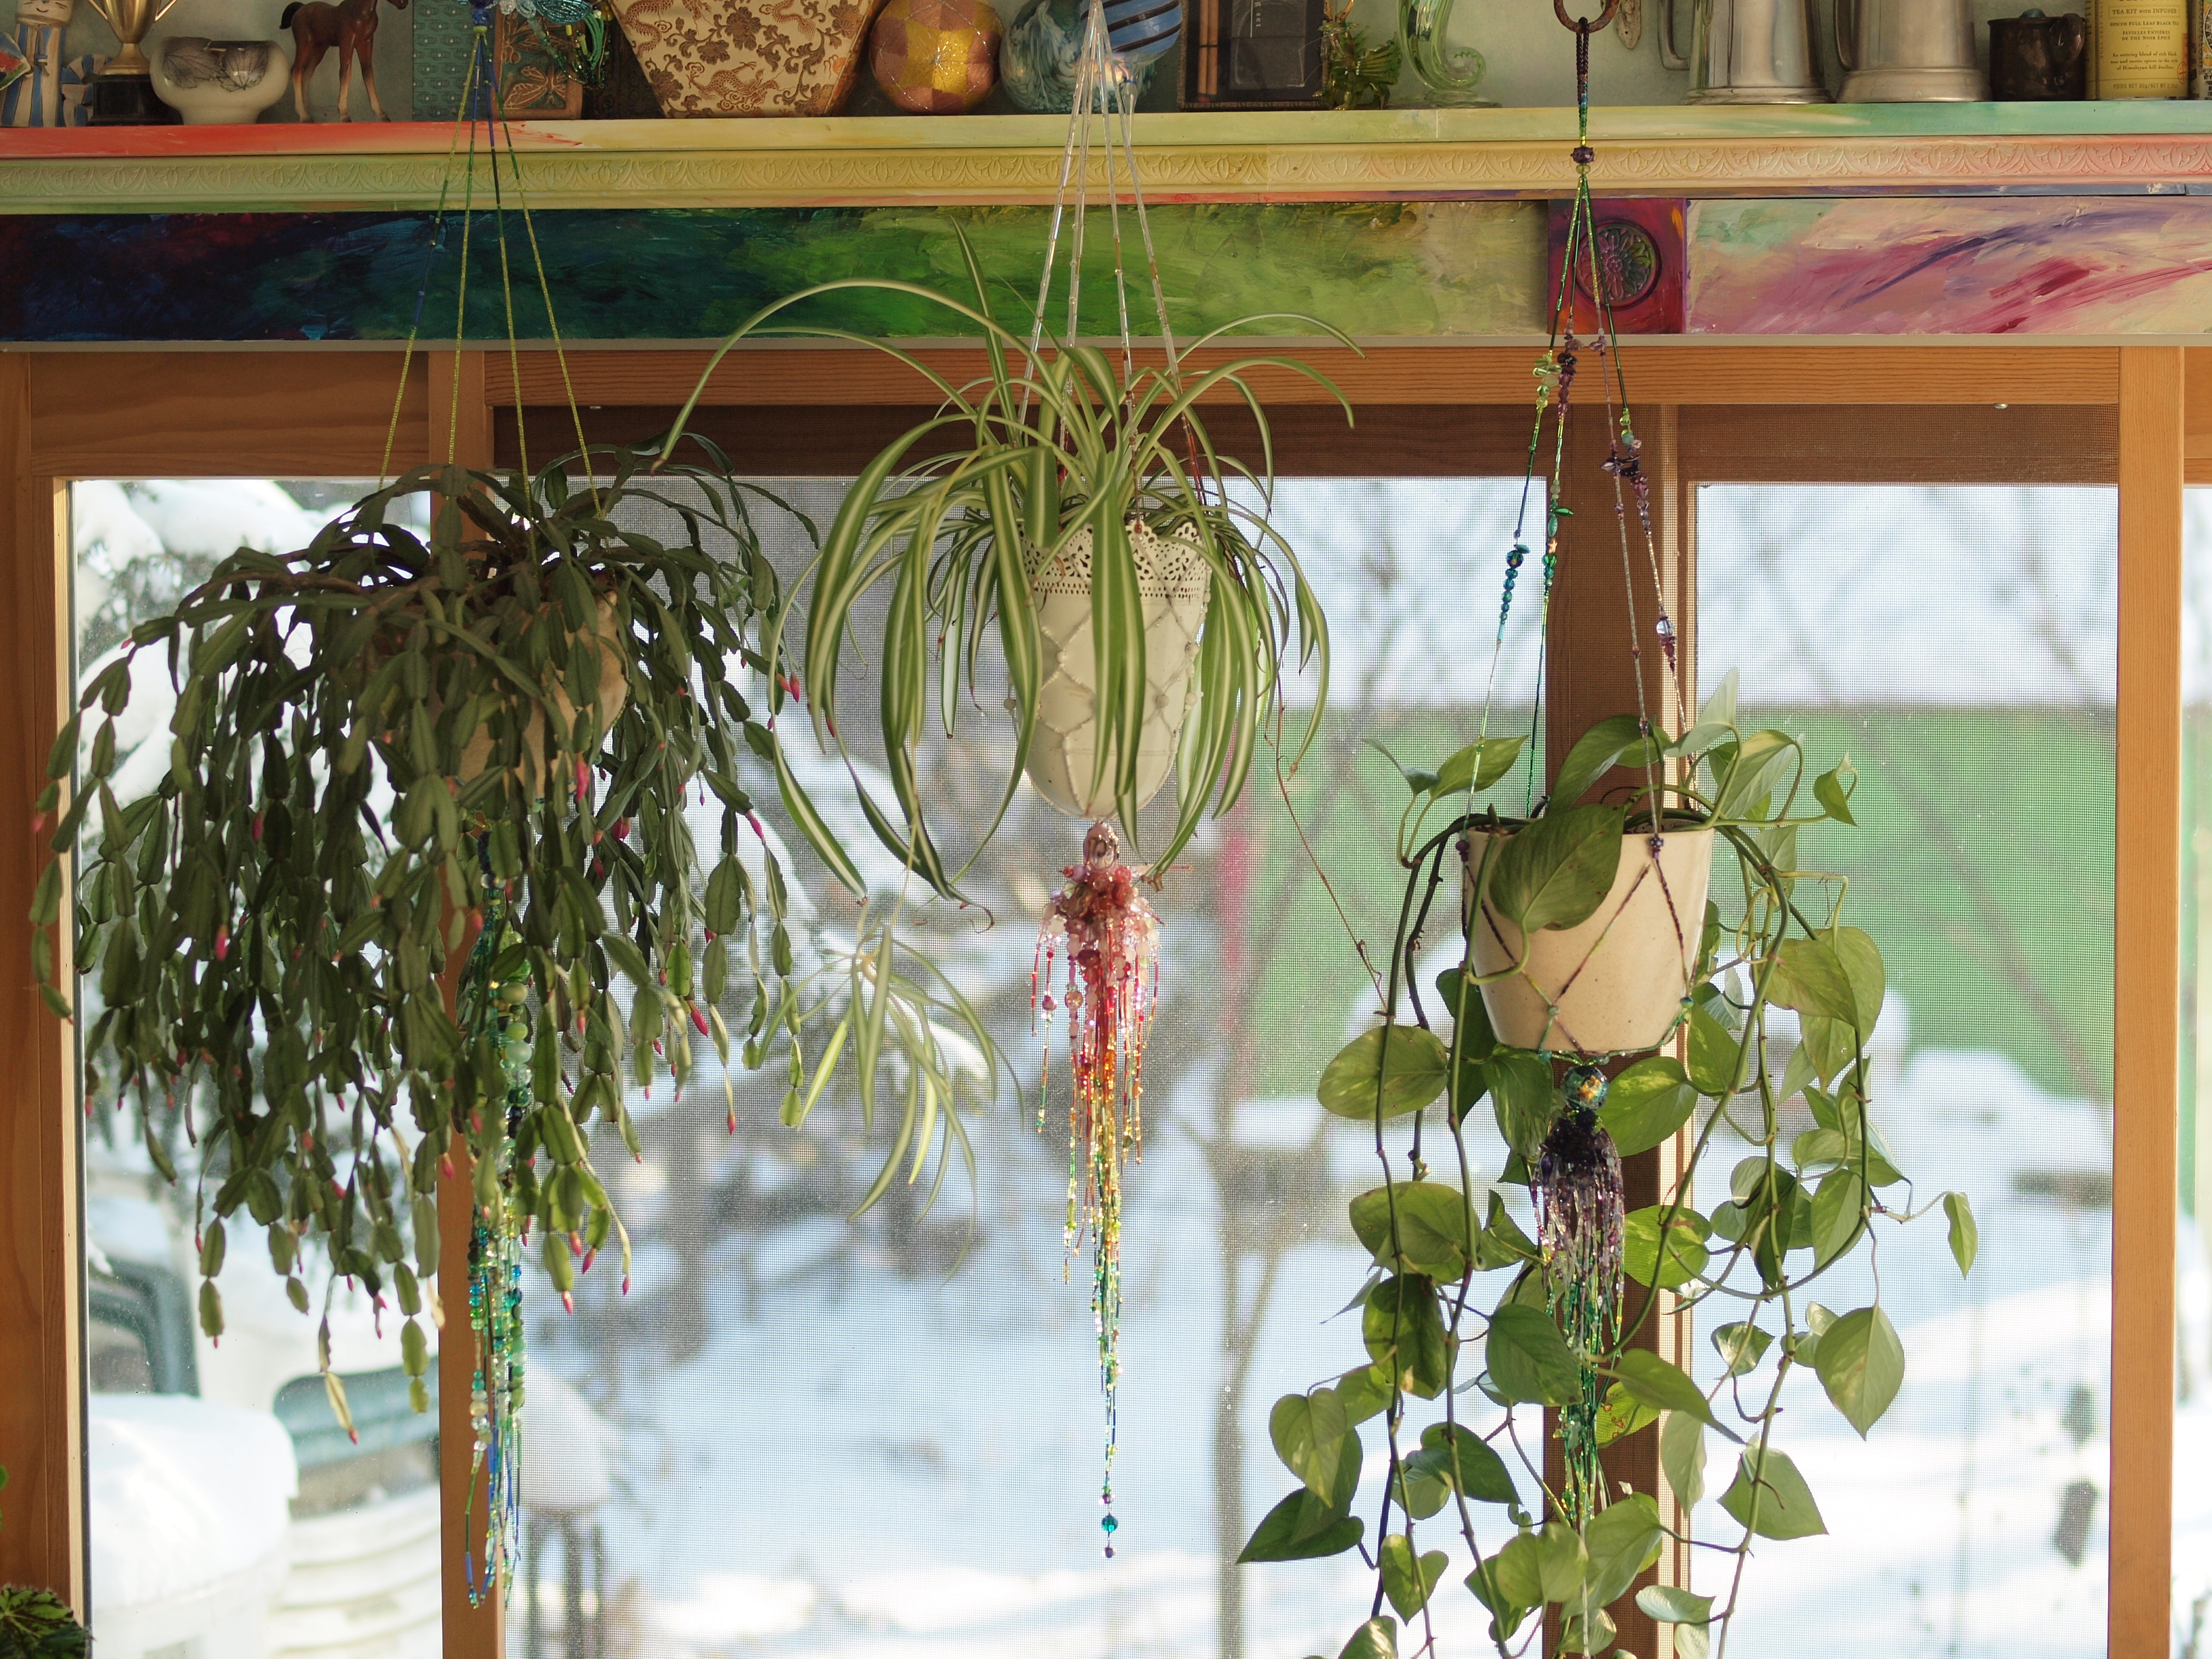
My three plant hangers: the new one is to the right.
tagging (dichro, focals) substituted for ‘dichrofocals’, also 3hole added 13nvo17.
[1]Because yes, I started this before completing the other series...
[2]My rule of thumb: stuff with light passing through it is transparent; stuff against a surface is opaque. This is because transparent beads tend to look dull and black against a opaque surface, and opaque ones tend to look dull and black with all that light flowing around them.
[3]Bright sunlight should be used for making art. Nightime for lower-mental-energy-level things like yakking about art.
[4]My friend page re-homed a bunch of beads given to her, and they were overflowing my drawers. So I was trying to use them up!
Unless otherwise noted, text, image and objects depicted therein copyright 1996--present sylvus tarn.